Simplified Breadcrumb Schema Tagging Guide
Overview
Breadcrumbs are navigational elements that show visitors the path from your homepage to the current page (for example, Home > Category > Sub-Category > Current Page). Using structured data (schema markup) for breadcrumbs helps search engines understand your site’s structure and can lead to enhanced display in search results. This simplified tagging interface lets you tag breadcrumb items directly as they appear on your page. By doing so, you reduce the time needed for tagging and improve the readability of your schema markup in the editor. This guide explains each step of the process, why it’s important and offers clear definitions in the glossary.
Why Simplified Breadcrumb Tagging?
Efficiency: Direct tagging of breadcrumb items minimizes extra clicks or manual field entries, speeding up the process.
Accuracy: Tagging as items appear on the page helps ensure that the schema precisely mirrors your site's navigation.
Readability: A clean, simplified interface makes it easier for new users to see and understand how their breadcrumb markup is structured.
Enhanced SEO: Proper breadcrumb schema can contribute to better search engine results, improving your site's discoverability.
Step-by-Step Instructions
Step 1: Access the Simplified Breadcrumb Tagging UI
Background:
The simplified UI is designed to display your breadcrumb navigation elements as they appear on the page, allowing you to tag them quickly and intuitively.
How to Begin:
Open your webpage's editor where the breadcrumbs are visible. Choose a page and click on the edit icon on the ‘Tag Schema’ page.

The interface will automatically list your breadcrumb items in the order they appear on the page.
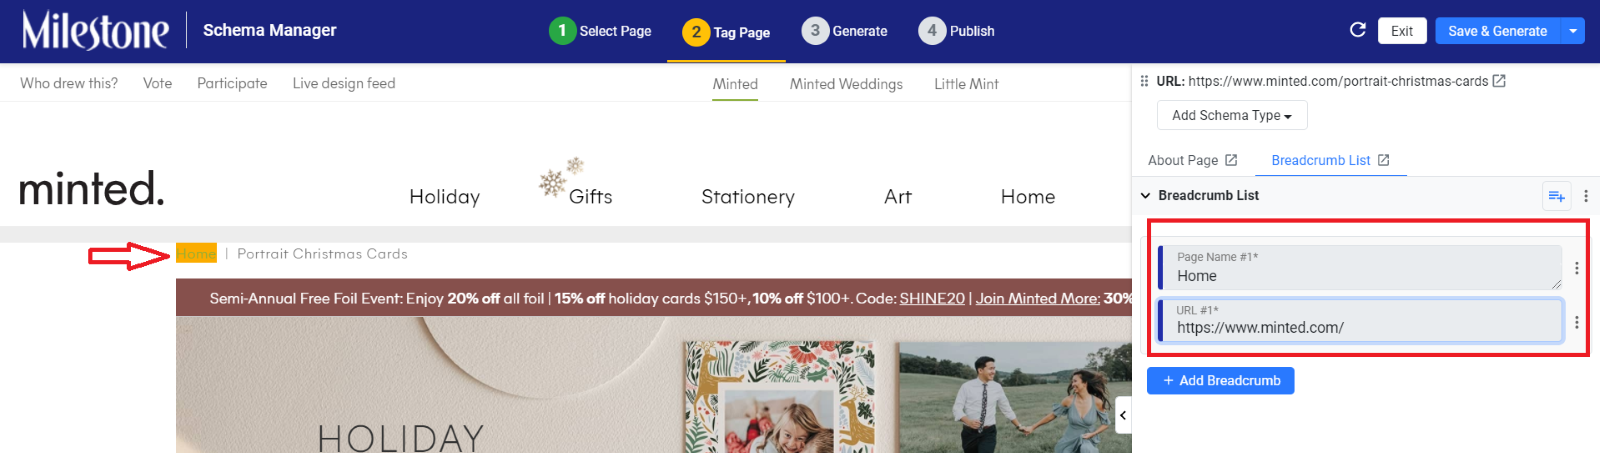
Step 2: Tagging a Breadcrumb Item
Objective:
Map each breadcrumb item to its corresponding URL or label in the schema.
Process:
Select the Breadcrumb Item:
Click on the breadcrumb item that you want to tag. The element will highlight, indicating it is active.
Tag the Item in the Editor:
After clicking, the editor will display a tagging field (often an input for the URL). Click within this field and confirm the tag for that item.
Repeat as Needed:
Ensure that the breadcrumb text is correctly linked with its intended URL. This creates a clear connection between the visual navigation and the structured data.
Background:
Tagging each item directly from the displayed breadcrumbs reduces the chance for errors since you’re working with what is already visible on the page.
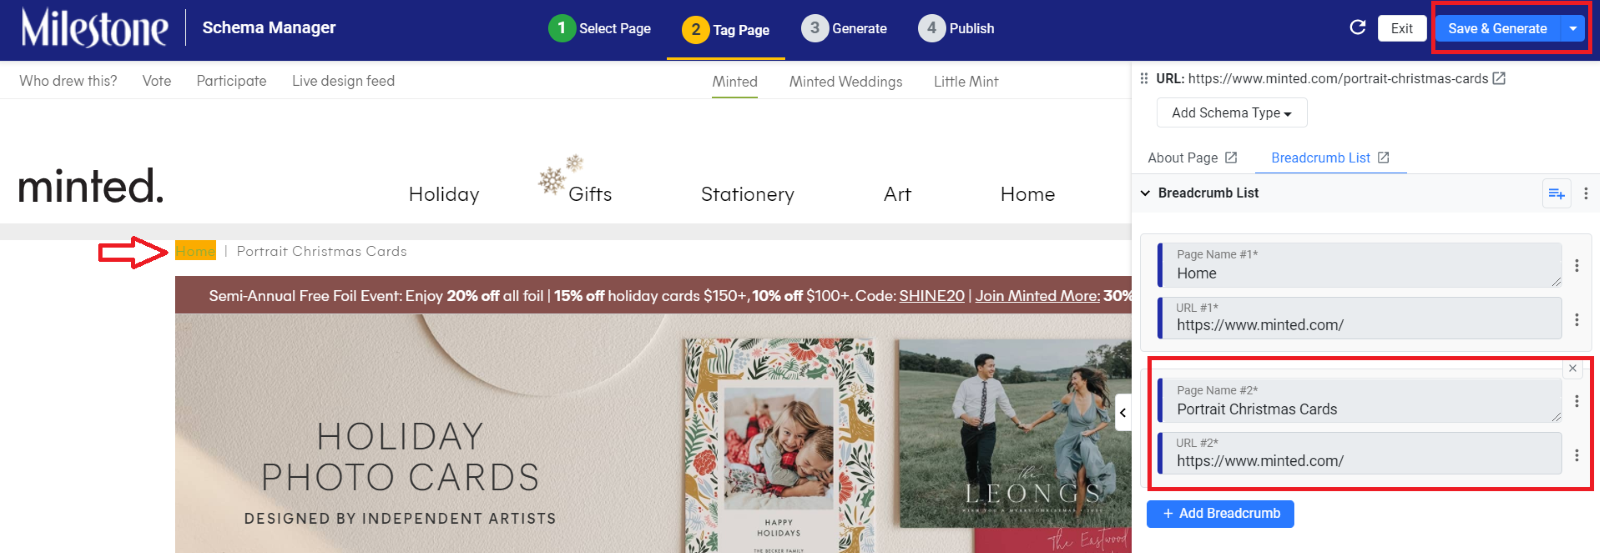
Step 3: Adding Additional Breadcrumb Items
Objective:
To extend your breadcrumb trail with additional navigation elements.
Process:
Click “Add Breadcrumb”:
If there are more navigation items to tag, click on the “Add Breadcrumb” button.
This action will create a new entry in the breadcrumb schema.

Tag the New Item:
Follow the same process as in Step 2 for this new breadcrumb: click it on the webpage, then tag it in the associated URL field in the editor.
Background:
Adding items in this way ensures that each new element is included in the breadcrumb trail, maintaining consistent navigation across your site.
Step 4: Save and Generate the Breadcrumb Schema
Objective:
Finalize your schema markup for the breadcrumbs, making it ready for publishing.
Process:
Once you’ve tagged all your breadcrumb items, click on “Save & Generate”.
This action compiles all your tagged breadcrumbs into valid schema code, ensuring it is ready to be embedded into your webpage.

Background:
Generating the schema creates a complete and consistent markup output, which search engines can then utilize to better display your site’s navigation in search results.
Glossary
Breadcrumb Schema: Structured data that defines the breadcrumb navigation on your webpage.
Tagging: The process of associating visual elements (breadcrumb items) with corresponding data fields (e.g., URLs) within the schema.
Breadcrumb Item: An individual element in the navigation trail (e.g., a link labeled “Home” or “Products”).
Simplified UI: An interface that streamlines the tagging process, displaying elements as they appear on your page for easier association.
Save & Generate: The action that compiles your tagged data into complete schema markup ready for use on your website.
Tips for Success
Verify Order: Always ensure that the breadcrumb items are in the correct order, reflecting the natural navigation path.
Review Links: Double-check that each tagged breadcrumb item corresponds to the correct URL.
Simplify Updates: If your navigation changes, revisit this guide to quickly update your breadcrumb schema.
Test Your Markup: Use schema testing tools to validate the generated code and ensure it meets search engine requirements.