Creating Personalized Campaigns
Learn how to use Milestone's Personalization feature to create custom campaigns for specific audience segments.
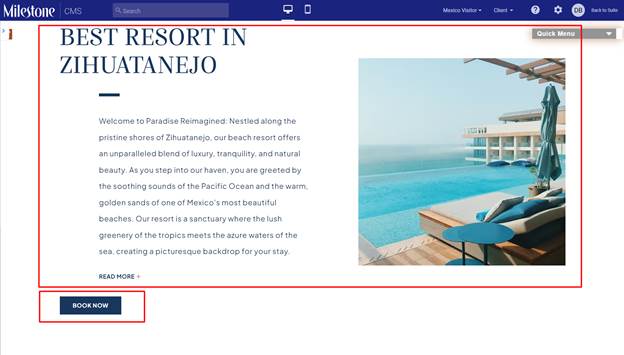
If you have subscribed to Milestone Personalization you can now create personalized webpages to target specific audience segments using Milestone CMS’ Personalization feature. Now you can add tailored content for visitors so that they get the most relevant information right from the get-go.
Here’s how you can use Milestone CMS Personalization.
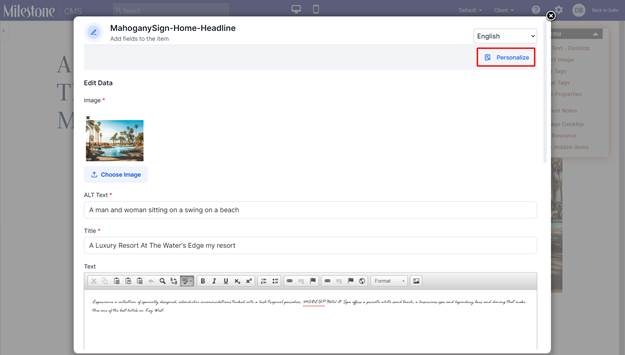
Step 1: Click on the edit icon in the MiBlock you wish to add personalized content.

Step 2: Click on ‘Personalize’ at the top of the EditData section.
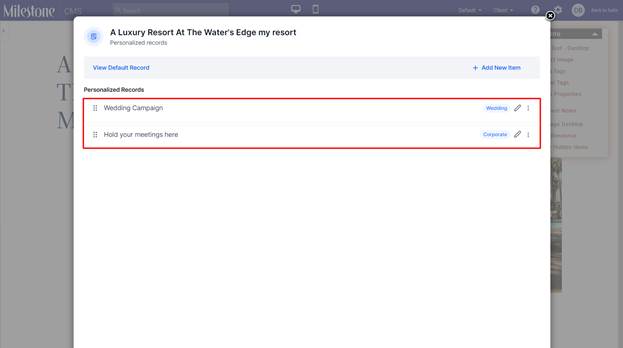
Step 3: Here you can view, edit, and delete the existing personalized campaigns for this section.
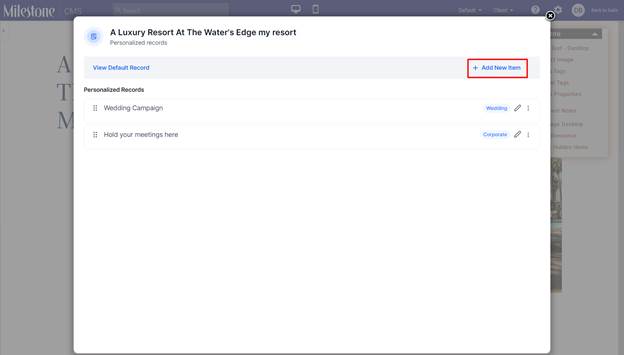
Step 4: To create a new personalized campaign click on ‘Add New Item’ to the top right.
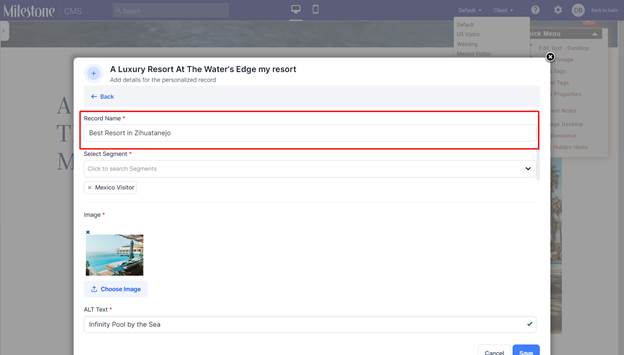
Step 5: Fill in all the mandatory fields.
Record Name: The name of the Personalization campaign. This can be used to find the campaign you are looking for.
Select Segment: Select the audience segment you wish to display this content to.
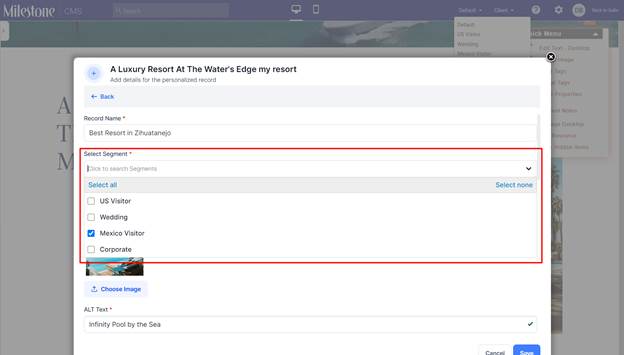
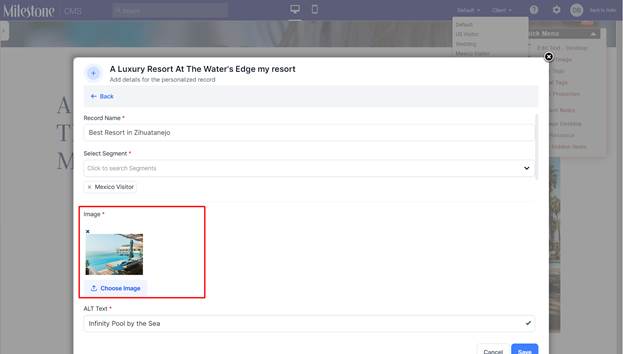
Image: Add the image you wish to display for this personalized section.
Alt Text: The Alt Text for the image.

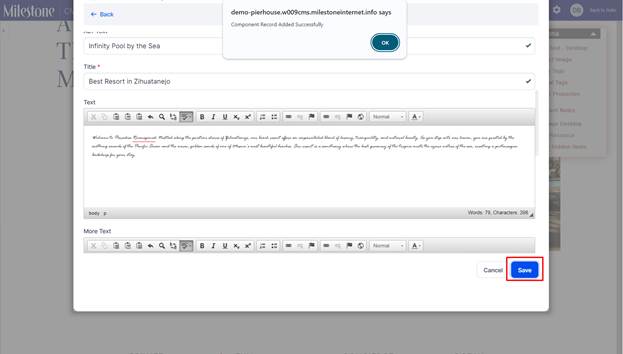
Title: The title of the personalized section.
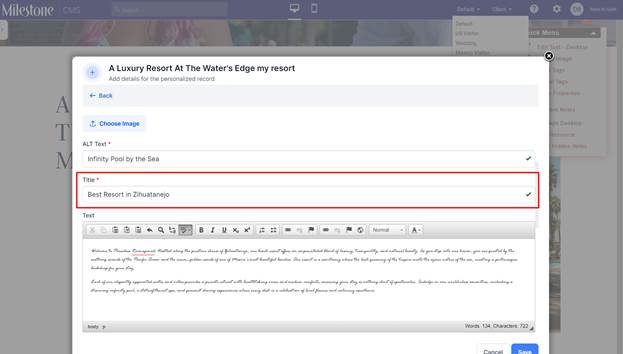
You can add the main text, more text, and extra text.

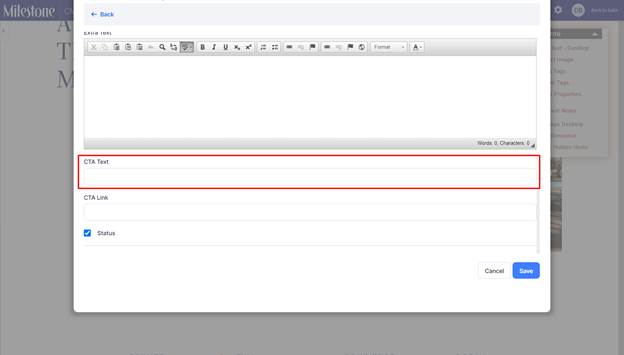
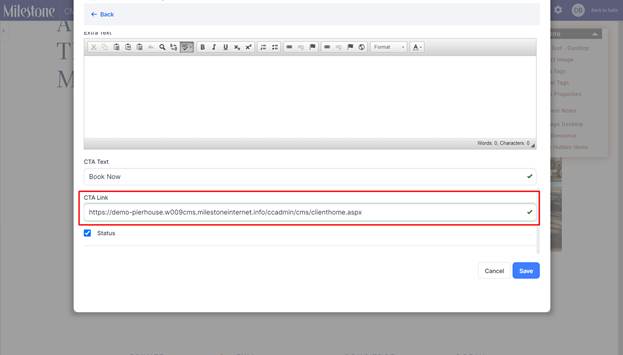
CTA Text: Add the text that will appear on the CTA button.
CTA Link: Add the link to the page that visitors will be redirected to upon clicking on the CTA.
Step 6: Once complete click on ‘Save’.
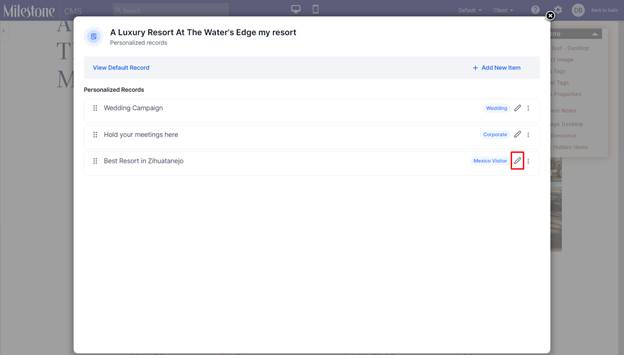
Step 7: You will now see the personalized campaignrecorded.
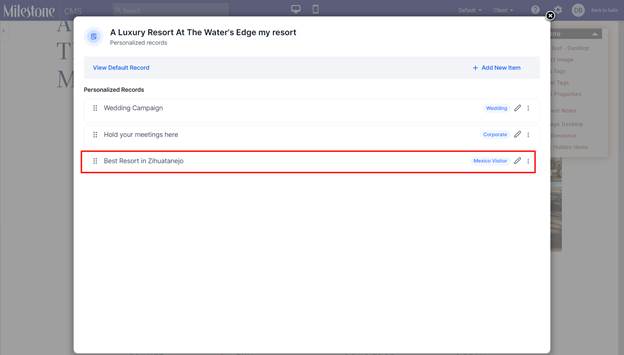
You can edit campaigns anytime by clicking on the edit icon corresponding to the campaign.
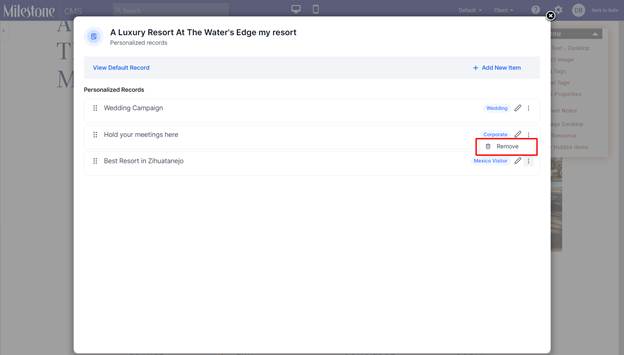
You can remove a campaign by clicking on the three-dot menu and clicking on ‘Remove’.
To view the personalized page click on the Segment type from the dropdown to the top right of the editor.
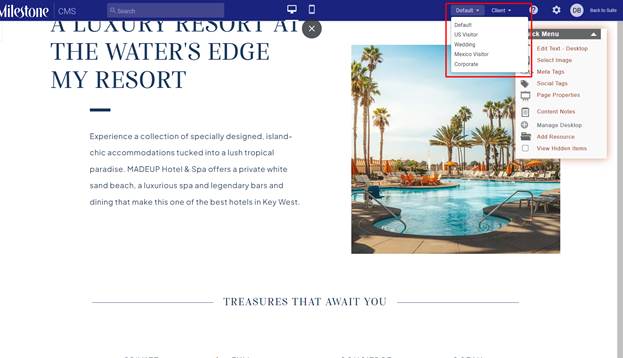
Here you can view the personalized content created for the segment.