Posts Overview
Social media content has proved to be immensely effective for engagement and Posts is your medium to make ‘social’ posts about your business which will be featured on the profile of the business location for relevant searches across search engines. To ensure that your post is effective, ensure that it first relates to the intent of customer searches and that you have an eye-catching video or image to prompt clicks.
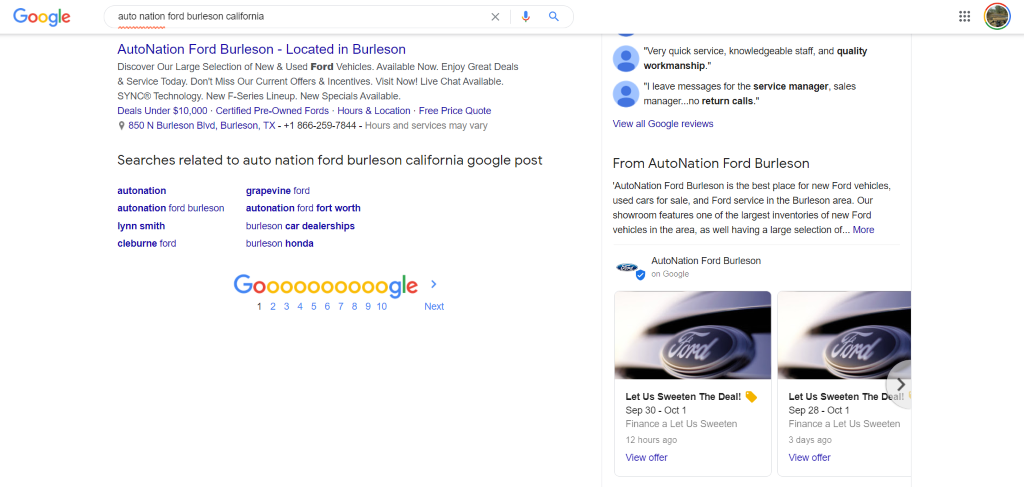
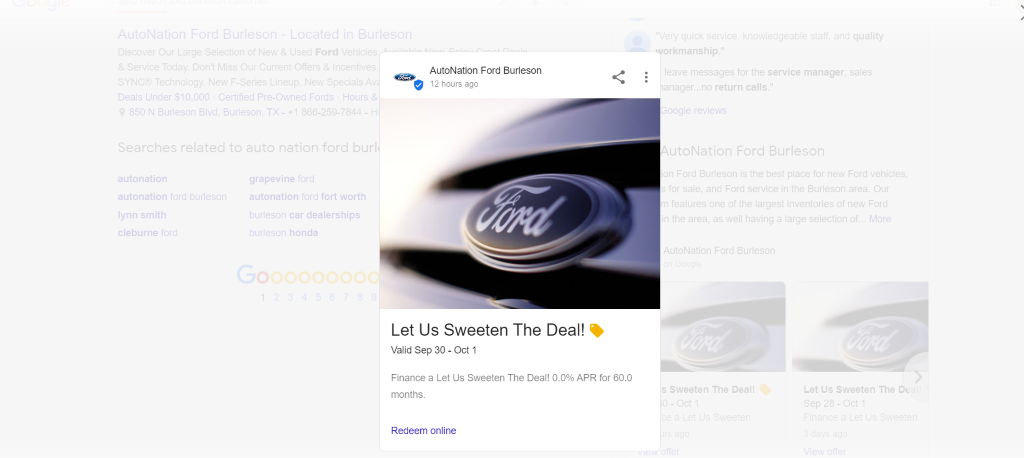
On the Post Summary tab, you can view published posts, create and schedule new Posts, choose the type of posts you wish to publish, choose the source you wish to publish it to (E.g., Google My Business), and the business locations you wish to publish it to... all from a single screen!!
Navigating to Post Summary tab and creating a Post
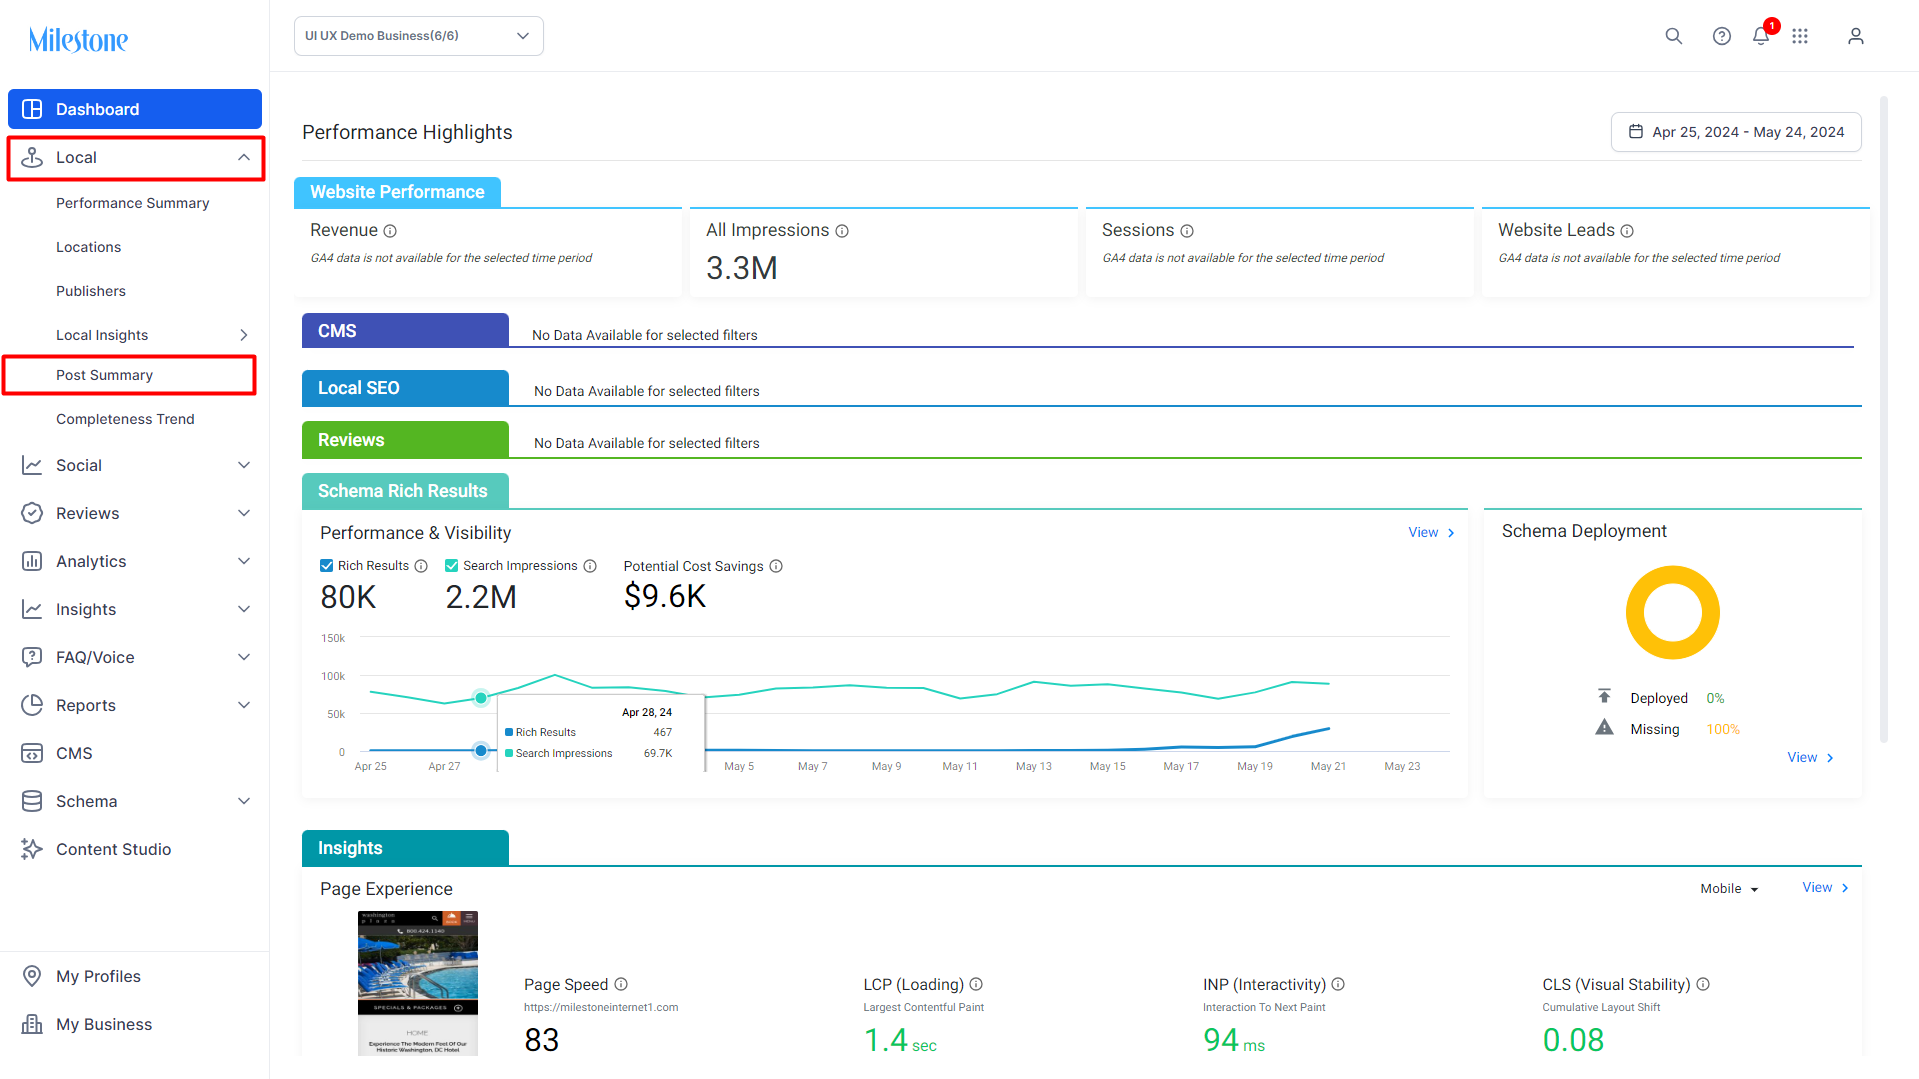
Click on ‘Local’ on the MPC dashboard and click on the ‘Post Summary’ tab.
Viewing, Editing & Deleting Existing Posts
Click on the 'edit' button to make any changes to the post whether it is in ‘published’, in ‘draft’ mode, or any other post status. In addition, we’ve added the view button for the user to view all the information of the post which isn’t a possibility with the preview post option if you’ve scheduled a post.

You can also click on the view mode to view all the details of the post.
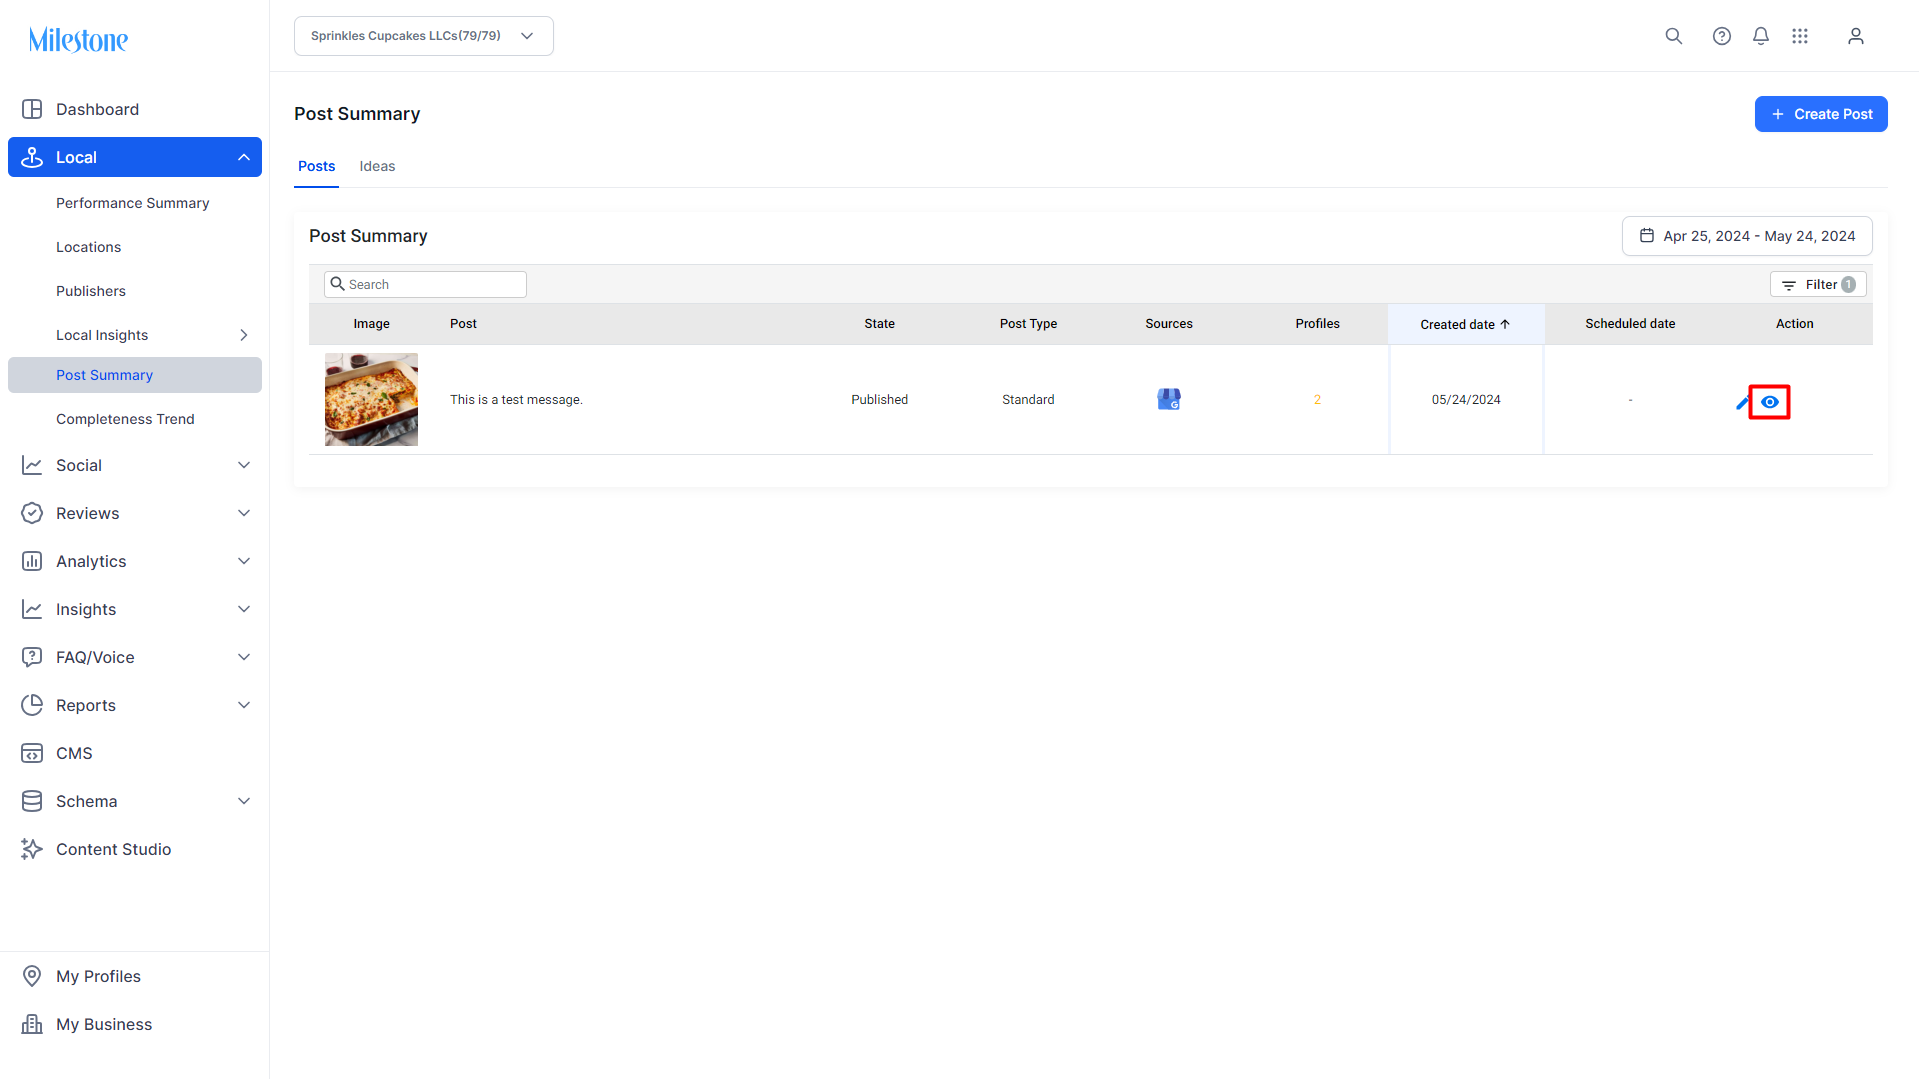
Once you’ve clicked on the ‘view’ button, you can view all the details of the post but cannot carry out edits using this option.

To delete a post, click on the delete button against the post. 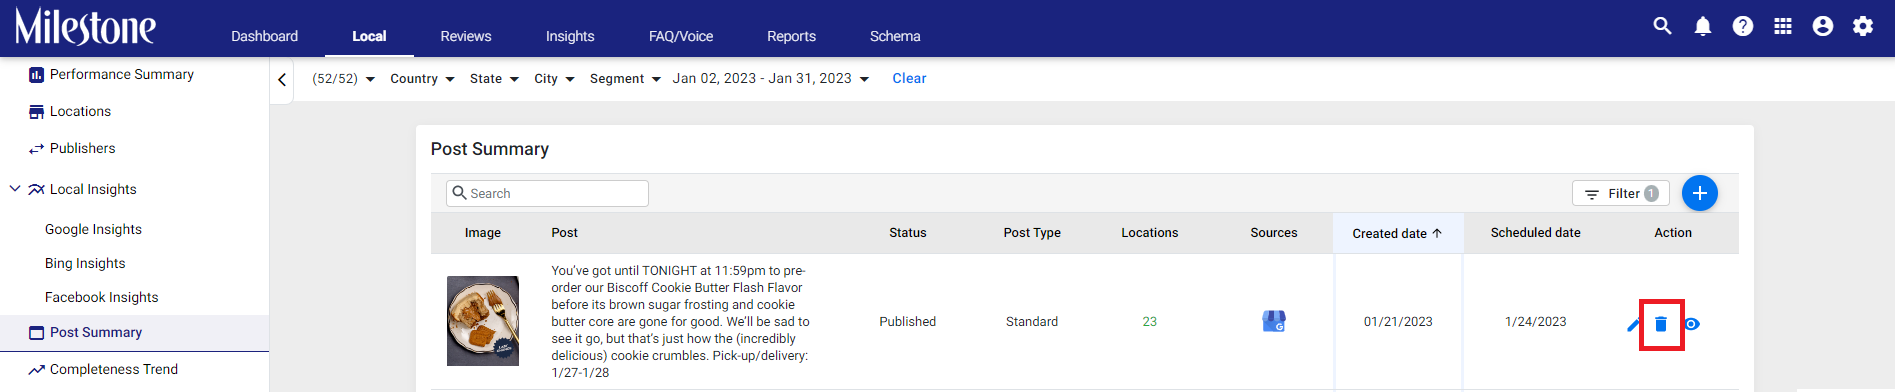
Creating Posts
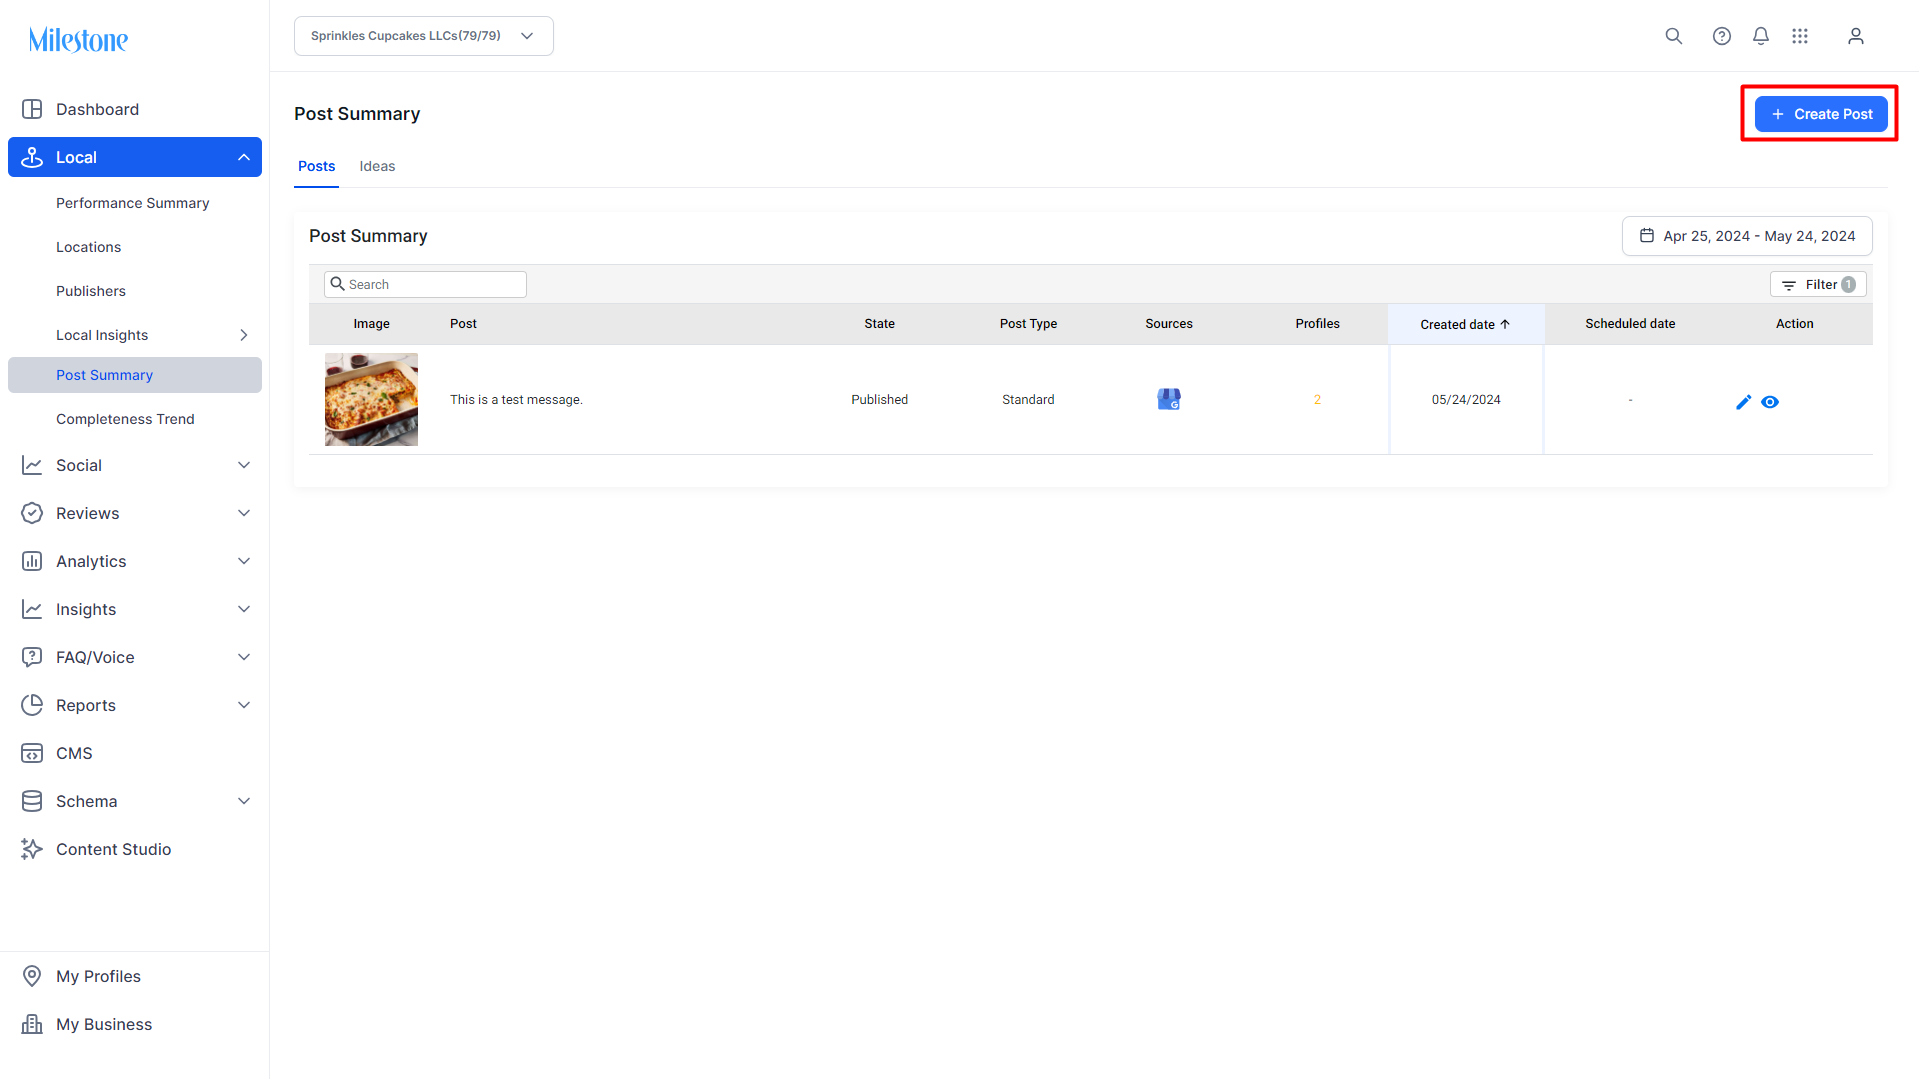
To create a Google Post, click on the 'Create Post' button.
To start, choose the publish source as Google Business profile.
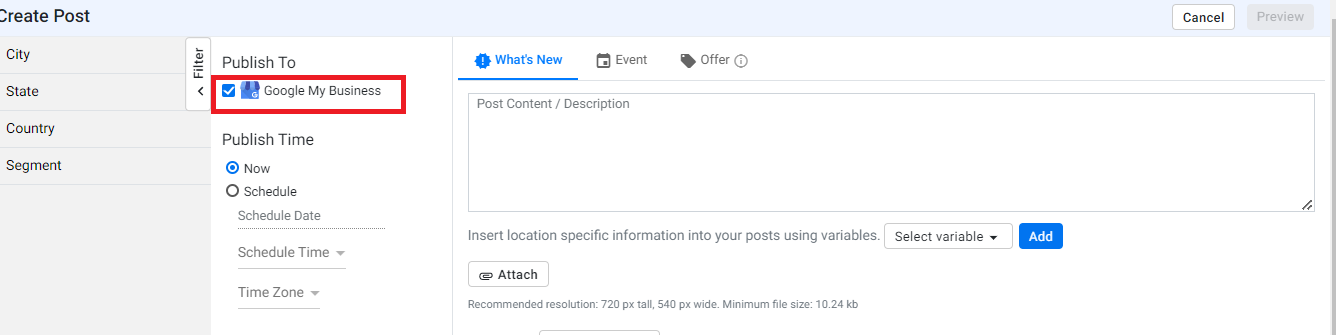
Now enter the publish time. If you want to post it right away, select 'Now'.

To schedule a Google Post, click on the ‘Schedule’ button. Enter the date and time to schedule the post.

Now select the locations you wish to publish the post to.
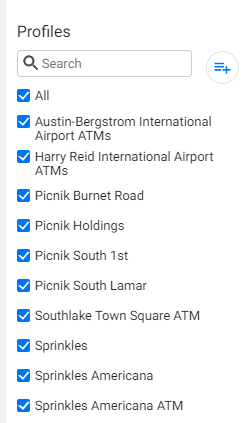
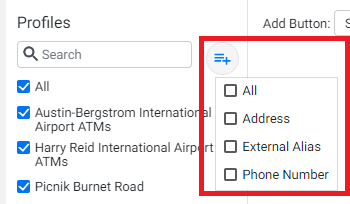
You can use the filter option to find locations easily.
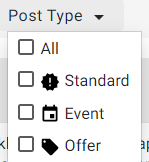
Choose the type of post you wish to publish – What's new, Event, or Offer type of post and enter the post content.
Creating a ‘What’s new’ Google Post
Step 1: If you’ve chosen to publish a ‘What’s now’ post, click on ‘What’s New’, enter the post content, and if you wish to, enter location-based content in the post by clicking on the ‘Location Name’ dropdown.

Step 2: You then need to attach a post photo
Step 3: Choose a CTA button and enter the URL for the CTA.
Step 4: Next Choose the source to publish to – in this case, it is GMB
Step 5: Choose whether you wish to publish the post now or schedule the post. If you wish to schedule the post, choose the scheduled date and time.
Step 6: Choose the business locations you wish to publish the post to, either specific business locations or if it is to all locations, click on ‘All’.
Step 7: Once all the details have been entered, the ‘Preview’ post button will be enabled. Click on it.

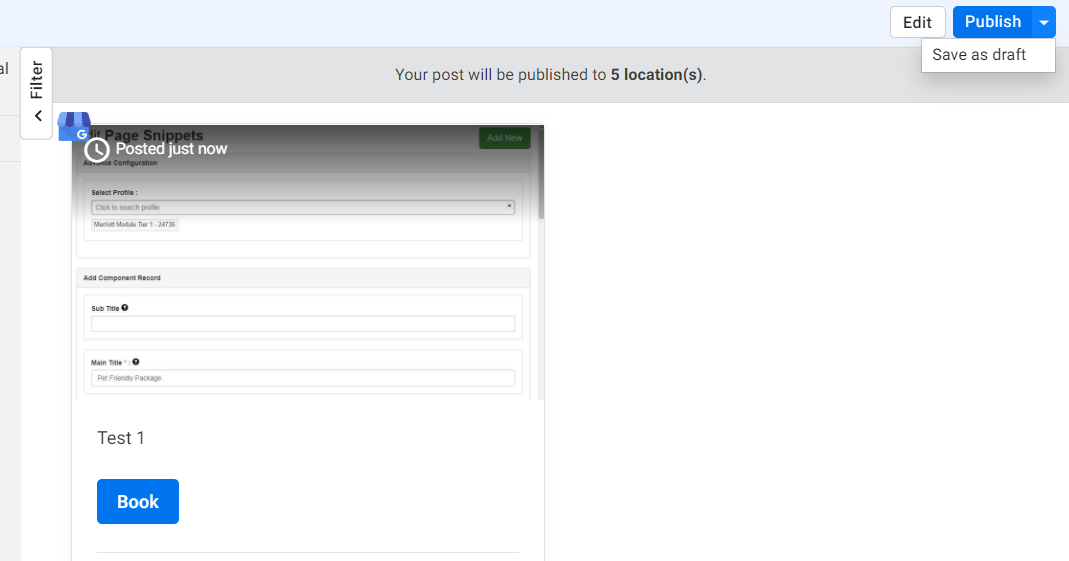
Step 8: The preview of the post will be displayed. Click on ‘Publish’ to make a post on the selected locations, or you could even choose to ‘Save as draft’. If you wish to make changes to the post before publishing, click on ‘Edit’.
UTM Parameters
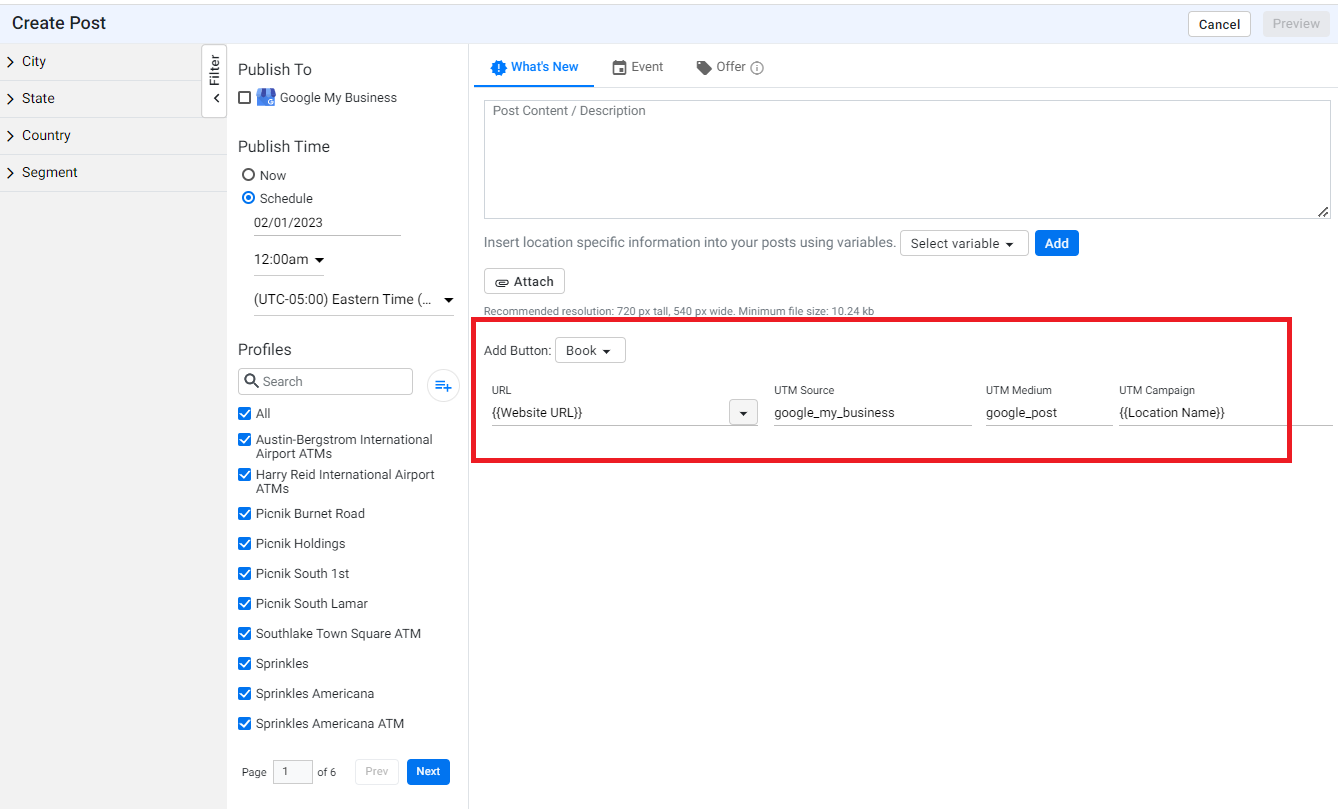
Use the UTM parameters for the CTA button of your choice to help you track the engagement of customers with the CTA buttons. You can also set up specific campaigns to track engagement.
For the ‘What’s New’ or ‘Event’ type of Google Posts, you will see the UTM Parameters. Choose a CTA button from the drop-down and the UTM Parameters for ‘UTM Source’, ‘UTM Medium’, and ‘UTM Campaign’ will automatically be populated.
 Note: You can choose to add a unique campaign name for offer or season sale posts.
Choose a profile to make a Google Post to and enter the CTA URL button to track customer engagement.

You can choose to edit the UTM parameters by editing the post anytime in the future.
Creating an Event Post
Step 1: If you’ve chosen to publish an ‘Event’ post, click on ‘Event’, enter the post content, and if you wish to, enter location-based content in the post by clicking on the ‘Location Name’ dropdown.

Step 2: Attach a post photo
Step 3: Choose a CTA button and enter the URL for the CTA.
Step 4: Enter the title of the event, choose the Event Start and End date, and enter the time of the event.
Step 5: Next Choose the source to publish to – in this case, it is GMB
Step 6: Choose whether you wish to publish the post now or schedule the post. If you wish to schedule the post, choose the scheduled date and time.
Step 7: Choose the business locations you wish to publish the post to, either specific business locations or if it is to all locations, click on ‘All’.
Step 8: Once all the details have been entered, the ‘Preview’ post button will be enabled. Click on it.
Step 9: The preview of the post will be displayed. Click on ‘Publish’ to make a post on the selected locations, or you could even choose to ‘Save as draft’. If you wish to make changes to the post before publishing, click on ‘Edit’.
Creating an ‘Offer’ Post
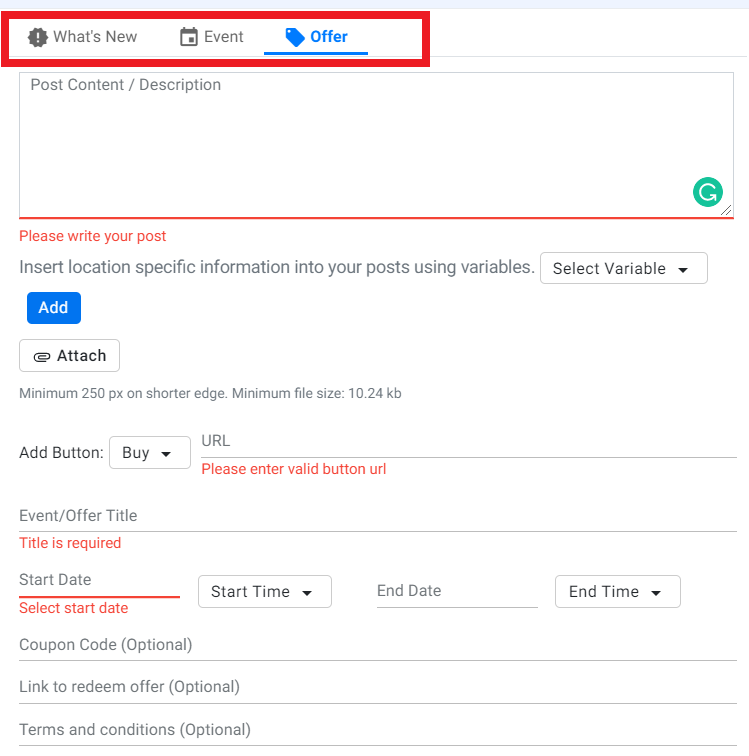
Step 1: If you’ve chosen to publish an ‘Offer’ post, click on ‘Offer’, enter the post content, and if you wish to, enter location-based content in the post by clicking on the ‘Location Name’ dropdown.
Step 2: You then need to attach a post photo
Step 3: Enter the Title of the offer, choose the Offer Start and End date and enter the time of the offer.
Step 4: Enter details of the offer (optional) - coupon code, link to redeem offer, and terms and conditions.
Step 5: Next Choose the source to publish to – in this case, it is GMB
Step 6: Choose whether you wish to publish the post now or schedule the post. If you wish to schedule the post, choose the scheduled date and time.
Step 7: Choose the business locations you wish to publish the post to, either specific business locations or if it is to all locations, click on ‘All’.
Step 8: Once all the details have been entered, the ‘Preview’ post button will be enabled. Click on it.
Step 9: The preview of the post will be displayed. Click on ‘Publish’ to make a post on the selected locations, or you could even choose to ‘Save as draft’. If you wish to make changes to the post before publishing, click on ‘Edit’.
Monitoring Posts
On the ‘Post Summary’ tab, you can monitor the posts you have published and the actions you have taken.
Using the filters:
To narrow down the type of posts you wish to see, you can use the filters. Click on to see the type of filters.
You can then see posts based on the source you published them to by clicking on the drop-down:

Type of post:
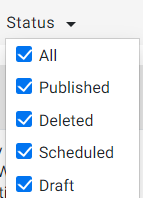
Status of the post:
Viewing published posts
Once you have published a post, the ‘Post Summary’ tab will display the list of posts based on the filters you have chosen. If you have not used the filters, it will show you the latest posts by default. You can view the post content, status of the post, the type of post, locations to where it was published, the published source, date of creation, and under ‘Actions’ you can choose to delete the post if it was published by mistake by clicking on
