MUST READ: Key screens of FAQ Manager
Now that you’ve gone over the overview of the FAQ Manager and why your business needs it and the set-up process of FAQ Manager, let’s take you through the key screens of the FAQ Manager. There are basically three tabs under the FAQ Manager Platform:
1. Q&A
2. Published
3. Bulk Upload
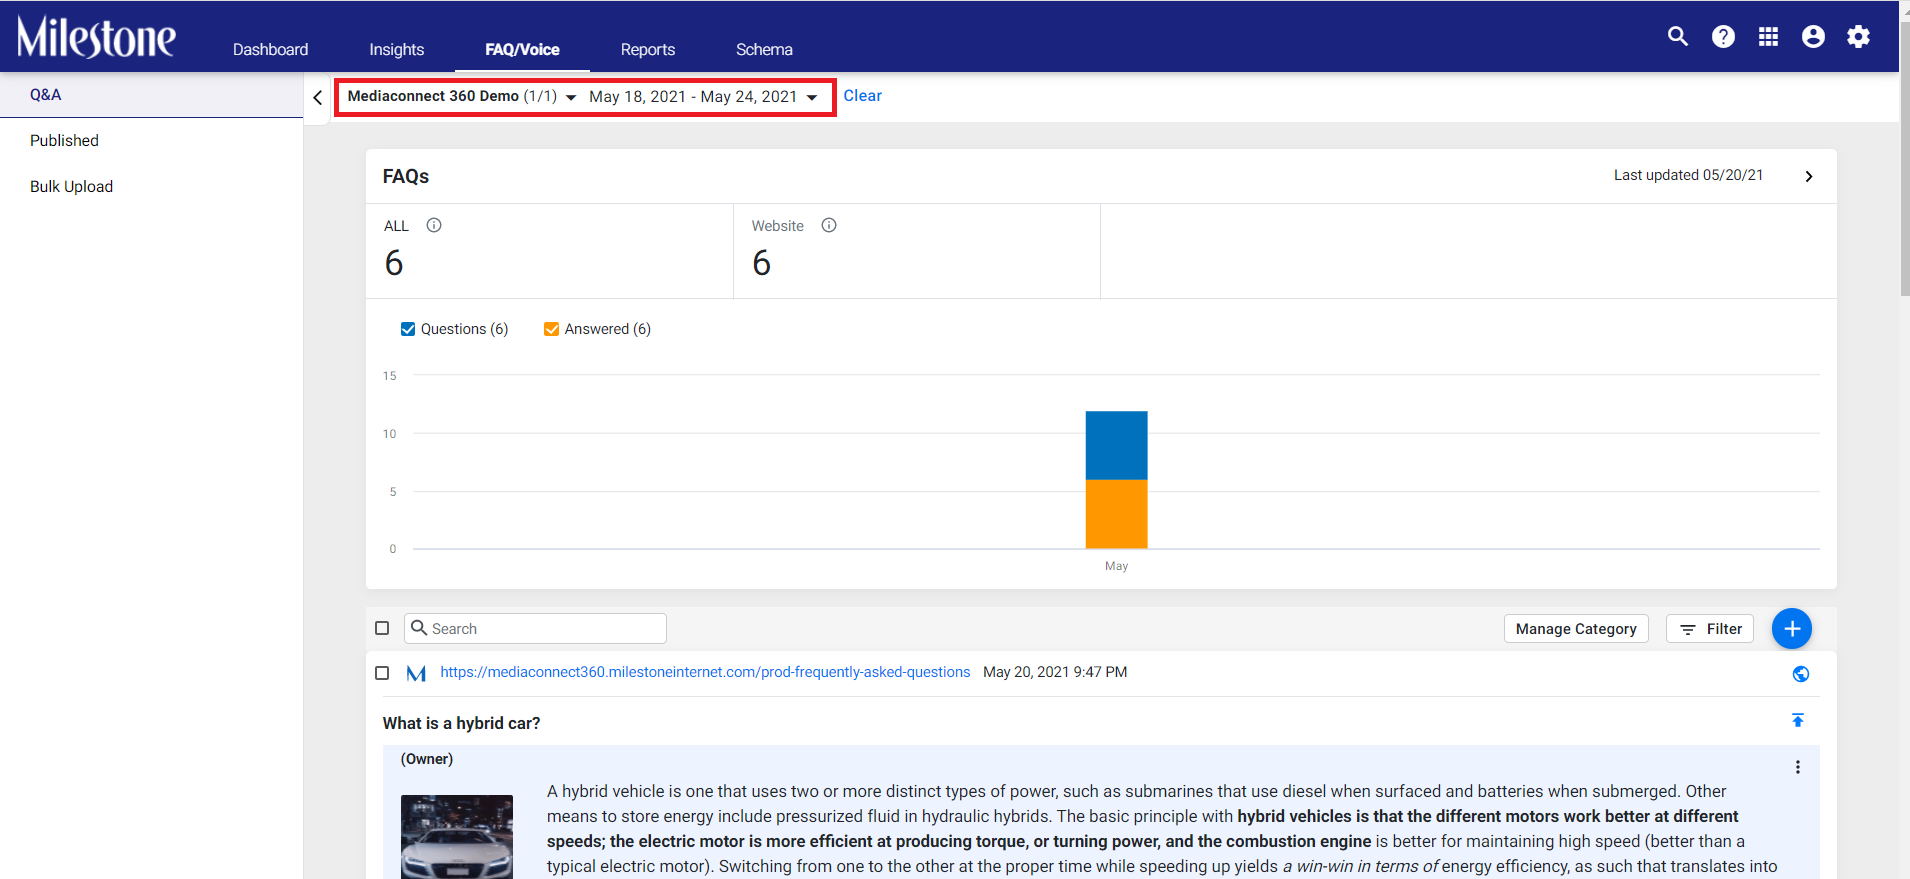
Before we get into the functioning of each tab, let’s first discuss the filter bar that you will see as soon as you click on the FAQ Manager tab.
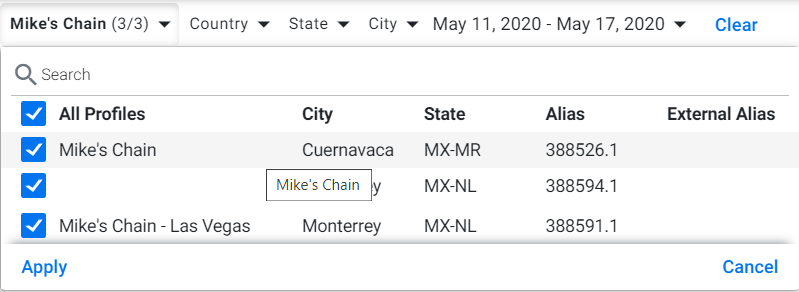
Click on the Business name dropdown and you will see the list of locations of your business. Choose ‘All’ if you want to see Q&A for all business locations, or select a certain location you wish to view Q&As. Click on ‘Apply to make the change.
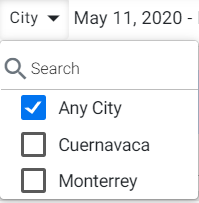
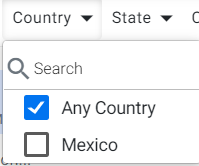
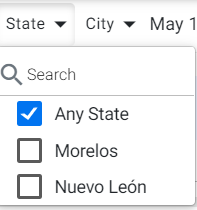
Next, you can choose a location based on Country, State, and City using the drop-down button.
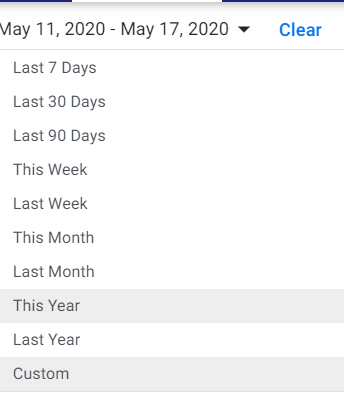
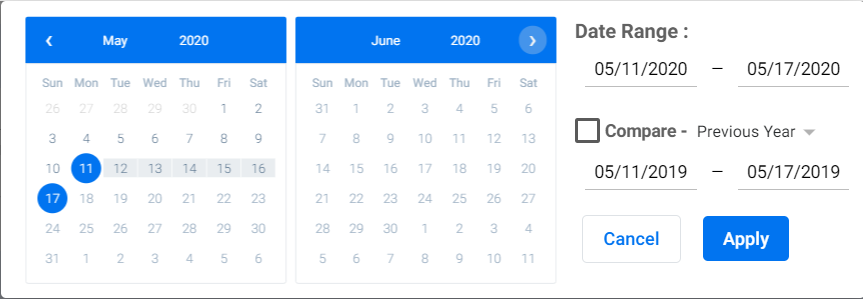
After this, you can view Q&As for a certain date range
Choose the date range and click on ‘Apply’.
Let’s move on to the functioning of each tab.
1. Q&A
Click on the Q&A tab to view the screen. For the business location and the date range selected, the page will display the corresponding Q&As and summary.
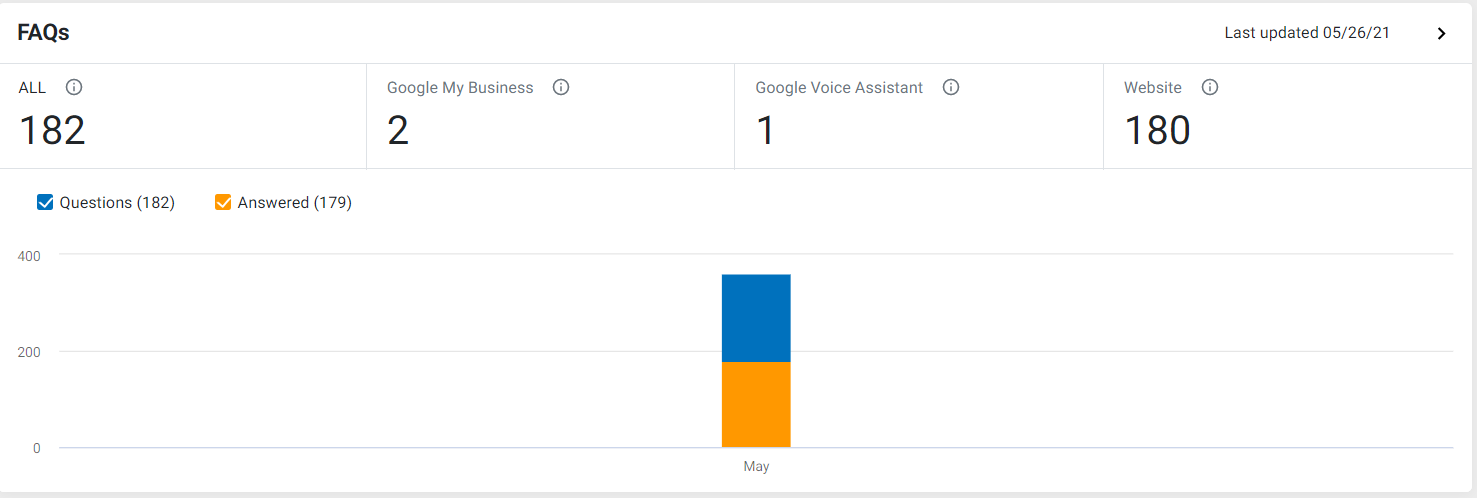
The top widget ‘FAQs’ will display the summary of FAQs – basically the count of all unique FAQs (barring those that are ignored or deleted) for the date range selected and the count of FAQs published on various data sources (Website, Google My Business, Google Assistant).
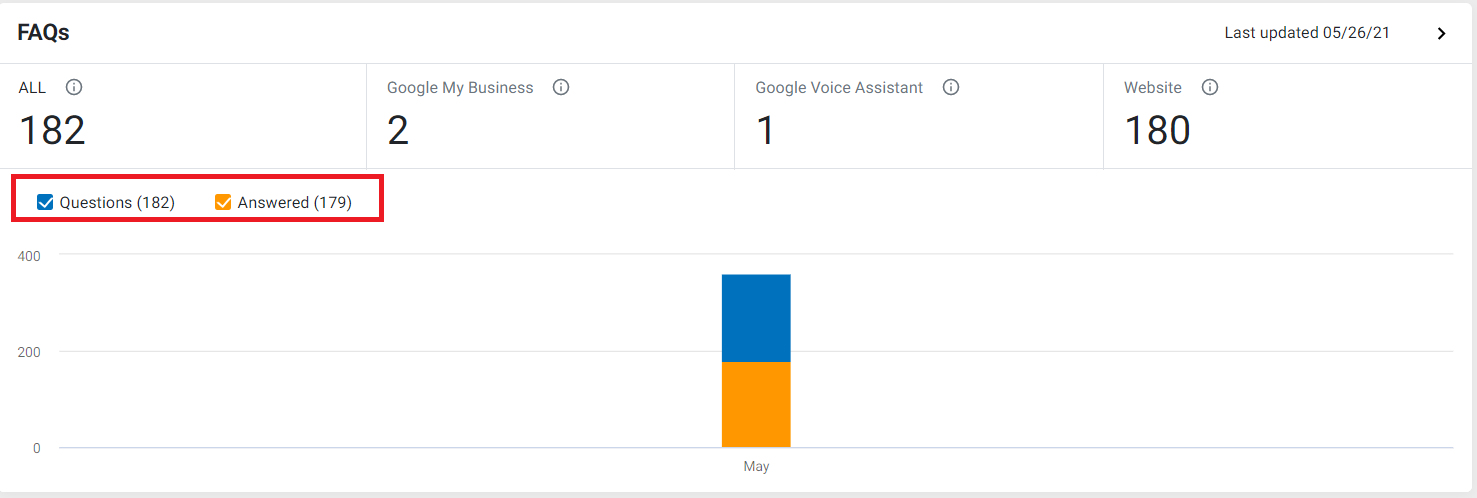
You will also see the total number of Questions and those that have been answered by clicking on each source.
On the following widget, you will see all Q&As that have been crowdsourced, added, or published for the date range selected.
Now, let’s get into what all actions you can carry out on this screen.
Using Q&A filters:
By Q&A status: To start with, click on the ‘filter’ button. As soon you do that, the option to choose a Source, additional ‘All Q&A’, and Manage Category filter will pop up.

Click on the drop-down for ‘Source’ and choose a particular source you wish it to view Q&As from. Click on ‘Apply’ to view Q&As from the selected source.
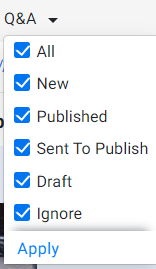
Now click on ‘All Q&A”, and view Q&As based on parameters such as All, New, Published, Sent to Publish, Draft, and Ignore. By choosing and clicking on ‘Apply’ on a certain parameter or Q&A status, only the Q&As that fall under it will be displayed.
Click on the Category drop-down to view Q&As within a category and click on 'Apply'.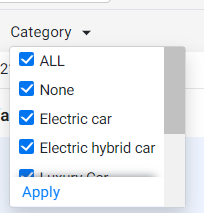
Manage Category:
Using the ‘Manage Category’ button, you can edit the category of the Q&A or add a new category.
Once you have clicked on ‘Manage Category’,
You can choose to add by entering the ‘Category Name’ and clicking on the tick mark. To edit a category name, click on the edit button beside the category.
If you choose to edit an existing category, the FAQs under the edited category will be republished under the new category
Viewing the source of the FAQ and where it has been published
On the top left and right of every question, you will see the source from where the FAQ was added and where it was published.
On the top left is the source from where the FAQ was added, and on the far right top, you will see the source to which the FAQ was published.
Creating an FAQ:
Now, to create a custom question and answer and publish them to sources of your choice, click on the ‘Add Button’ next to the filter button.
Enter your Q&A. If you wish to have formatting options for your FAQ, turn on ‘stylized text or image’. You can now use basic text formatting options as well as insert links and images.
To add more FAQs click on ‘Add FAQ’. If you’re happy with what you see as a preview and wish to save the FAQ[s], click on ‘Save’.
Publish an FAQ:
For Q&As that have been crowdsourced or added, you have the option of publishing them on the Q&A screen. Against the Q&A, click on the publish button.
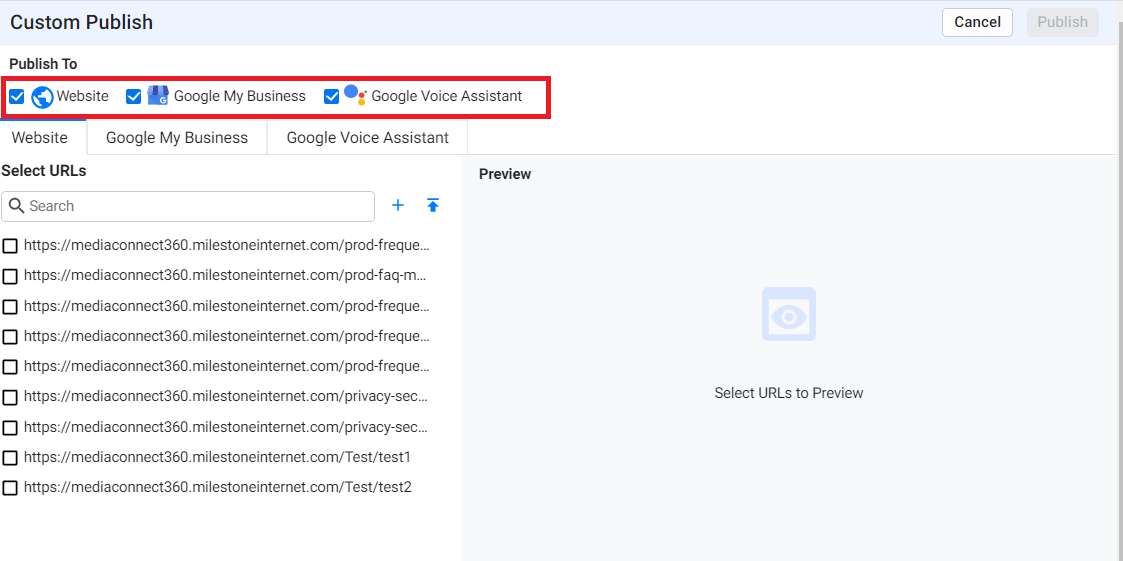
On the ‘Custom Publish’ screen, under ‘Publish to’ you can choose the sources you wish to publish to - Website, Google My Business, Google Voice Assistant. If your choice of publishing source is ‘website’ then select the URLs you wish to publish the FAQ to.
Previewing:
Website:
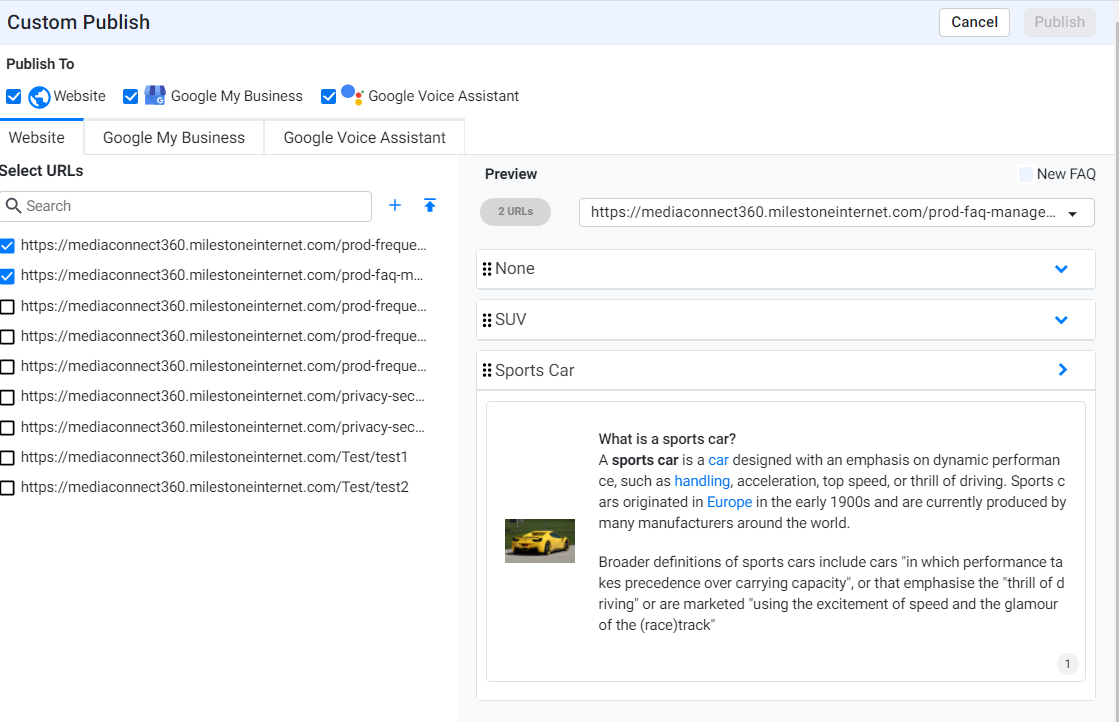
On selecting the URLs, the preview will be displayed. When previewing the website FAQ, on the preview section, click on the URL drop-down to view the URLs that you will be publishing the FAQs to.
Click on the category drop-down to view the FAQs you have selected to publish. All the categories pertaining to the selected URL will be displayed.
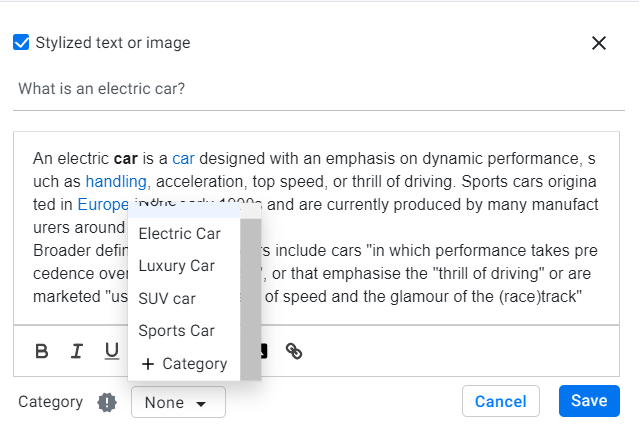
Here you can edit the Q&A as well as change a category or add a new category. Click on ‘Save’ to finalize your changes.
Google My Business:
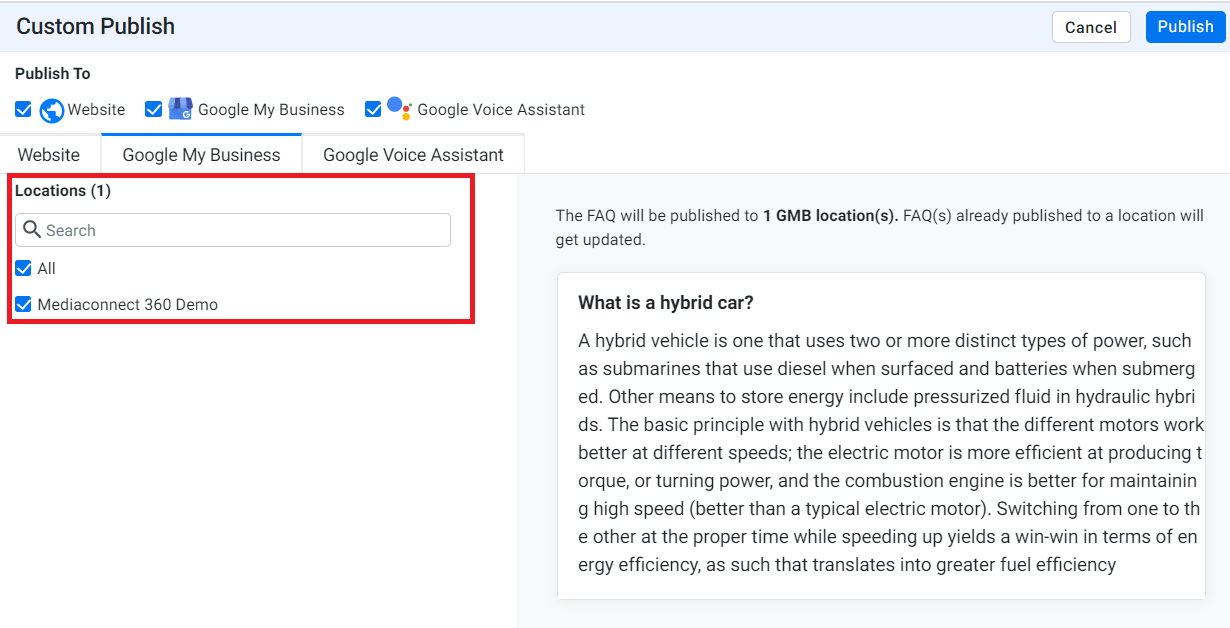
Click on the Google My Business tab to preview the FAQ. Choose the GMB locations you wish to publish the FAQ to and click on the edit button if you wish to edit the FAQ for Google My Business.
Google Voice Assistant:
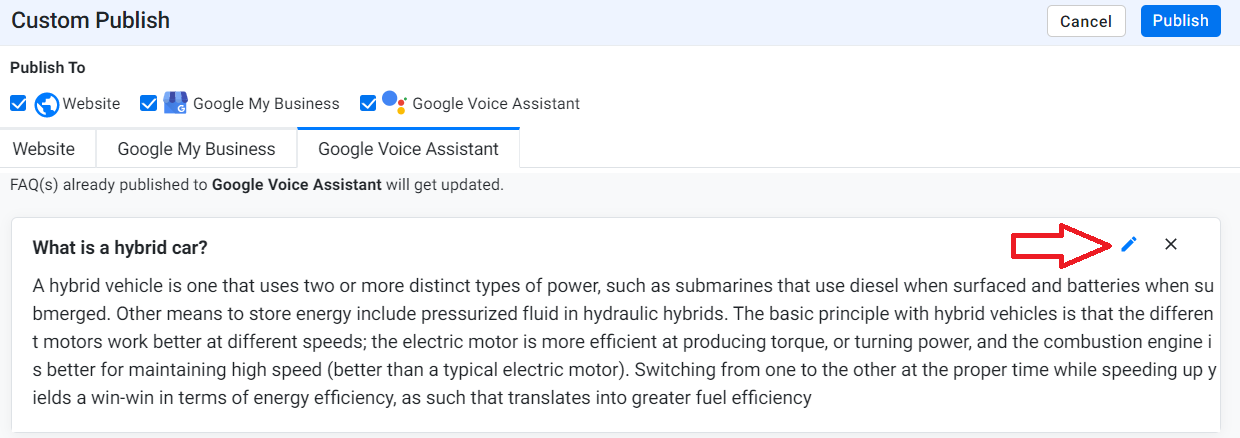
Click on the Google Voice Assistant tab to preview the FAQ that you will be submitting. Click on the edit button to see if your Q&A is exceeding the character limit.
Once you have made all your changes, click on ‘Publish’ to publish the same FAQ to multiple locations and multiple sources – if applicable.
Other functionalities on the Q&A screen:
For the Q&As displayed on the screen, you have the option of choosing to Delete the question by clicking on the 3 dots on the right of the screen by the Q&A.
You also have the option of knowing where the FAQ has been published to. All you need to do is to hover over the icon of the source. In this case, it shows that the Q&A is published on the website.
2. Published tab
Let’s now get into the key functions of the ‘Published’ screen.
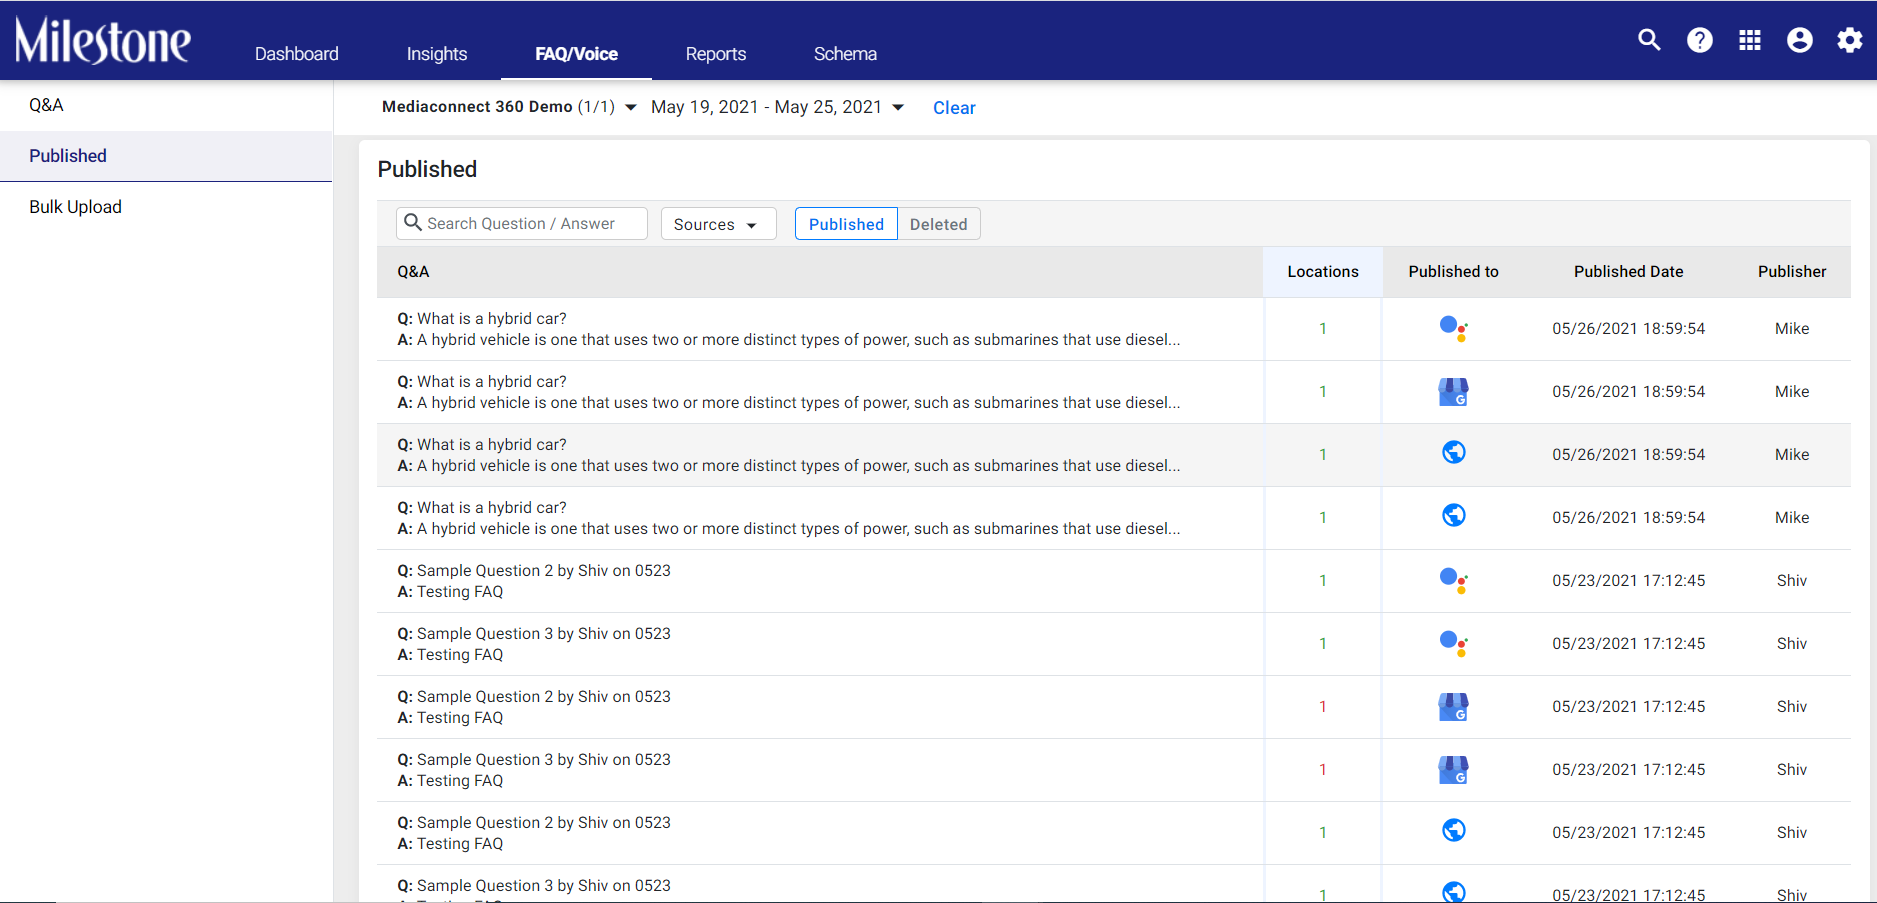
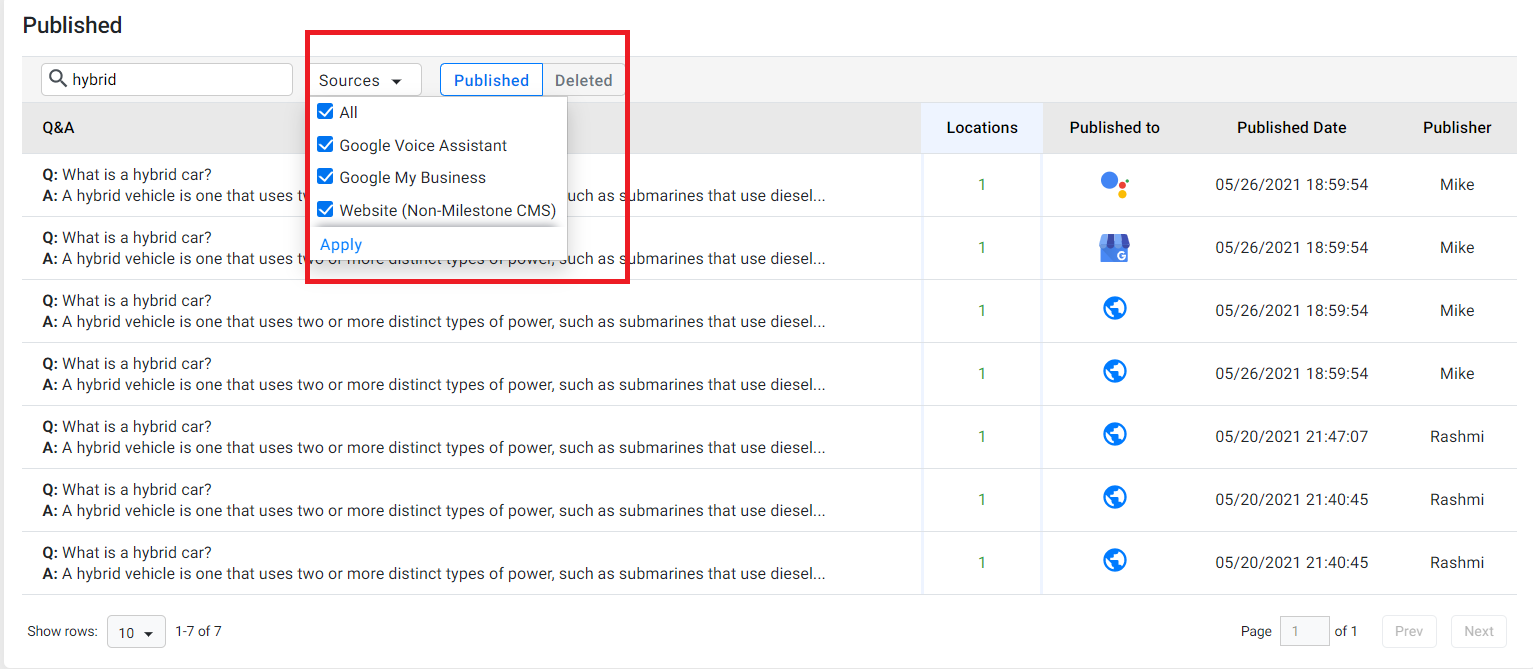
Click on the ‘Published’ tab and you will immediately see the Q&As that have been published. On the table, you will also see the locations that the FAQs have been published to, the published source, date of publishing, and the publisher.
Note: If you chose multiple sources, the FAQ will be published separately for each source. Hence, you will see repetitions of the same Q&A and the different sources that it has been published to.
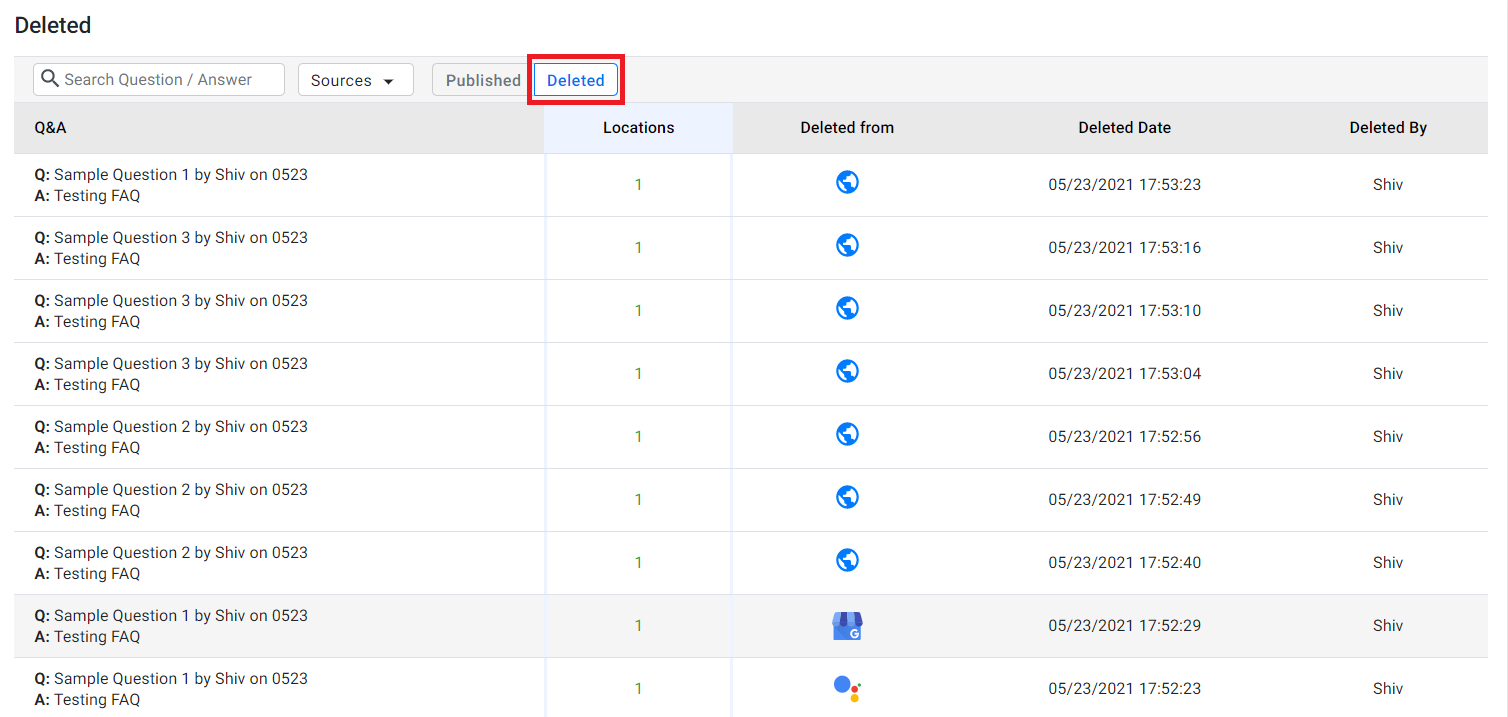
Click on the ‘Deleted’ tab to view all the FAQs that have been deleted.
To filter your search for published FAQs, you have two options:
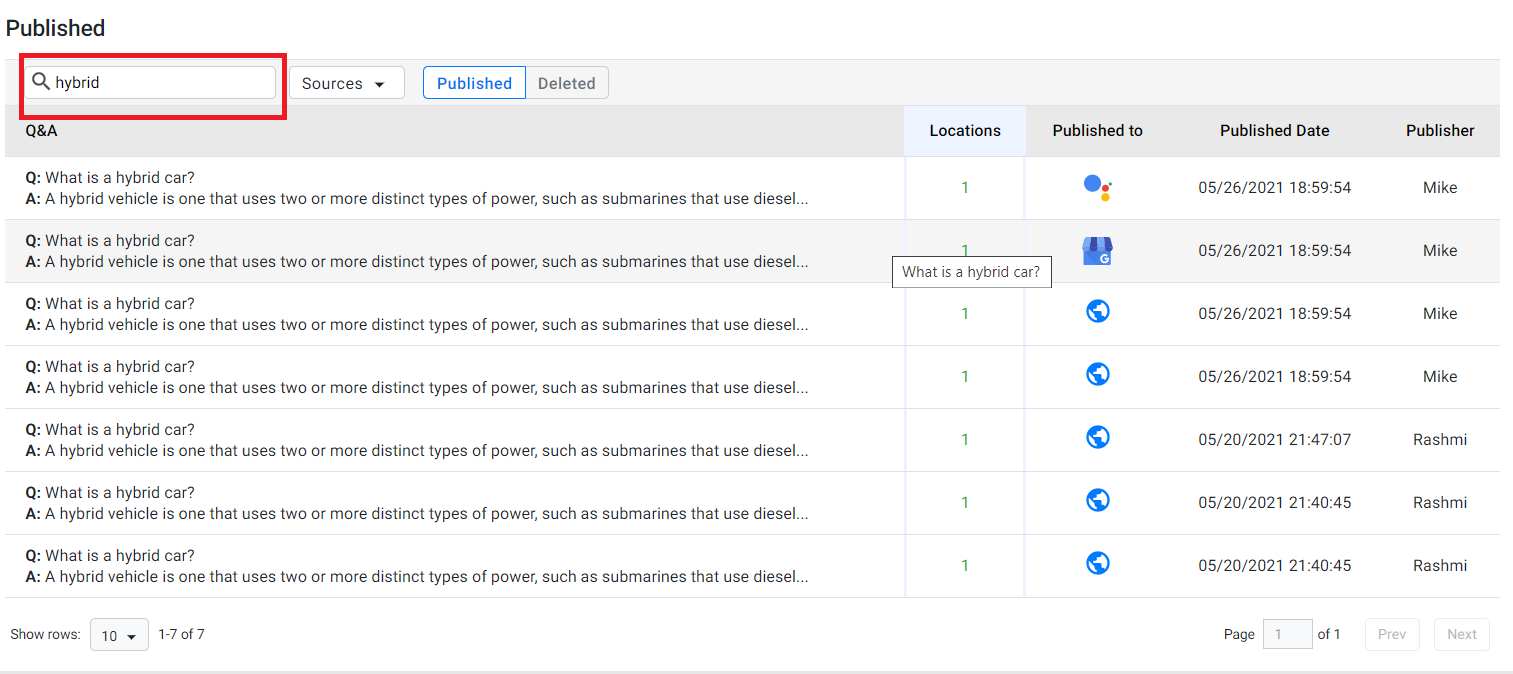
You can use the search bar. Type in a keyword.
Use the sources drop-down to filter published FAQs based on their sources.
3. Bulk Upload tab
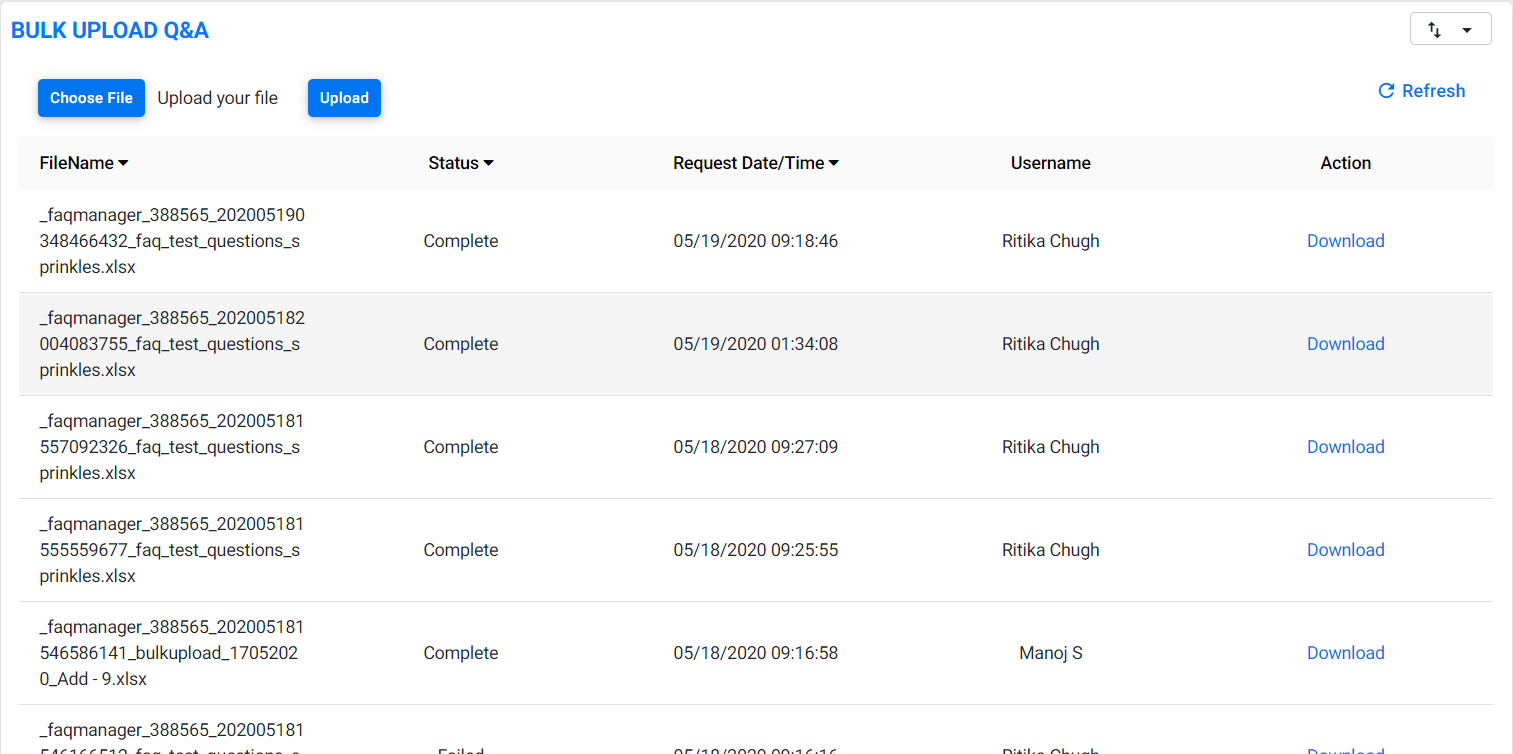
By clicking on the ‘Bulk Upload’ tab you will see all the Q&A files that you have uploaded and their uploaded status.
Uploading FAQs in bulk:
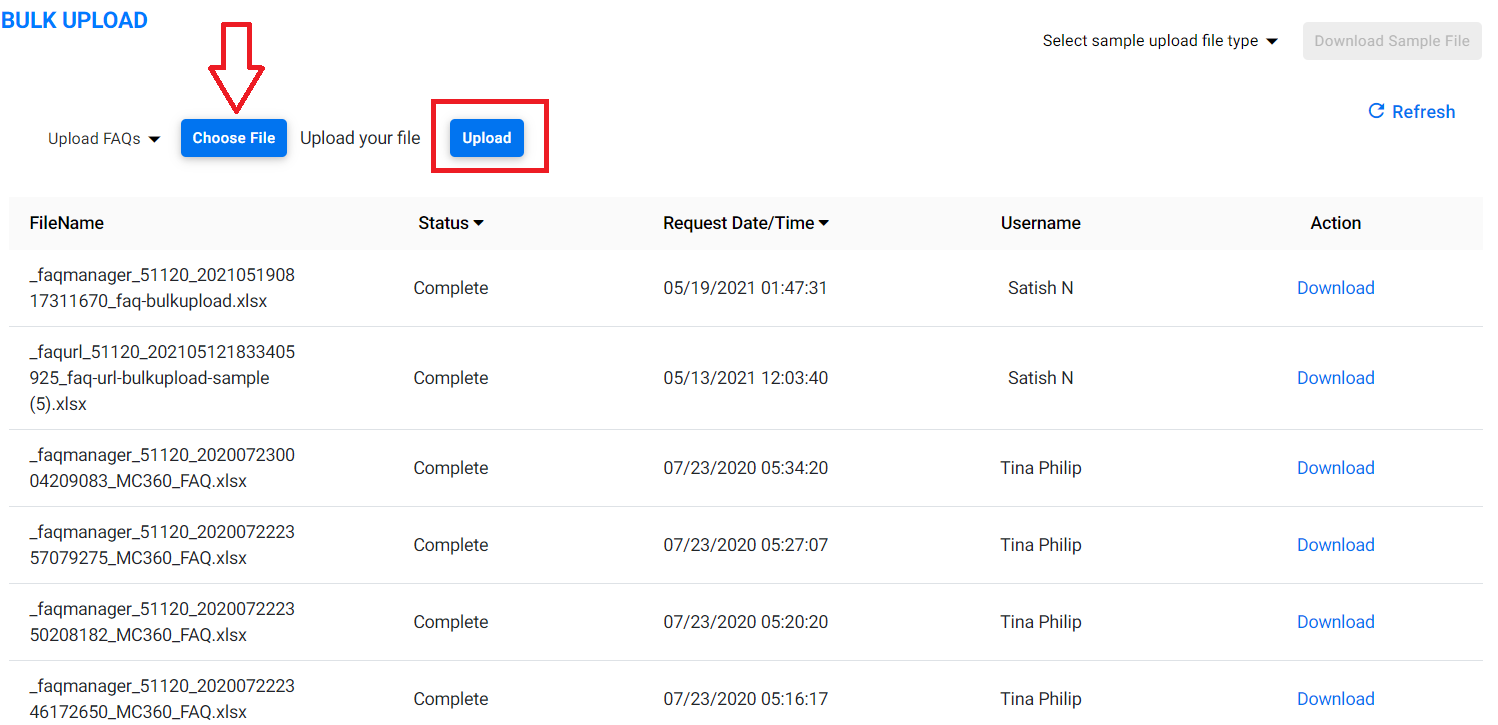
To upload Q&As in bulk, click on the ‘Select upload file type’ drop-down and choose ‘Upload FAQs’.
Next, click on ‘Choose File’, choose the file and click on ‘Upload’.
On the upload file, you can choose whether you wish to add FAQs (to the Q&A tab), publish the FAQs in bulk or delete FAQs.
Once you upload the file, click on the ‘Refresh button to see the file on the screen.
Once the upload is complete, you will see it under the ‘Status’ as Complete, the Request Date and Time under the next column, the user that carried out the Bulk upload, and the Action - whether you wish to download the file.
Uploading URLs:
Instead of adding website URLs manually to publish FAQs to, you can choose to upload URLs in bulk.
To upload URLs in bulk, click on the ‘Select upload file type’ drop-down and choose ‘Upload URLs’.
Once you upload the file, click on the ‘Refresh button to see the file on the screen.
Once the upload is complete, you will see it under the ‘Status’ as Complete, the Request Date and Time under the next column, the user that carried out the Bulk upload, and the Action - whether you wish to download the file.
Recommended: Use the download sample file
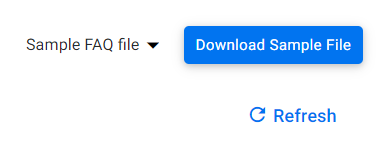
Click on the ‘select sample upload file type’ drop-down and choose the same file you wish to download.
Then click on ‘Download sample file’.
Enter the details – FAQs or URLs – in the sample file and then upload to ensure the upload is successful and there are no issues. For the FAQ sample file, make sure you specify your action – if you wish to add, publish or delete the FAQs in bulk.
