Configuración de perfil
En la pestaña Configuración del perfil, los usuarios del perfil comercial pueden habilitar configuraciones destinadas a la ubicación que se ha heredado de la configuración comercial.
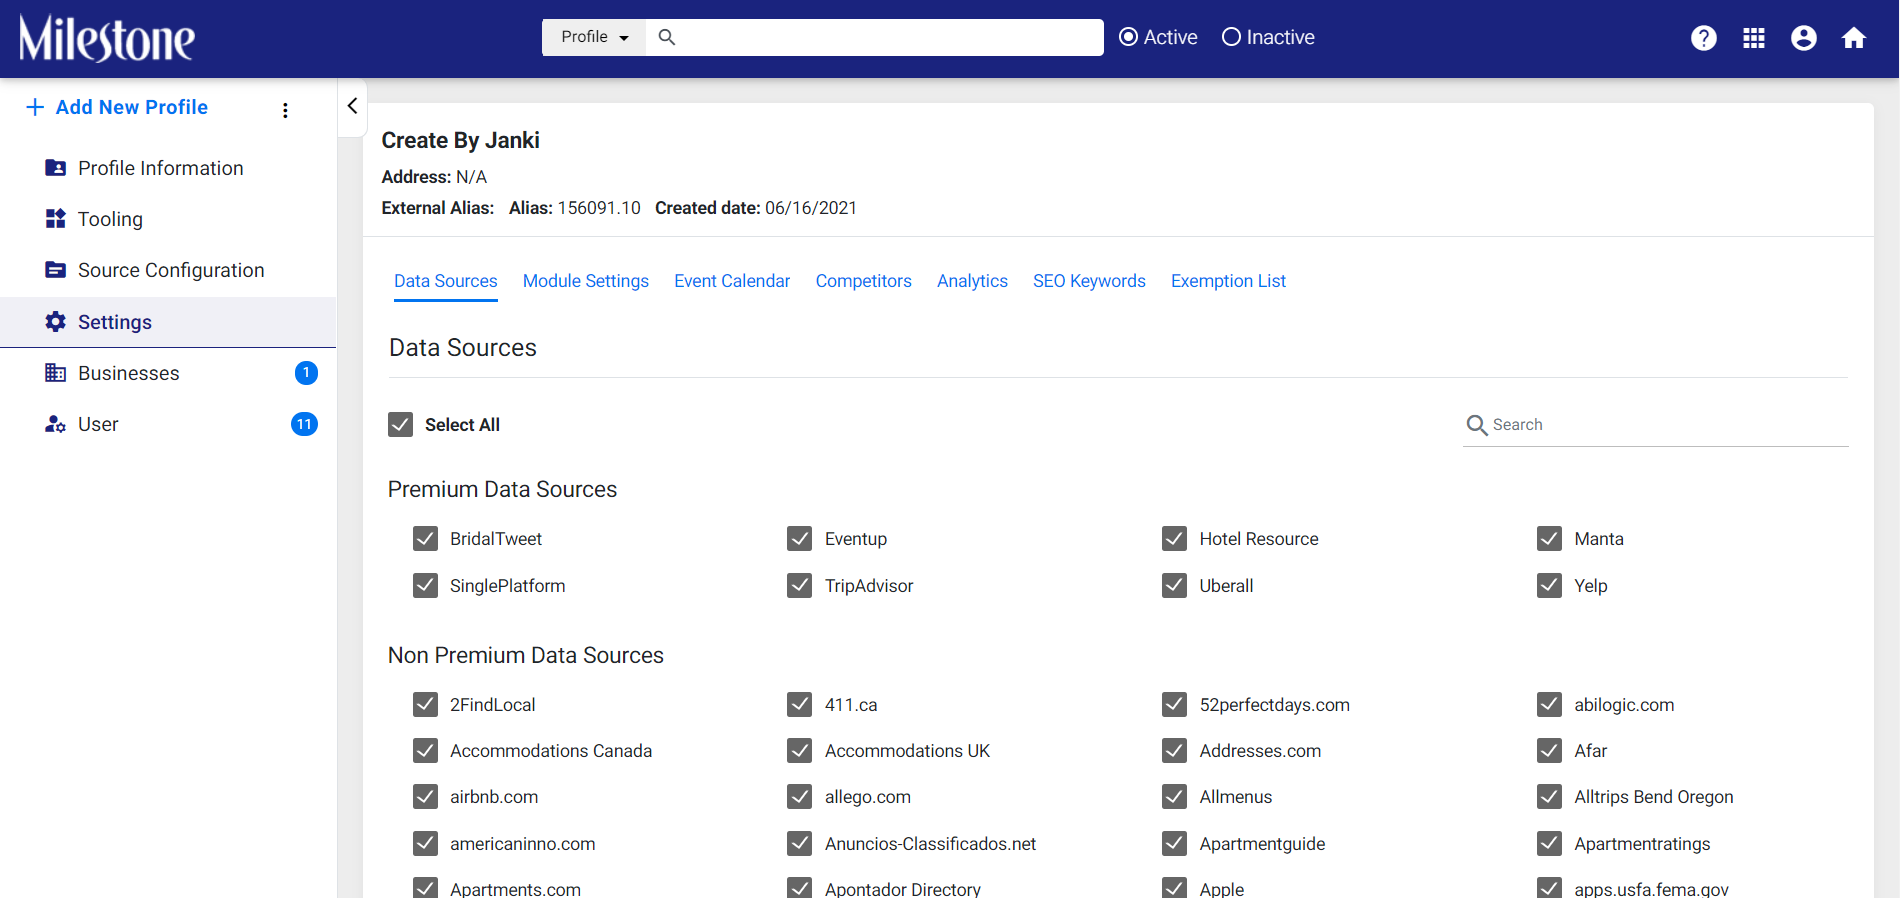
Fuentes de datos
Aquí, el usuario puede habilitar o deshabilitar fuentes de datos para el perfil que se han heredado de la empresa. Hay dos conjuntos de fuentes de datos.
- Fuentes de datos premium: fuentes de datos que se pueden habilitar por una tarifa o suscripción
- Fuentes de datos no premium: fuentes de datos no facturables
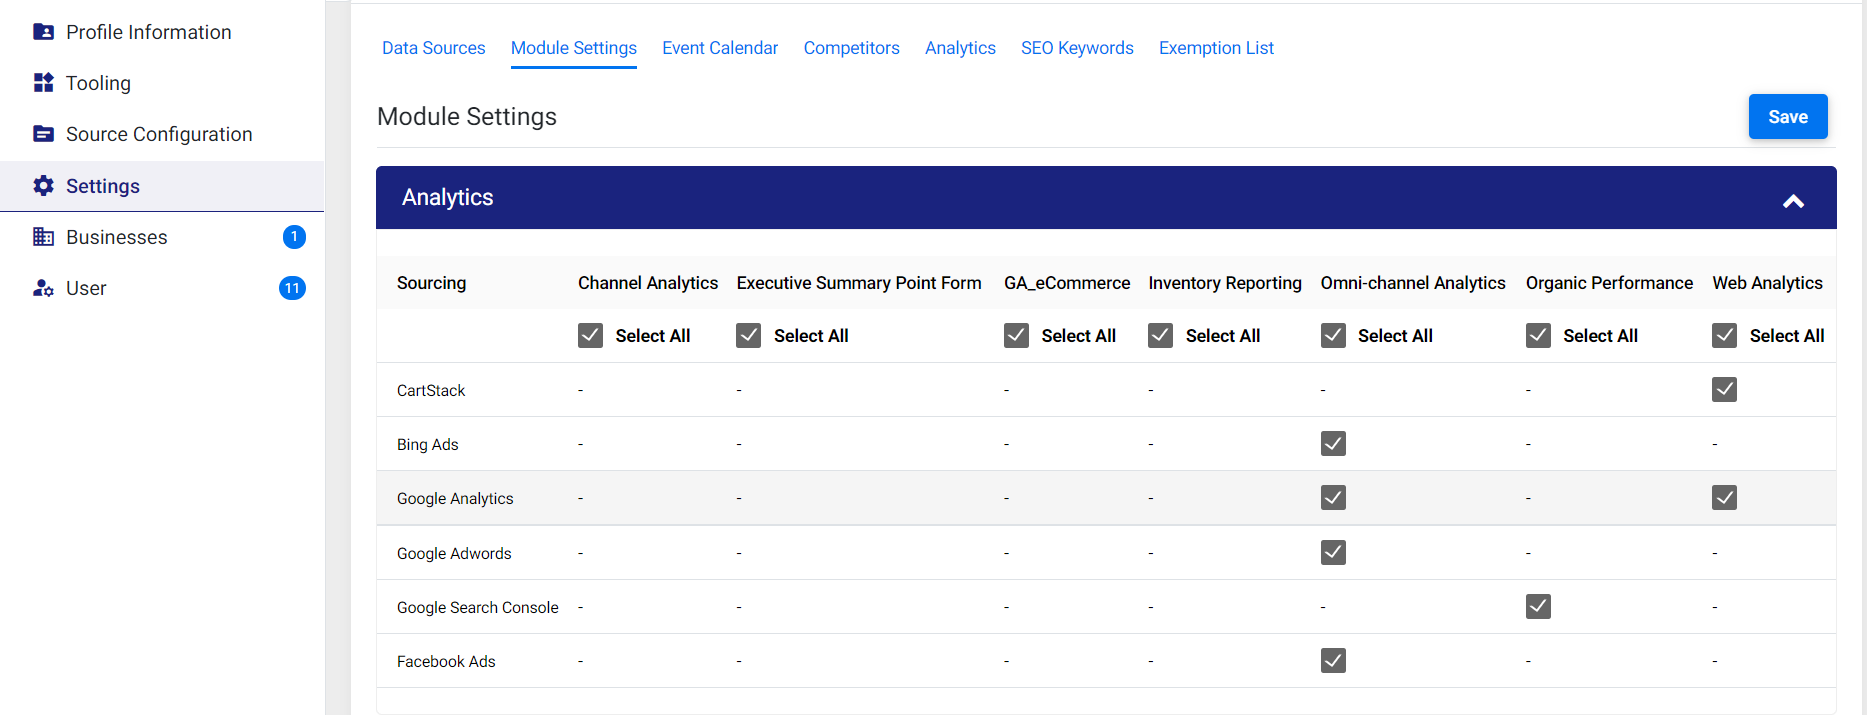
Configuración del módulo
Para algunas de las fuentes de datos, se pueden realizar múltiples operaciones al sincronizar datos entre la fuente de datos comerciales y los productos de hitos, y al usar la pestaña de configuración del módulo, el usuario del perfil comercial puede elegir qué fuente de datos y qué producto de hitos deben sincronizarse. Haga clic en guardar, una vez que haya seleccionado la fuente de datos que se seleccionará para la función habilitada en el nivel empresarial.
Calendario de eventos
Con esta opción, el usuario puede definir la configuración del calendario de eventos en Milestone CMS. El usuario puede elegir el:
- Configuración de eventos:
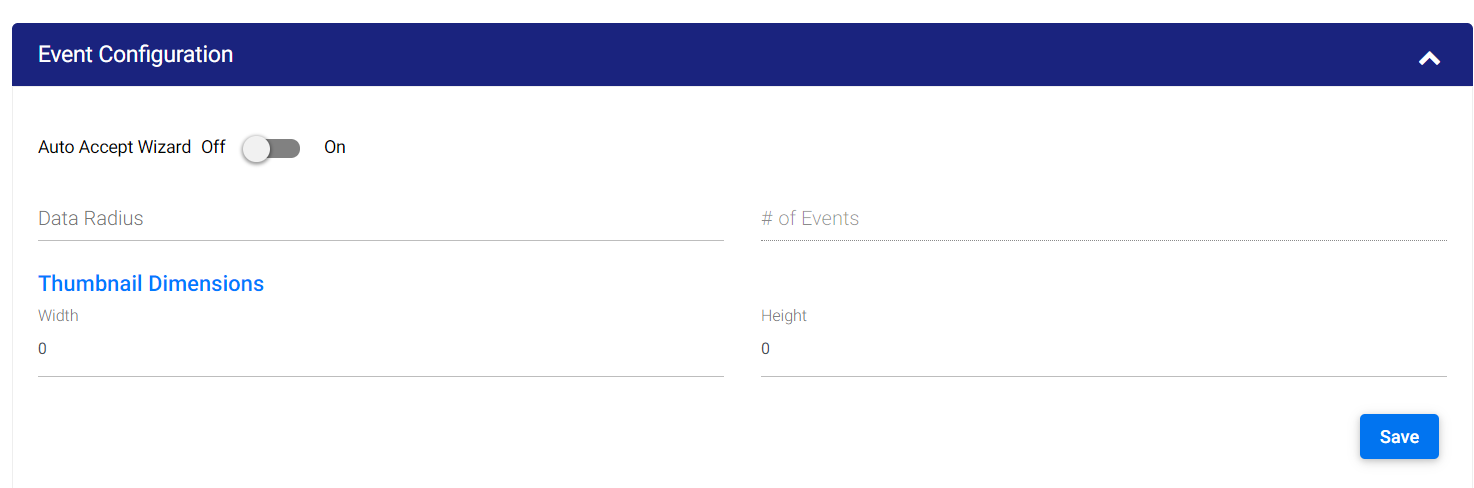
- Activar/desactivar el asistente de aceptación automática, que es básicamente el asistente de eventos destacados que extrae los eventos que ocurren alrededor de la propiedad comercial
- Radio de datos: la proximidad de los eventos que ocurren alrededor de la propiedad comercial
- Dimensión de la miniatura (alto y ancho del banner del evento): para que se muestre la imagen del evento
Categoría de evento
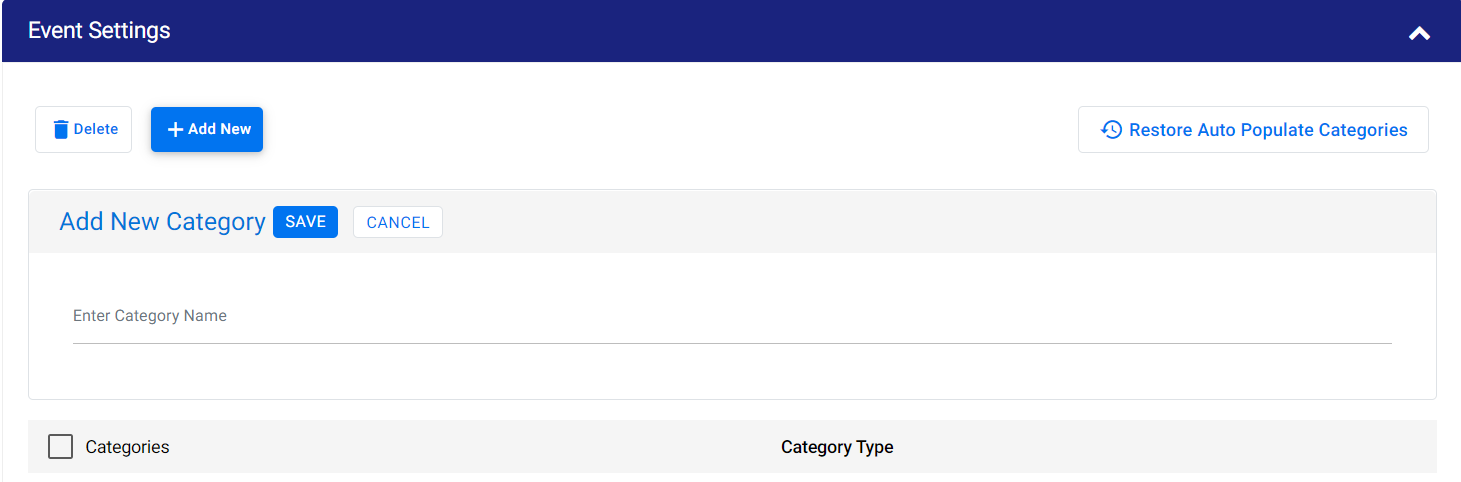
Los usuarios pueden crear una nueva categoría de evento que se puede elegir al configurar un evento. Haga clic en 'Guardar' una vez que se haya agregado una nueva categoría
Los usuarios pueden restaurar y completar automáticamente la categoría de evento predeterminada.
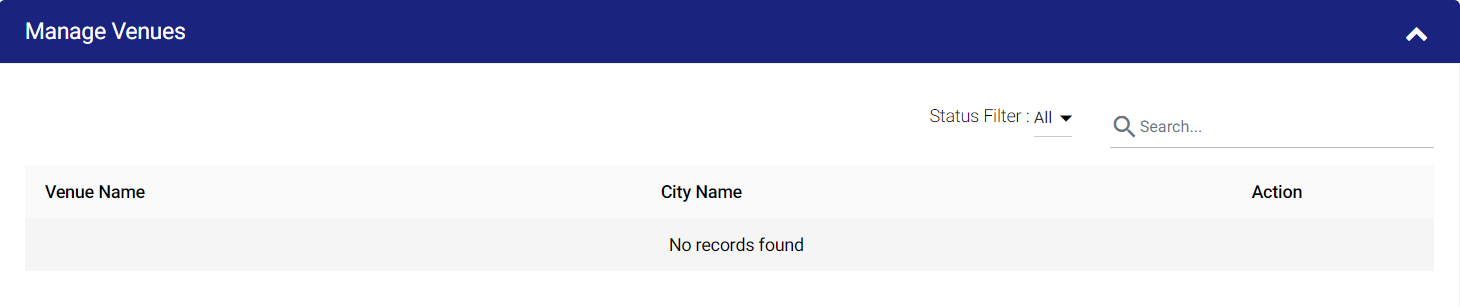
Administrar lugar : los usuarios deben poder seleccionar el lugar del evento de la lista que se les dará como opción al configurar un evento.
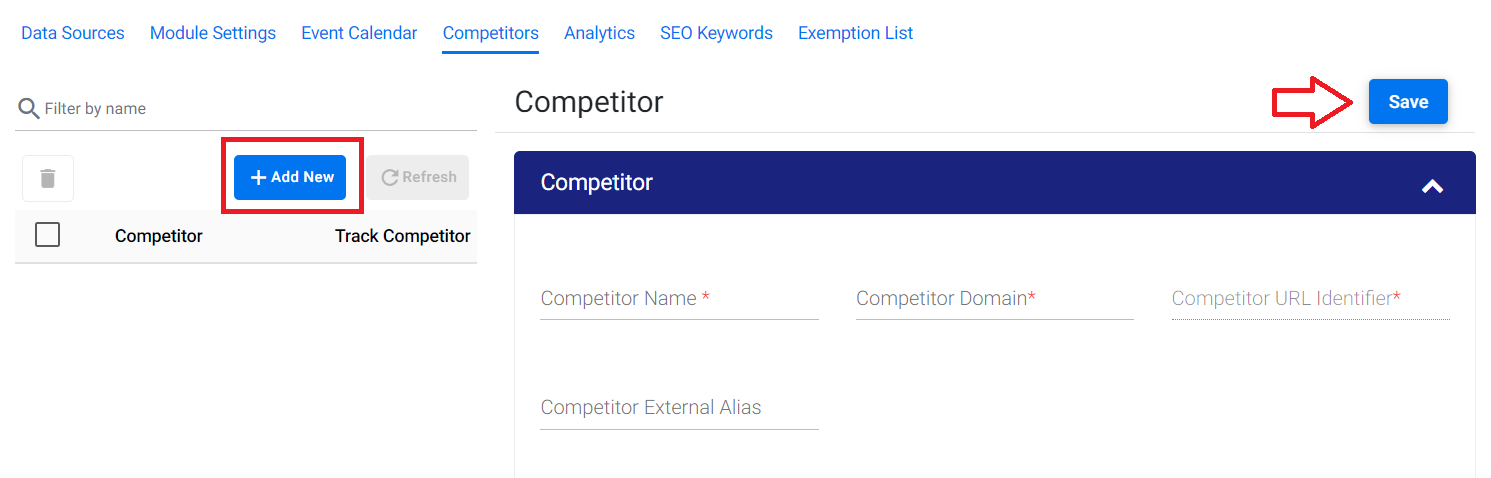
Competidores
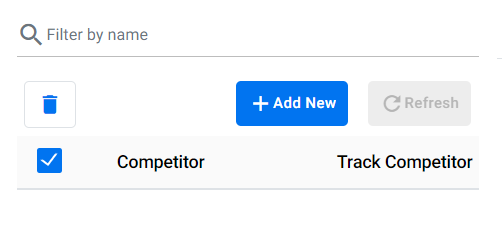
En esta pestaña, puede ingresar los detalles del competidor para el negocio. A nivel comercial, puede elegir la cantidad de competidores que desea rastrear.
Los usuarios deberían poder agregar detalles de la competencia, ya sea 3 o 5 detalles de la competencia, según lo configurado en la página de herramientas comerciales. Para agregar un competidor, haga clic en 'Agregar nuevo' y luego haga clic en 'Guardar'.
Luego, el usuario debe agregar detalles mientras agrega competidores, como el nombre del competidor, la ubicación y las URL de fuentes de datos recomendadas junto con identificaciones únicas para rastrear el rendimiento de los competidores en varias plataformas sociales.
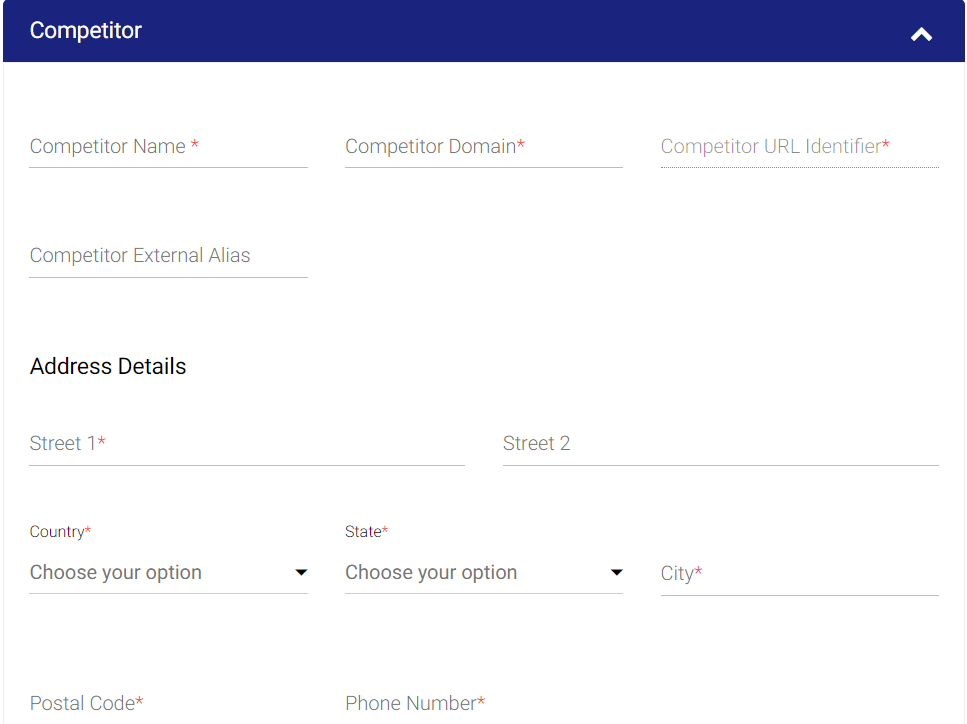
Ingrese la URL y la ID única de las diversas plataformas sociales para rastrear el desempeño de la competencia. 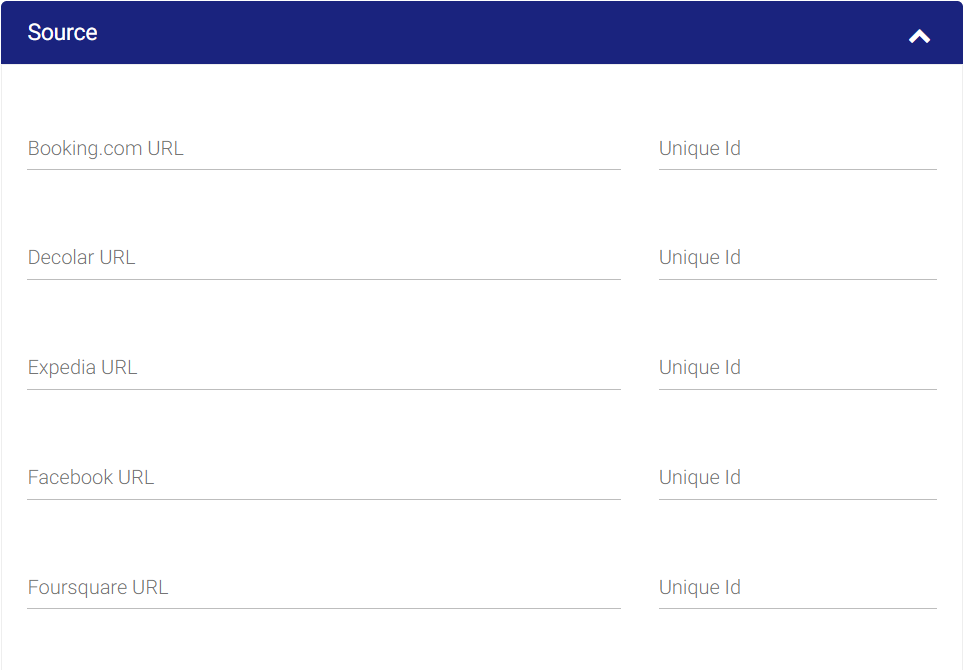
El usuario puede habilitar/deshabilitar el seguimiento de competidores, eliminar competidores o agregar competidores.
Analítica
En la pestaña 'Análisis', el usuario puede decidir cómo desea rastrear los datos de su sitio web. Hay 3 secciones debajo de esta pestaña:
Analítica
Aquí el usuario puede decidir cómo desea realizar un seguimiento de los clientes potenciales de su sitio web, como una categoría de evento o en función de los objetivos.
Si se elige 'Categoría de evento', el usuario debe establecer el rango de fechas y luego nombrar la categoría de evento para el seguimiento. Haga clic en el botón 'Categoría de evento' para agregar una nueva categoría.
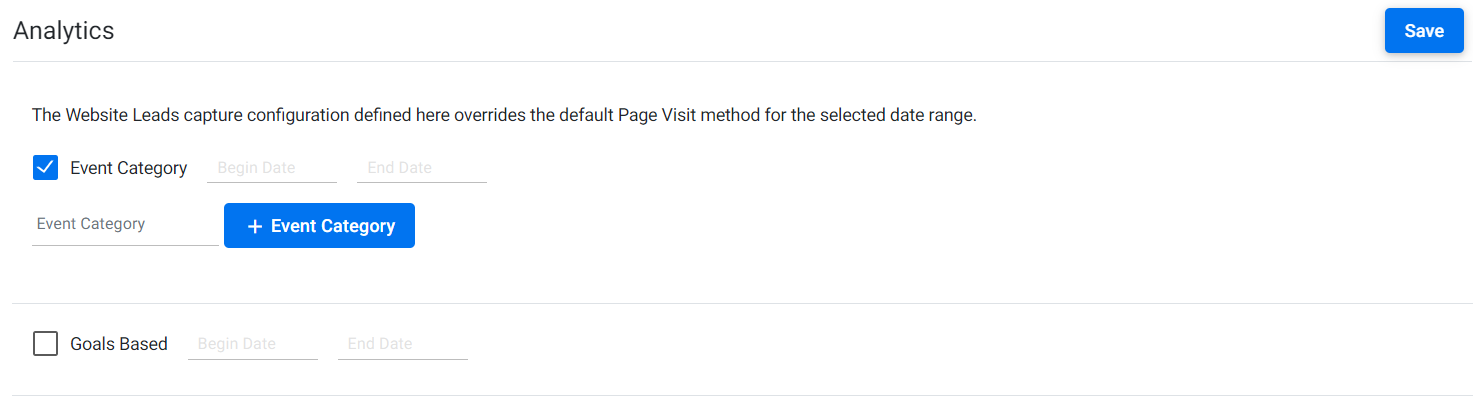
El usuario también puede optar por realizar un seguimiento de los clientes potenciales del sitio web como objetivos. Aquí también, ingrese el rango de fechas y haga clic en "Objetivo" para rastrear los clientes potenciales del sitio web como objetivos.
Nota: Tanto la categoría del evento como los objetivos se pueden rastrear juntos siempre que el rango de fechas sea diferente.
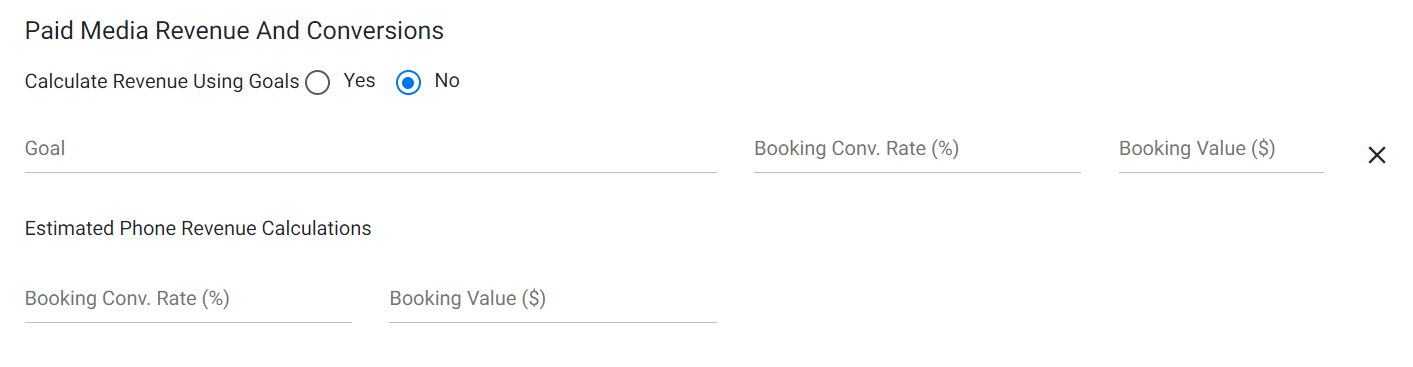
- Conversión de medios pagados
Esta sección se aplica a las empresas que ejecutan campañas de medios pagados. Con los datos extraídos de Google Analytics, el usuario puede configurarlo para calcular el valor en dólares del objetivo, así como los ingresos por teléfono o llamadas.
- Extracción de datos:
Aquí puede optar por extraer datos de múltiples fuentes para el módulo de análisis. Si bien esto se hace automáticamente, puede usar esta opción si hay una brecha en los datos. En el menú desplegable 'Seleccionar una fuente', elija una fuente de la que desea extraer datos, haga clic en 'Enviar nueva solicitud', ingrese la fecha de inicio y finalización para la extracción de datos y haga clic en 'Enviar' para comenzar a extraer datos.

Palabras clave SEO
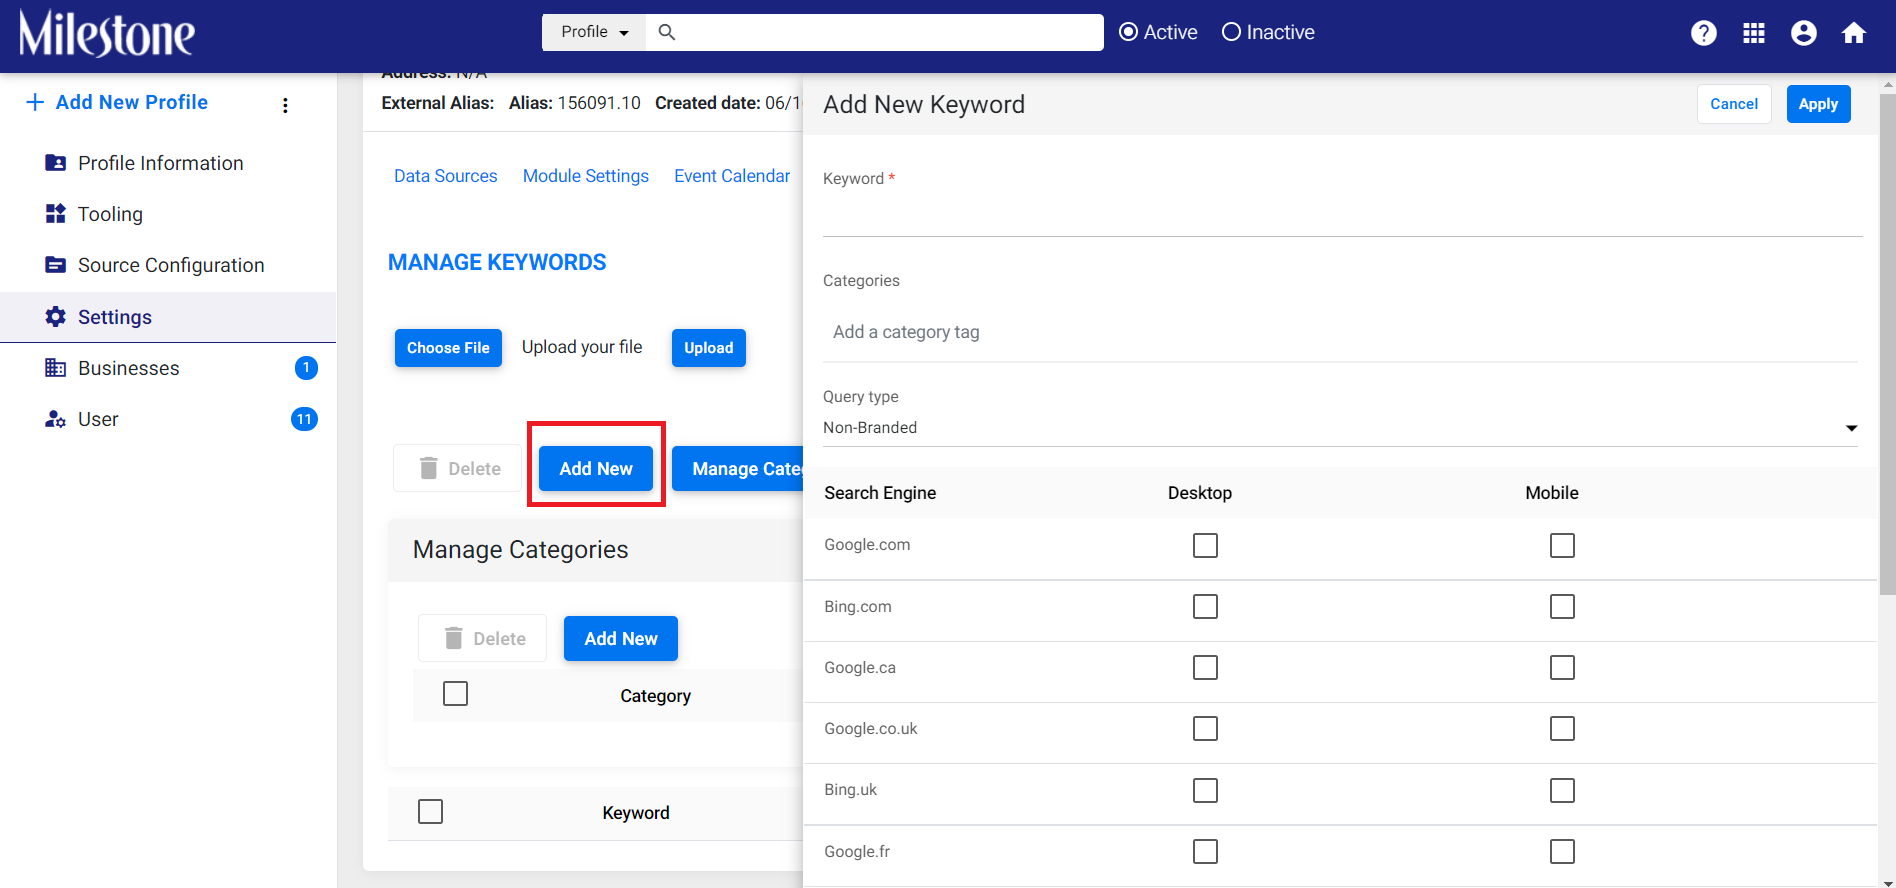
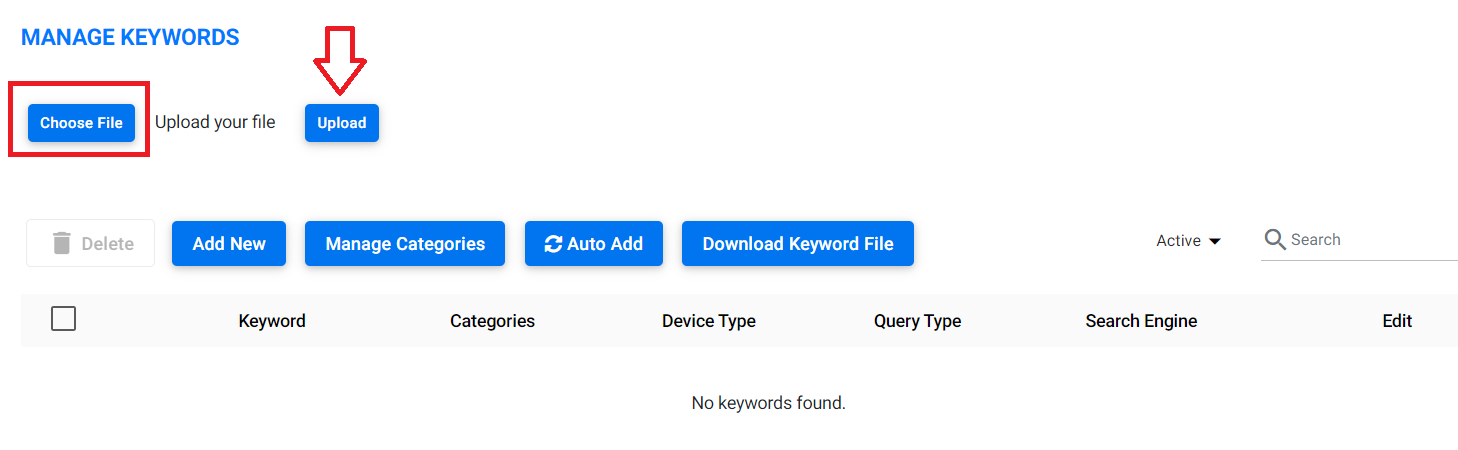
En la pestaña 'Palabras clave de SEO', los usuarios pueden optar por cargar en bloque o agregar palabras clave de SEO relacionadas con la propiedad comercial.
- El usuario debe poder agregar palabras clave recomendadas para SEO y marketing digital haciendo clic en el botón 'Agregar nuevo'. Ingrese la palabra clave, categoría, elija el motor de búsqueda o el canal social y el tipo de dispositivo (de escritorio o móvil).
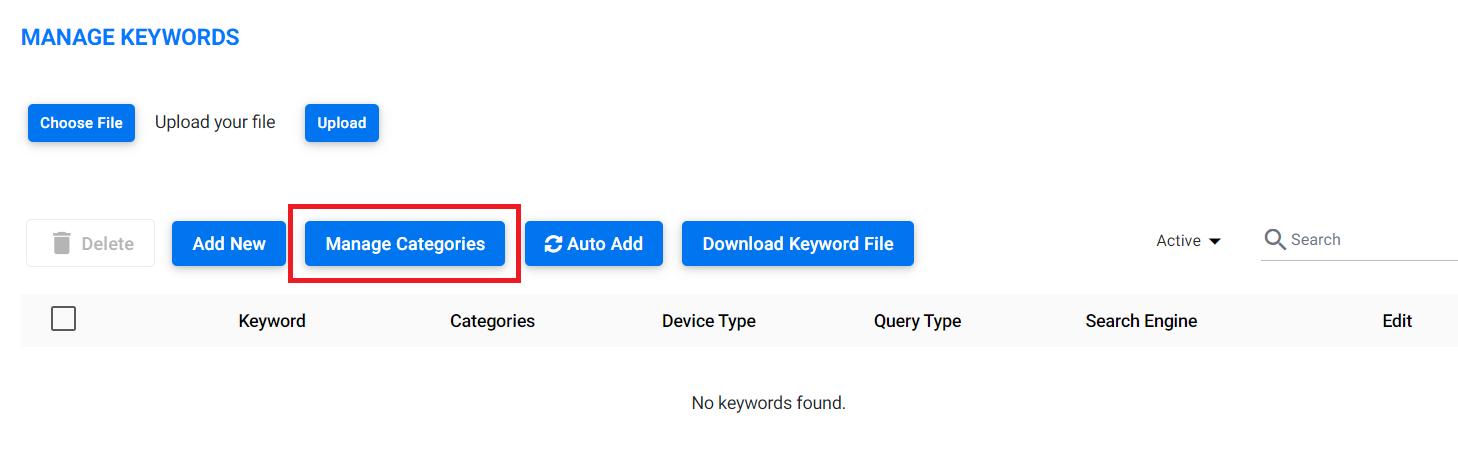
- Al hacer clic en 'Administrar categoría', los usuarios pueden administrar sus categorías de palabras clave.
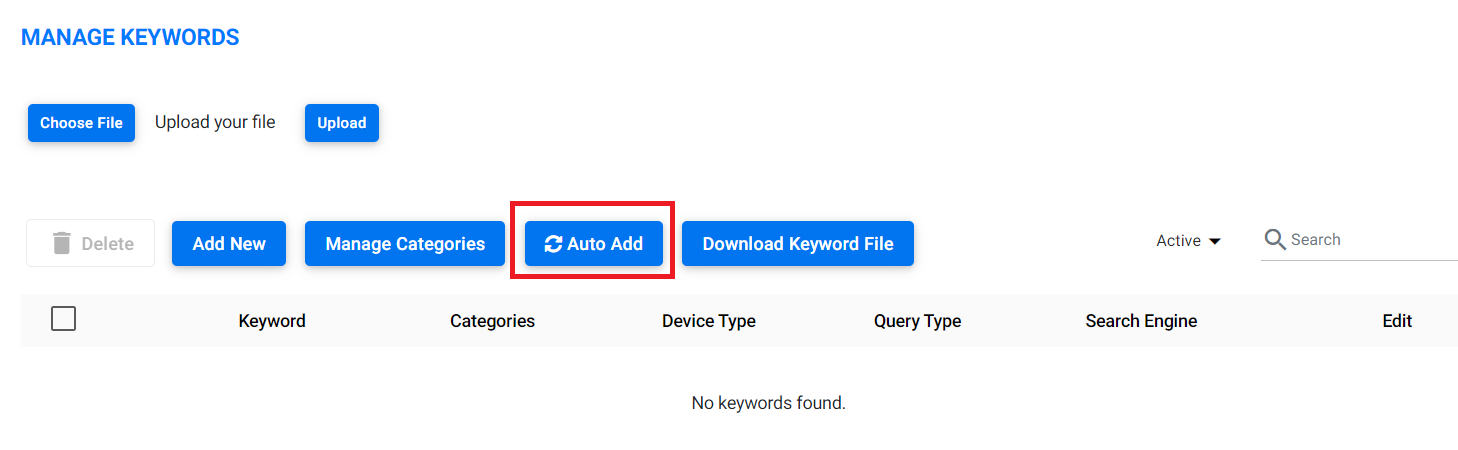
- Al hacer clic en 'Agregar automáticamente', los usuarios pueden encontrar automáticamente palabras clave para la URL del perfil comercial enviado.
- El usuario también puede descargar un archivo de palabras clave, que es un archivo de muestra para cargar palabras clave de forma masiva.
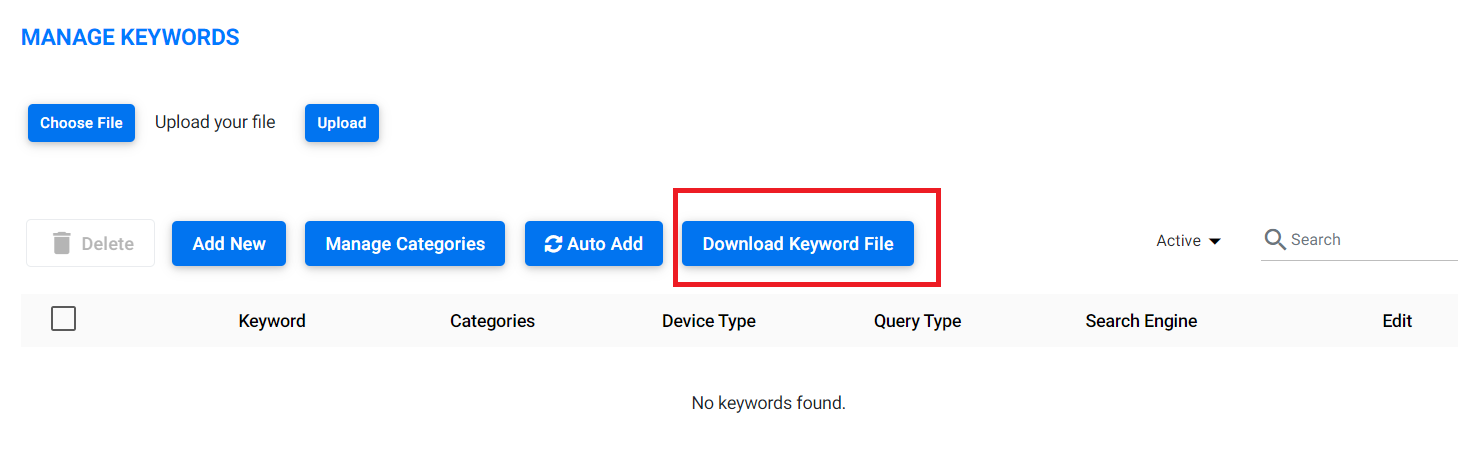
- El usuario también puede actualizar las palabras clave con la carga masiva del archivo de palabras clave. Después de ingresar los detalles de la palabra clave, como palabras clave, categoría, tipo de dispositivo, tipo de consulta, motor de búsqueda, etc., haga clic en 'Elegir archivo' y haga clic en 'Cargar' para cargar palabras clave de forma masiva.
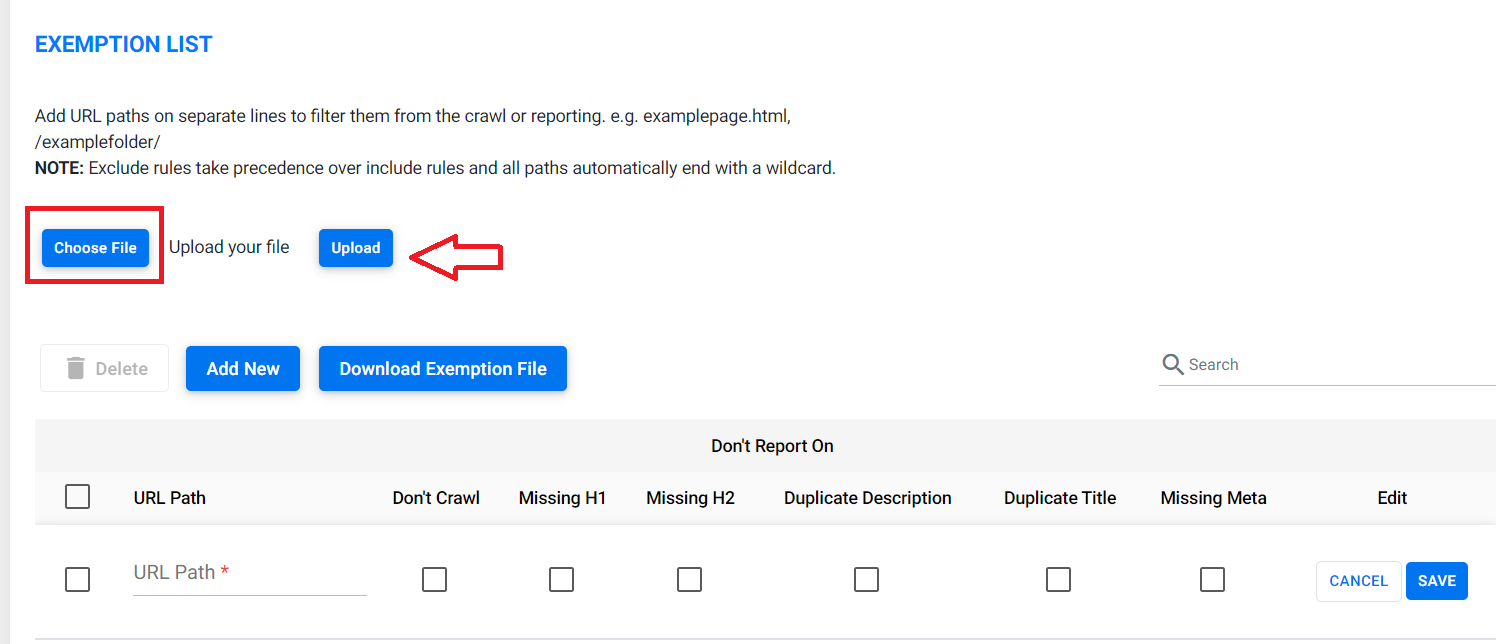
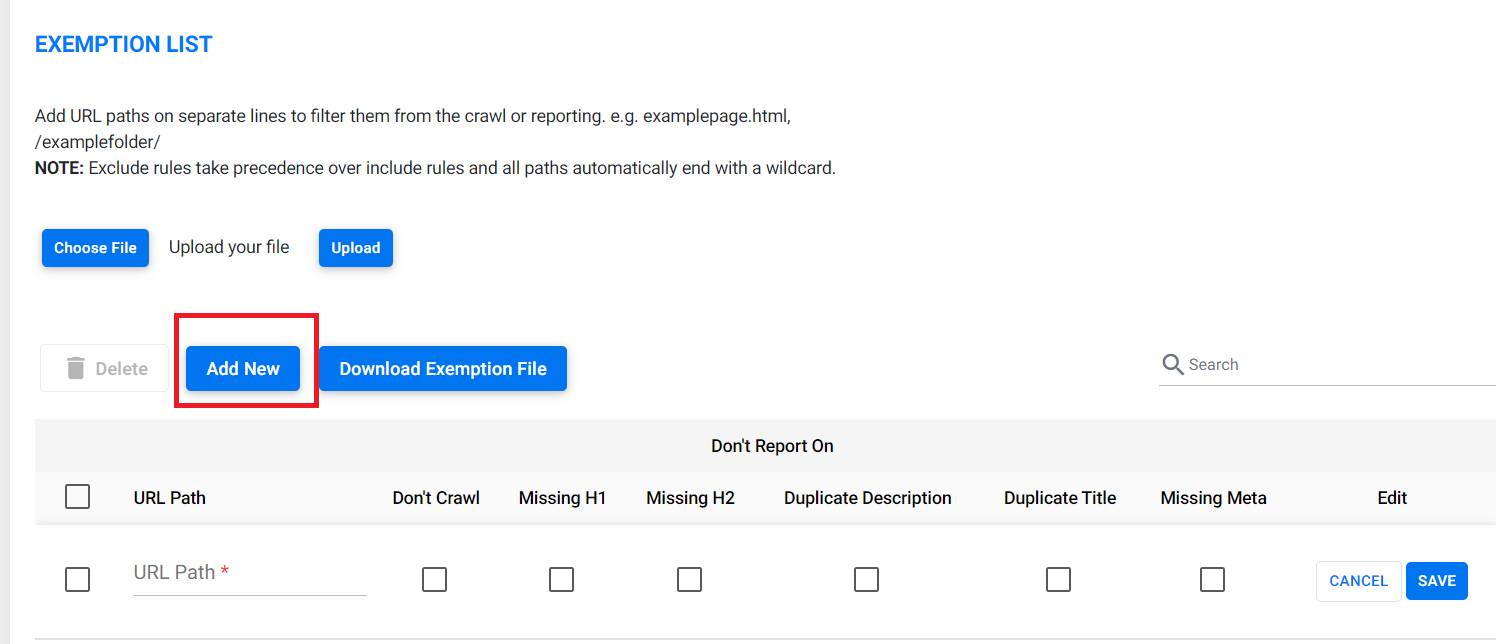
Lista de exenciones
Esta pestaña le permite al usuario verificar la estructura del contenido de sus páginas web. Los usuarios pueden agregar una URL manualmente haciendo clic en el botón 'Agregar nuevo' y luego ingresar la ruta de la URL y, si es necesario, seleccionar los criterios para el informe.
Del mismo modo, los usuarios pueden descargar el archivo de muestra para cargar URL de forma masiva haciendo clic en 'Descargar archivo de exención'.
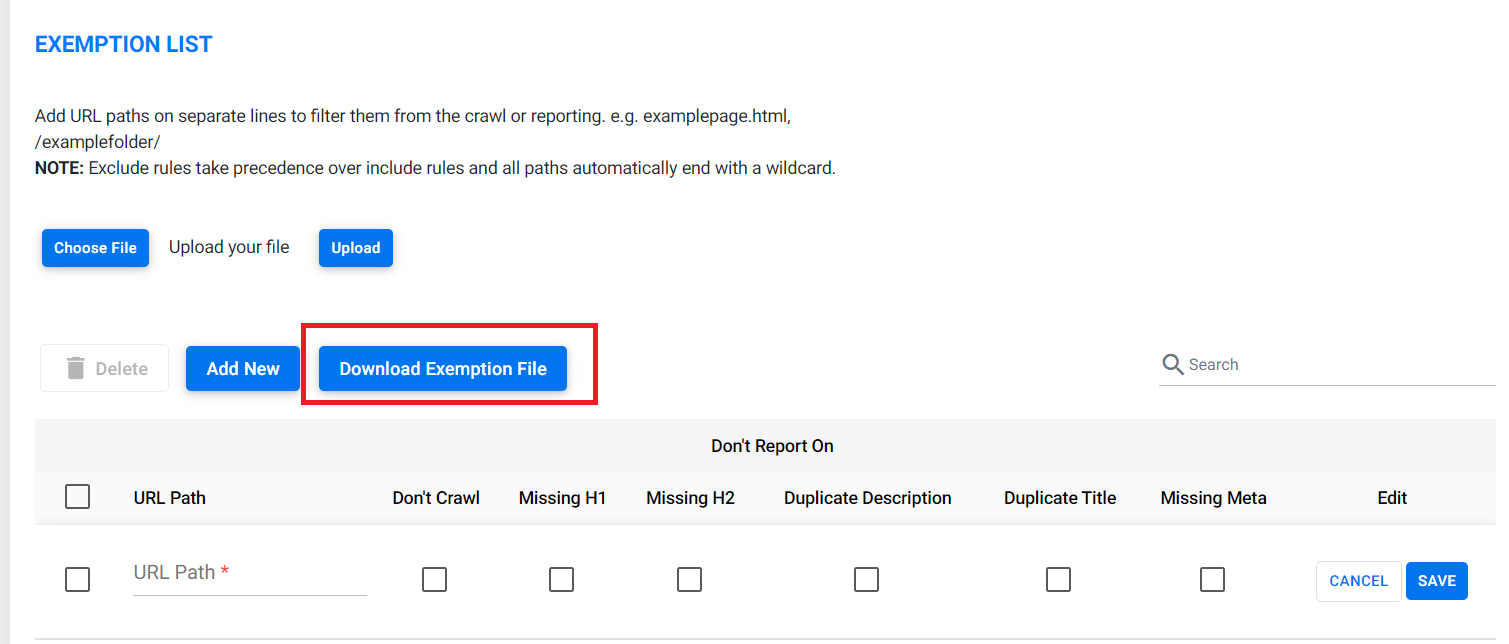
Para cargar las URL de forma masiva, haga clic en 'Elegir archivo' y haga clic en 'Cargar'.