Creating an article with SEO best practices
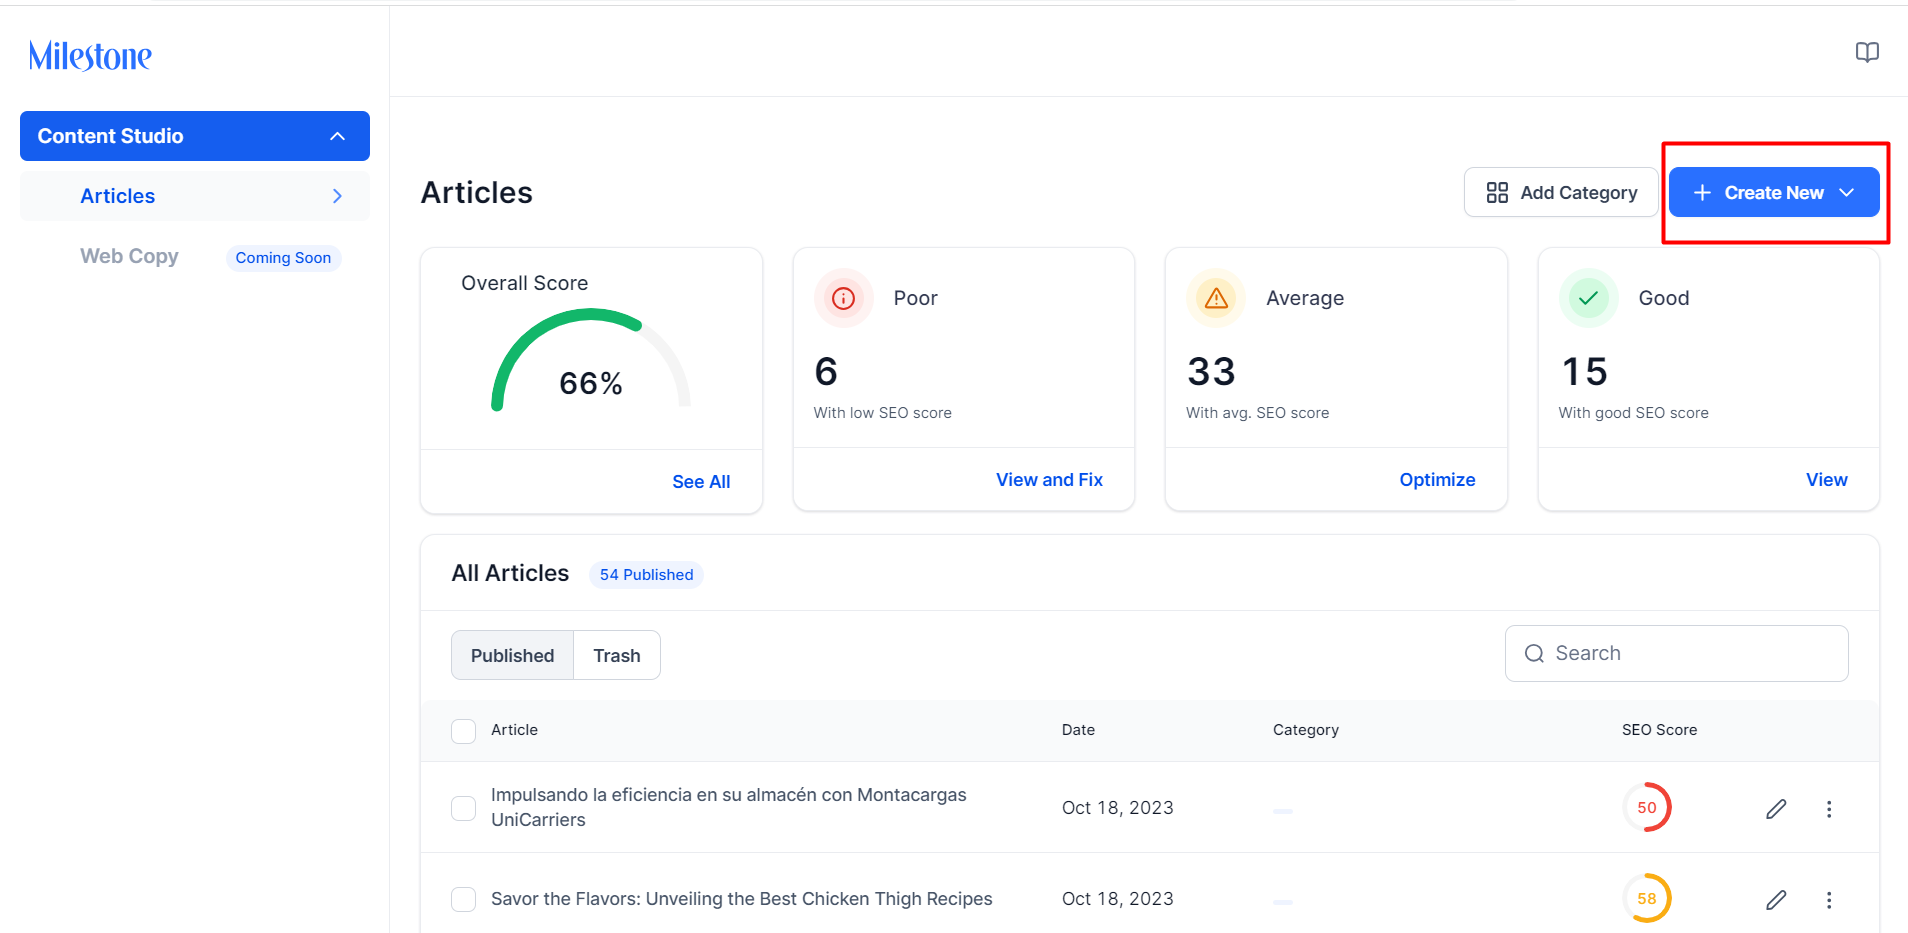
Step 1: To start creating a new post click on ‘Create New Post’ at the top right of the screen if you're on the Articles Dashboard.
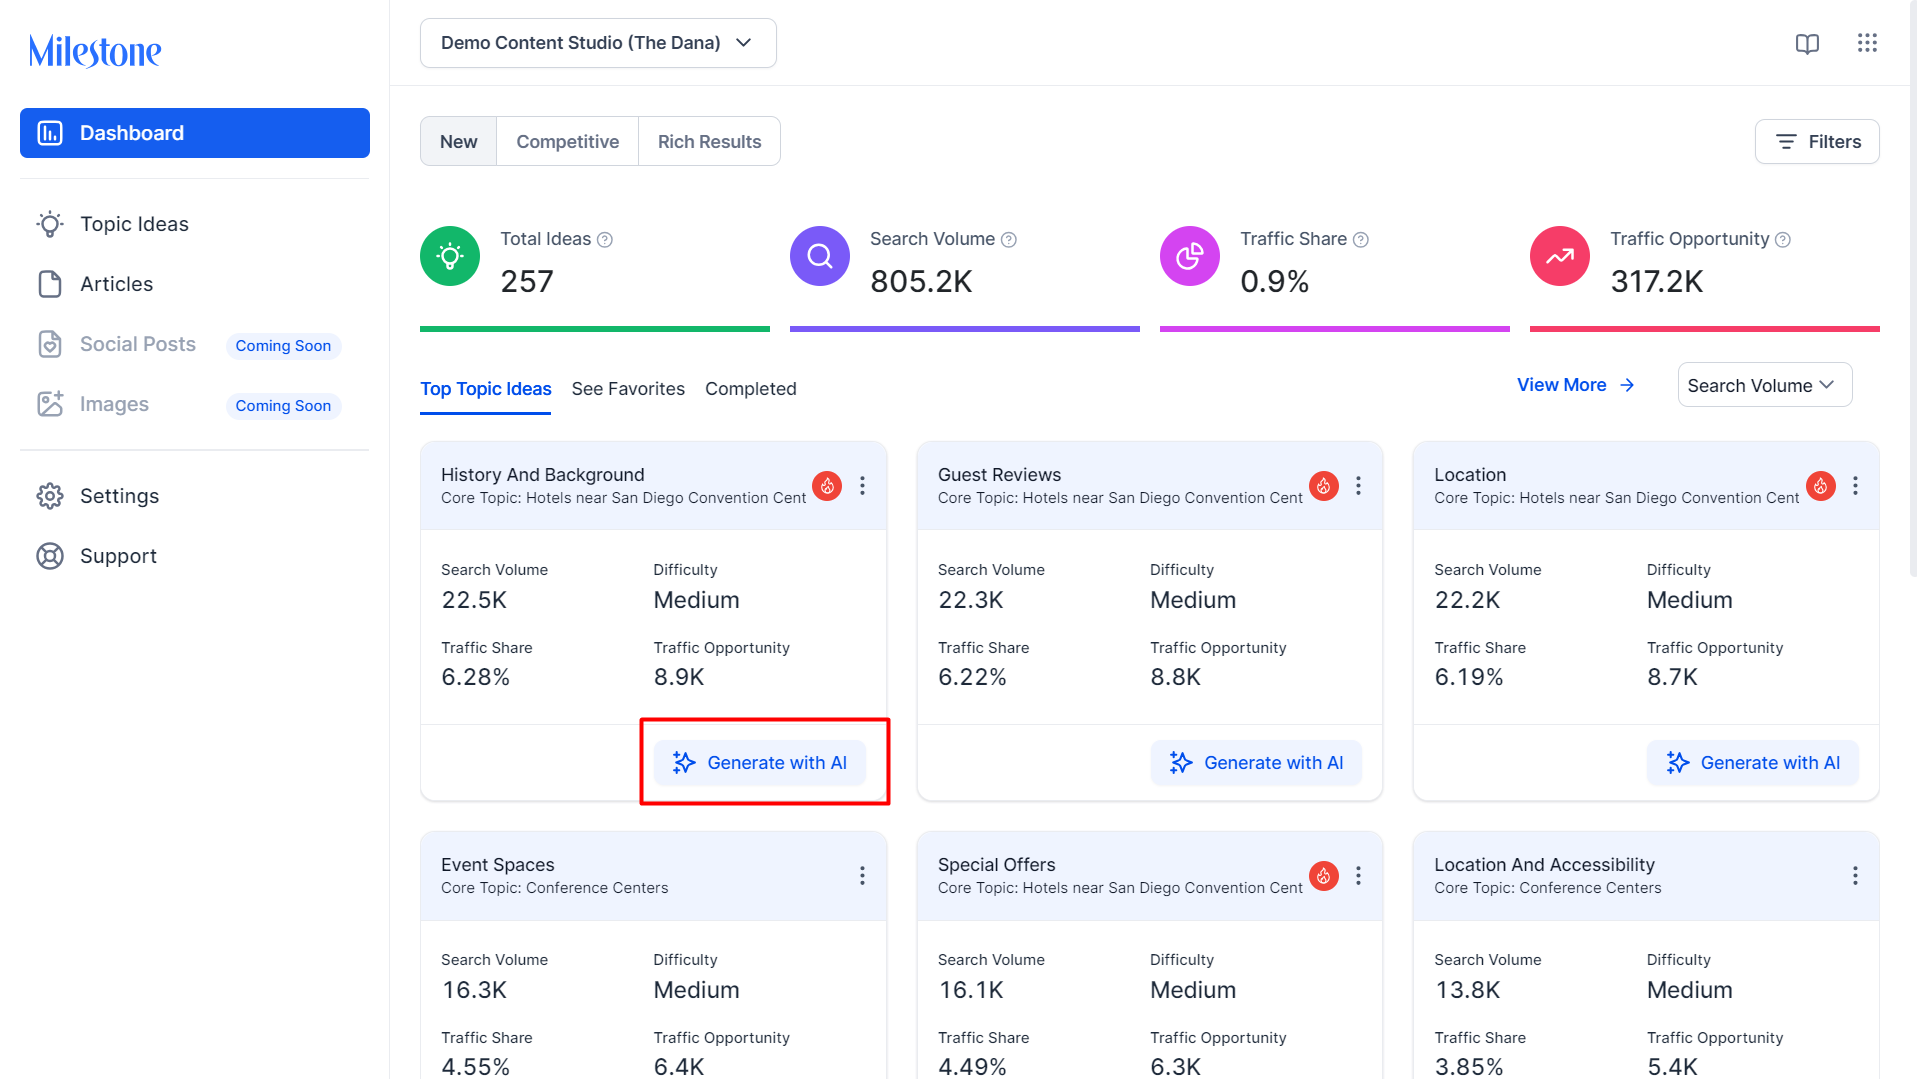
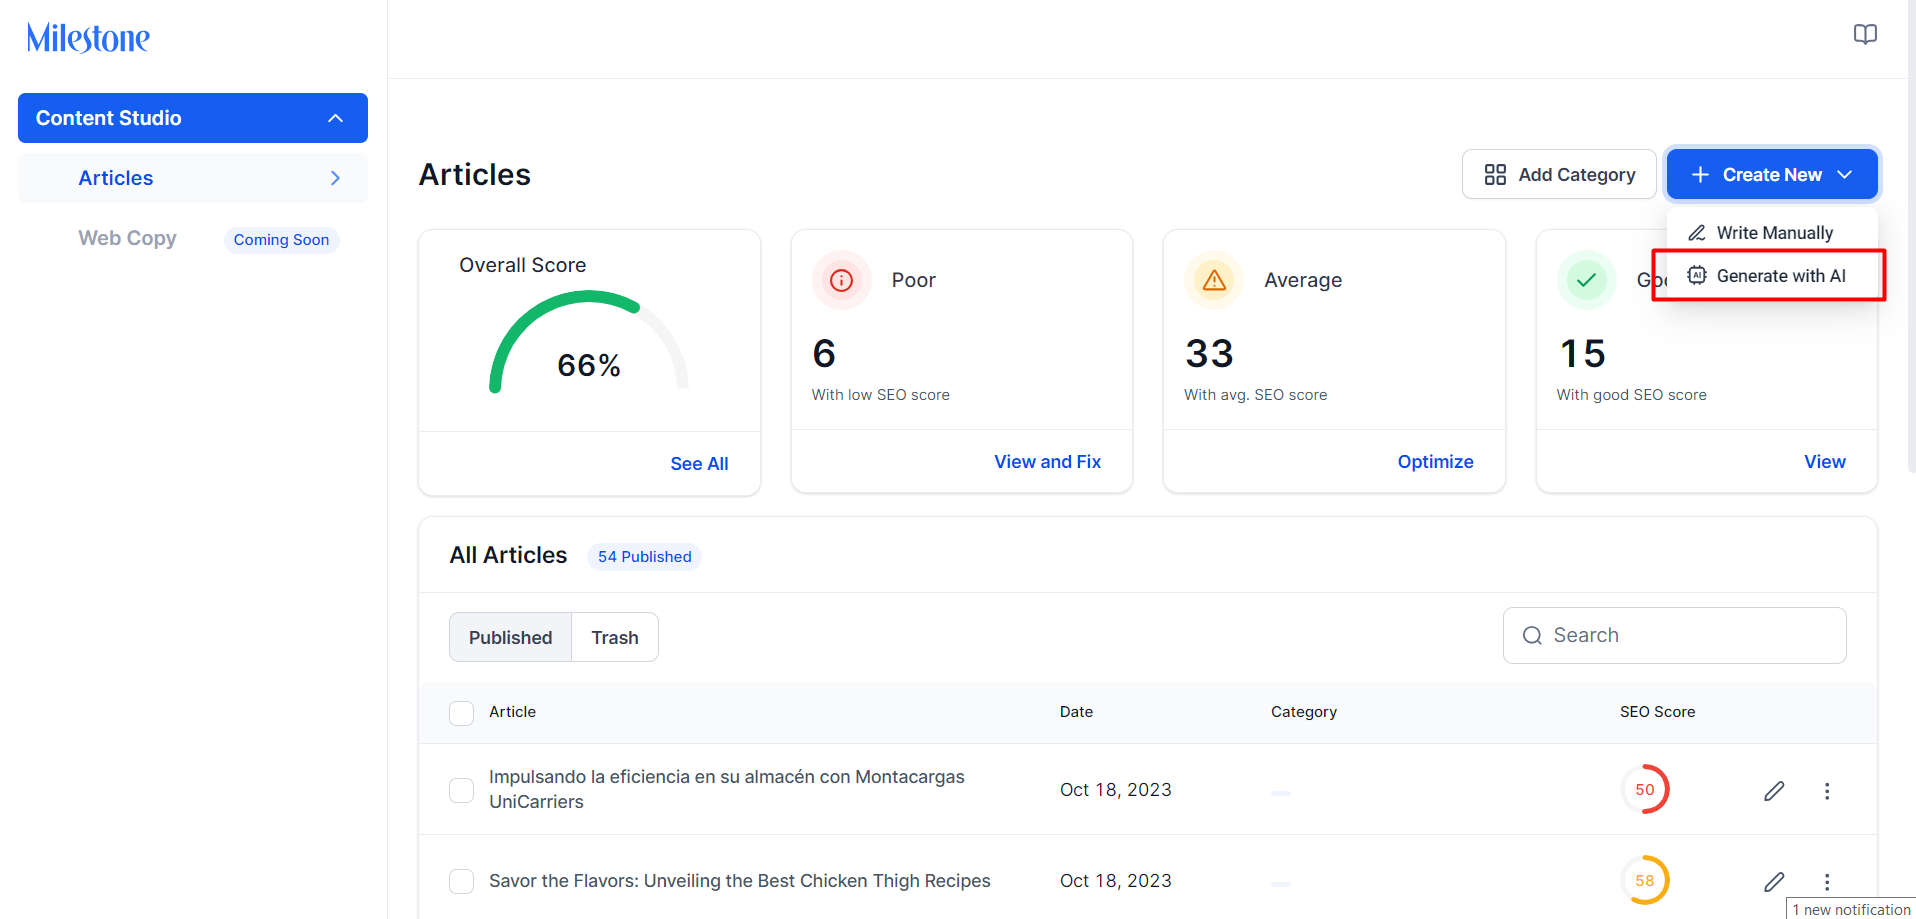
Alternatively, on the Dashboard, you can click on "Generate with AI' against a topic of your choice.
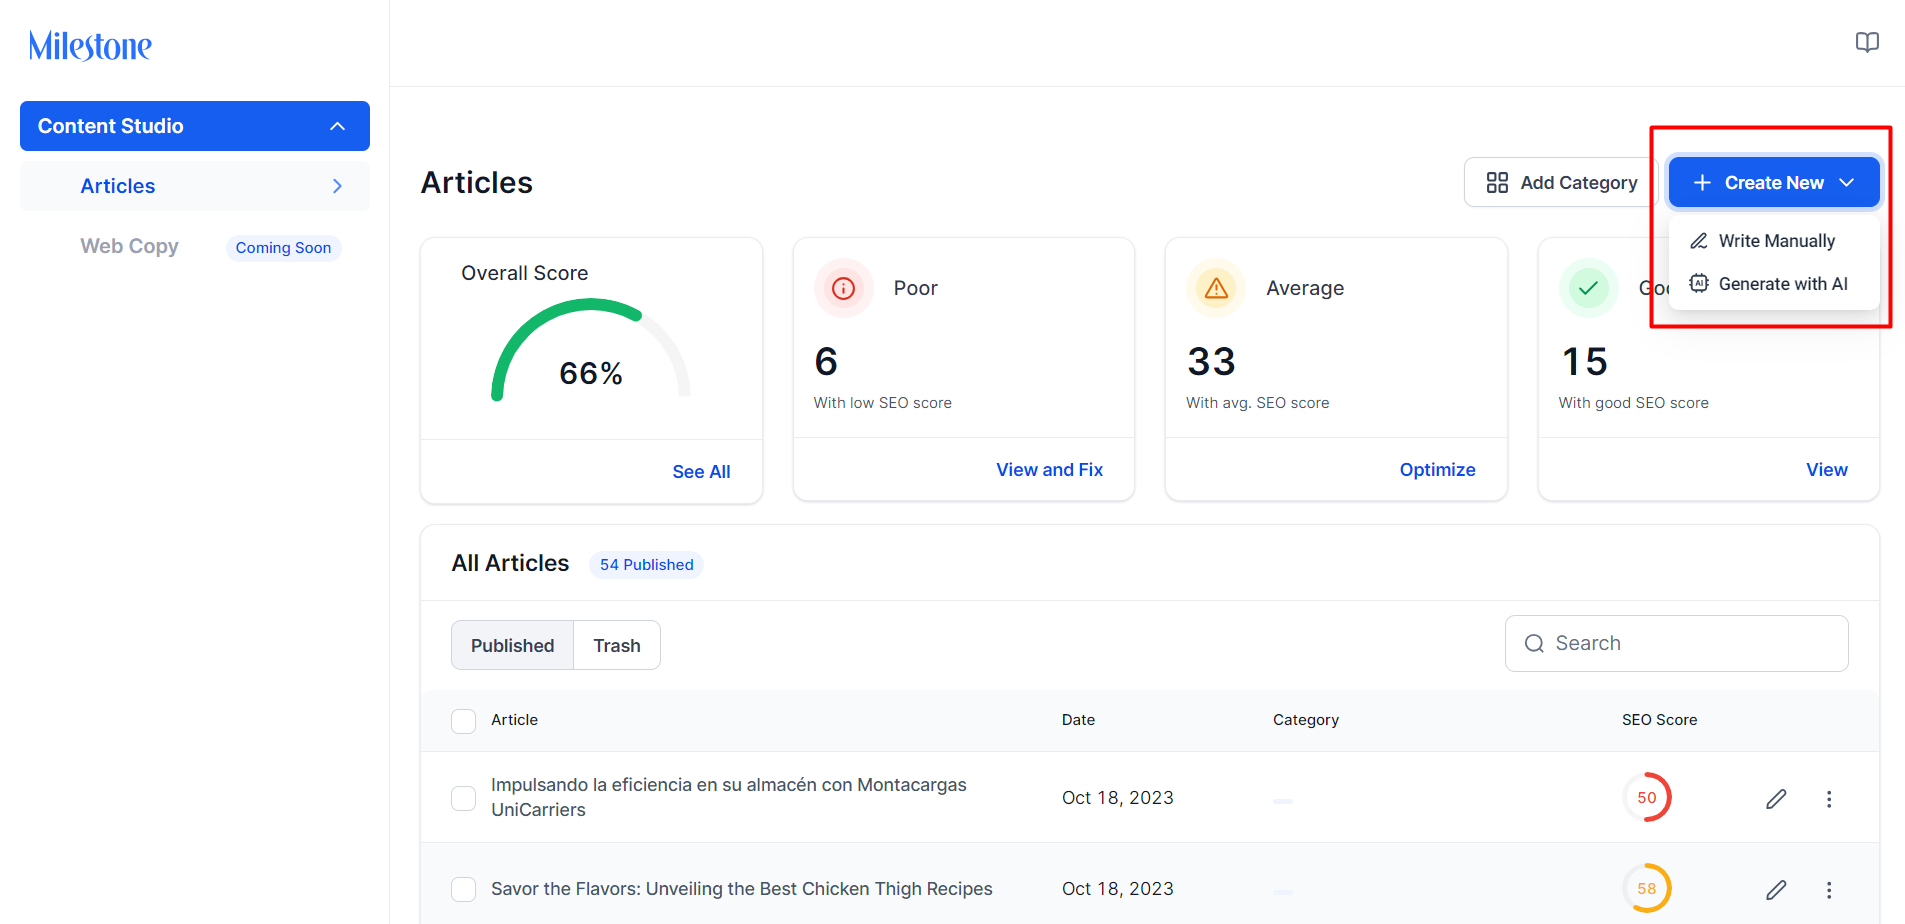
Step 2: You can now choose to write the post manually by clicking on ‘ Write Manually’ or generate the post using AI Content Studio by clicking ’Generate with AI’.
If you've clicked on ‘Generate with AI’ against a topic, you'll have the option of creating an outline or choose to Generate an entire article with AI.
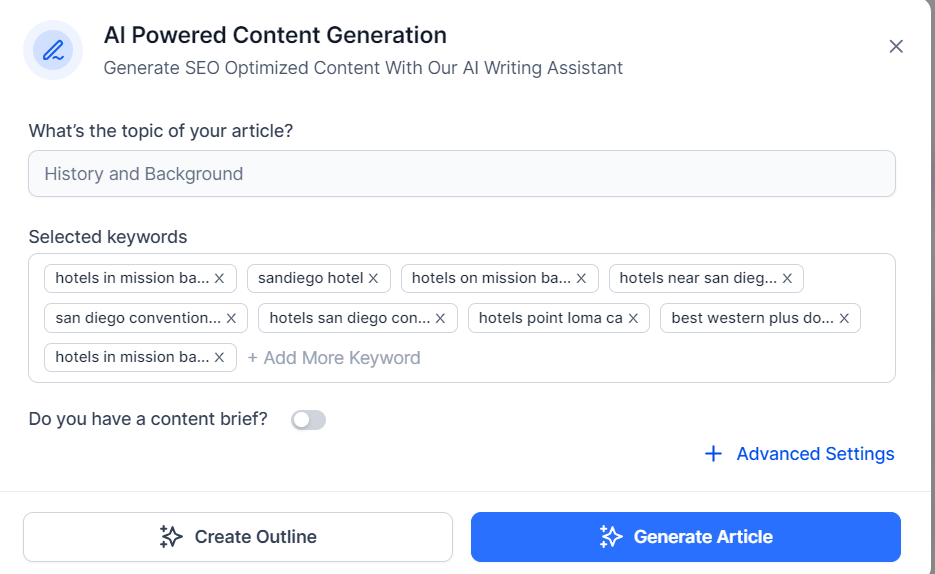
Step 3: Let’s generate a post using AI Content Studio. Start by clicking on ‘Generate with AI’.
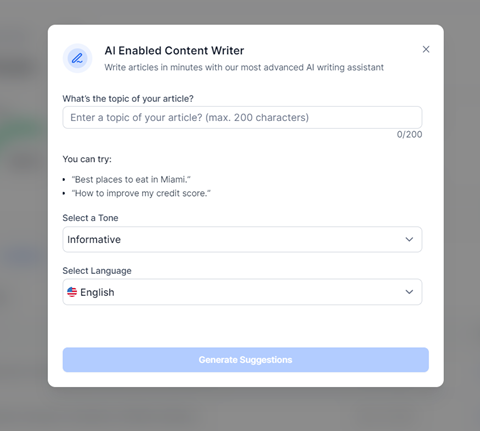
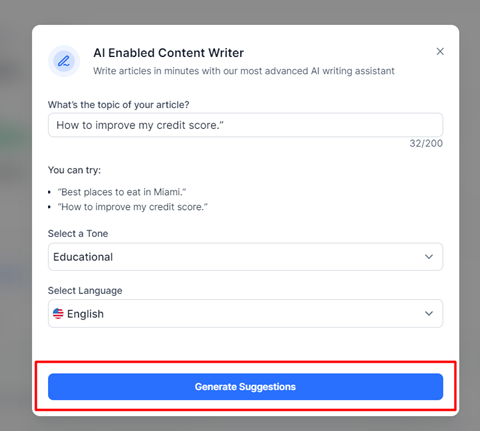
Step 4: The settings of your article will be auto-filled, if you choose to make changes then enter the topic of your article, select the tone of your article and the language. Use the ‘Advanced Settings’ to further customize your target audience.
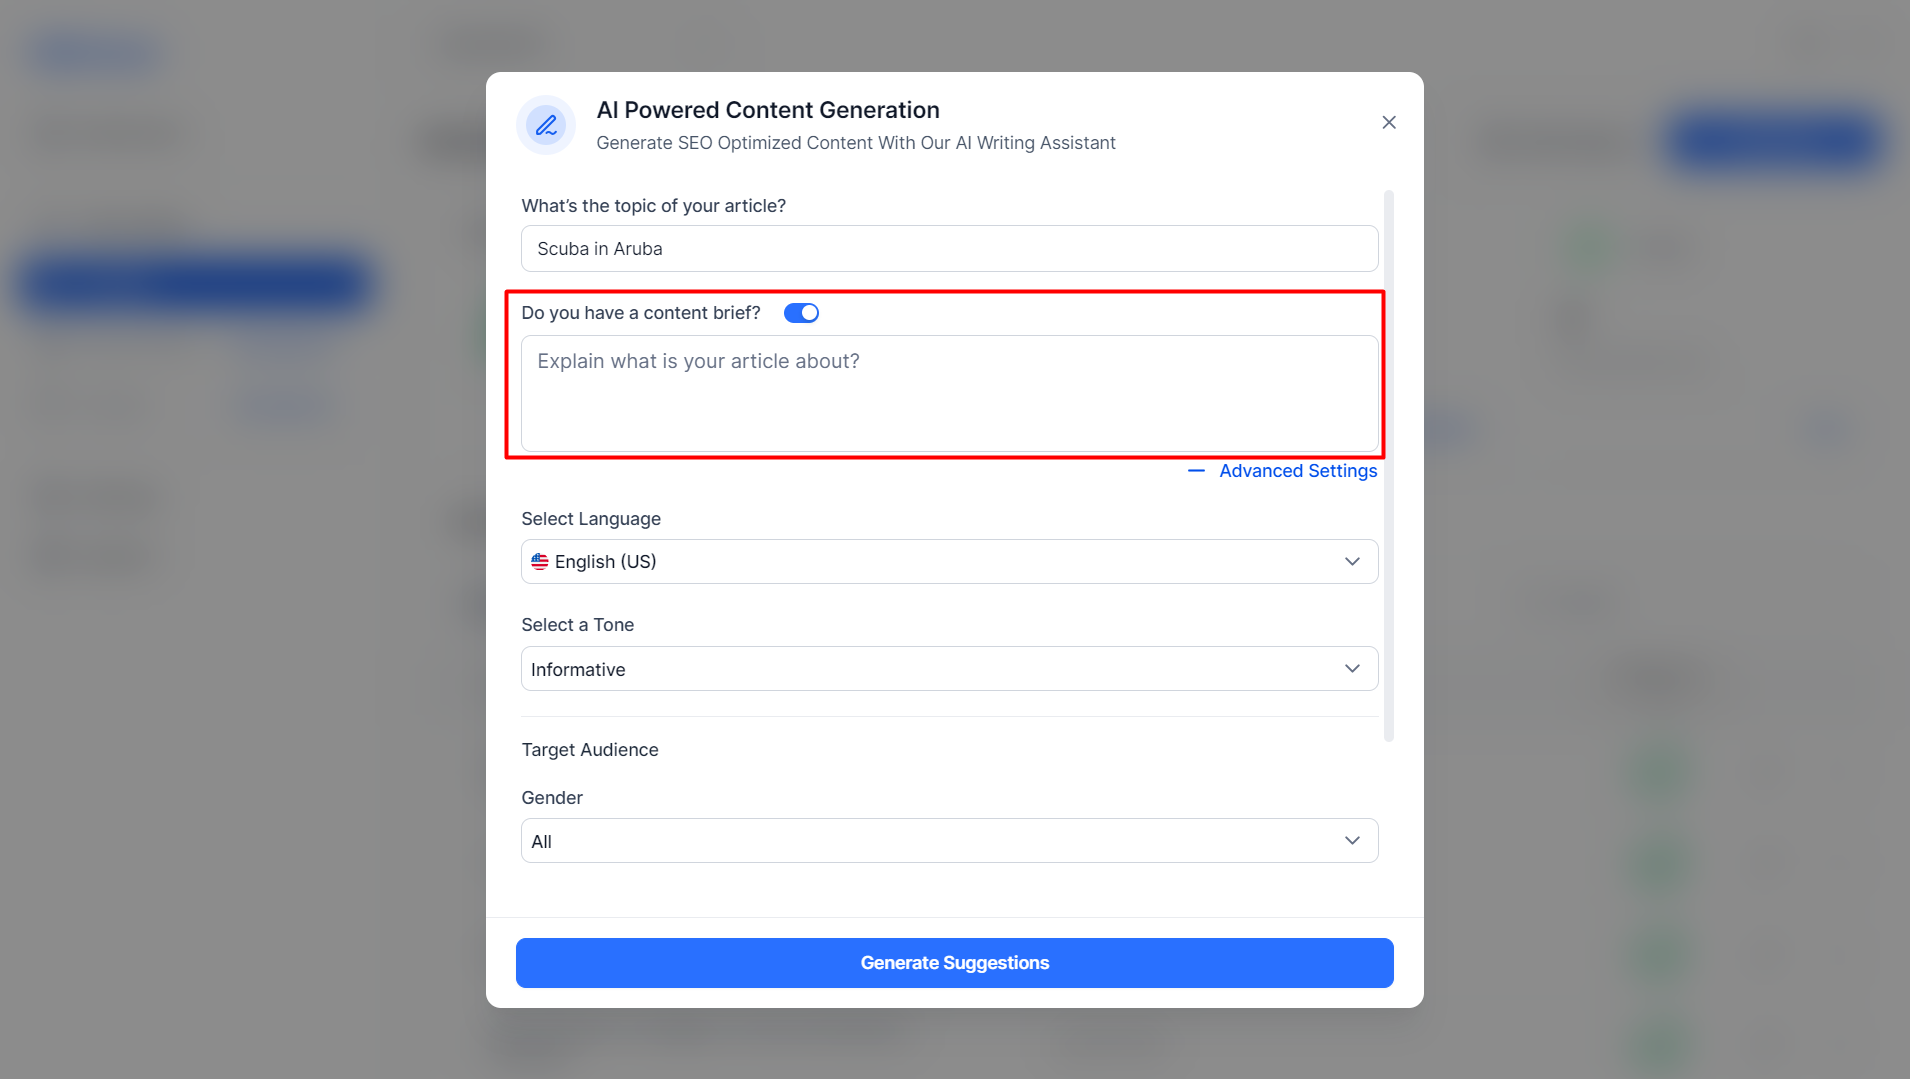
Advanced Settings
AI Content Studio’s advanced settings now allow you to better target your audience right from the get-go. These settings help provide AI Content Studio with more context and customize the content for the audience you wish to reach. You can now add a content brief, which serves as a roadmap for creating content that aligns with your business goals, objectives, and target audience.
Multi-Language Support
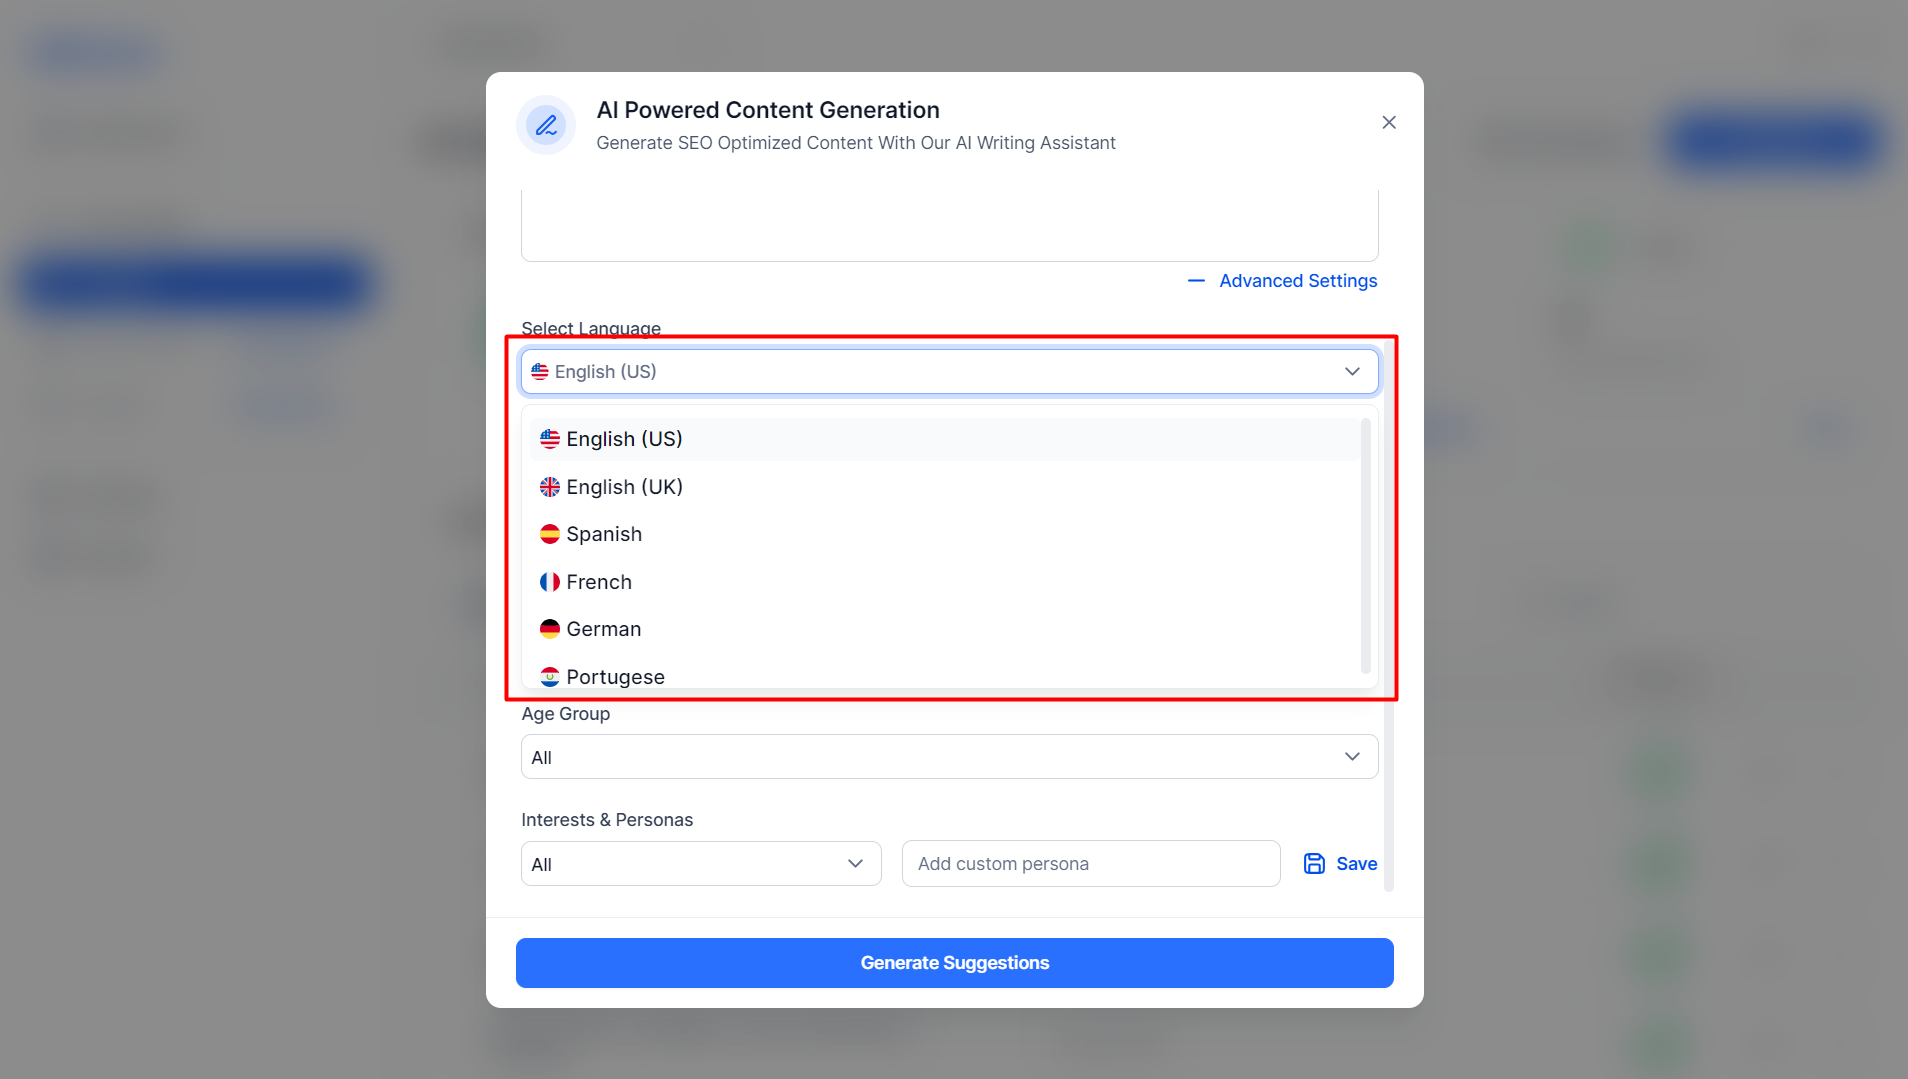
AI Content Studio now supports 5 language for content generation (English, Spanish, French German, Portuguese).
Content Tone
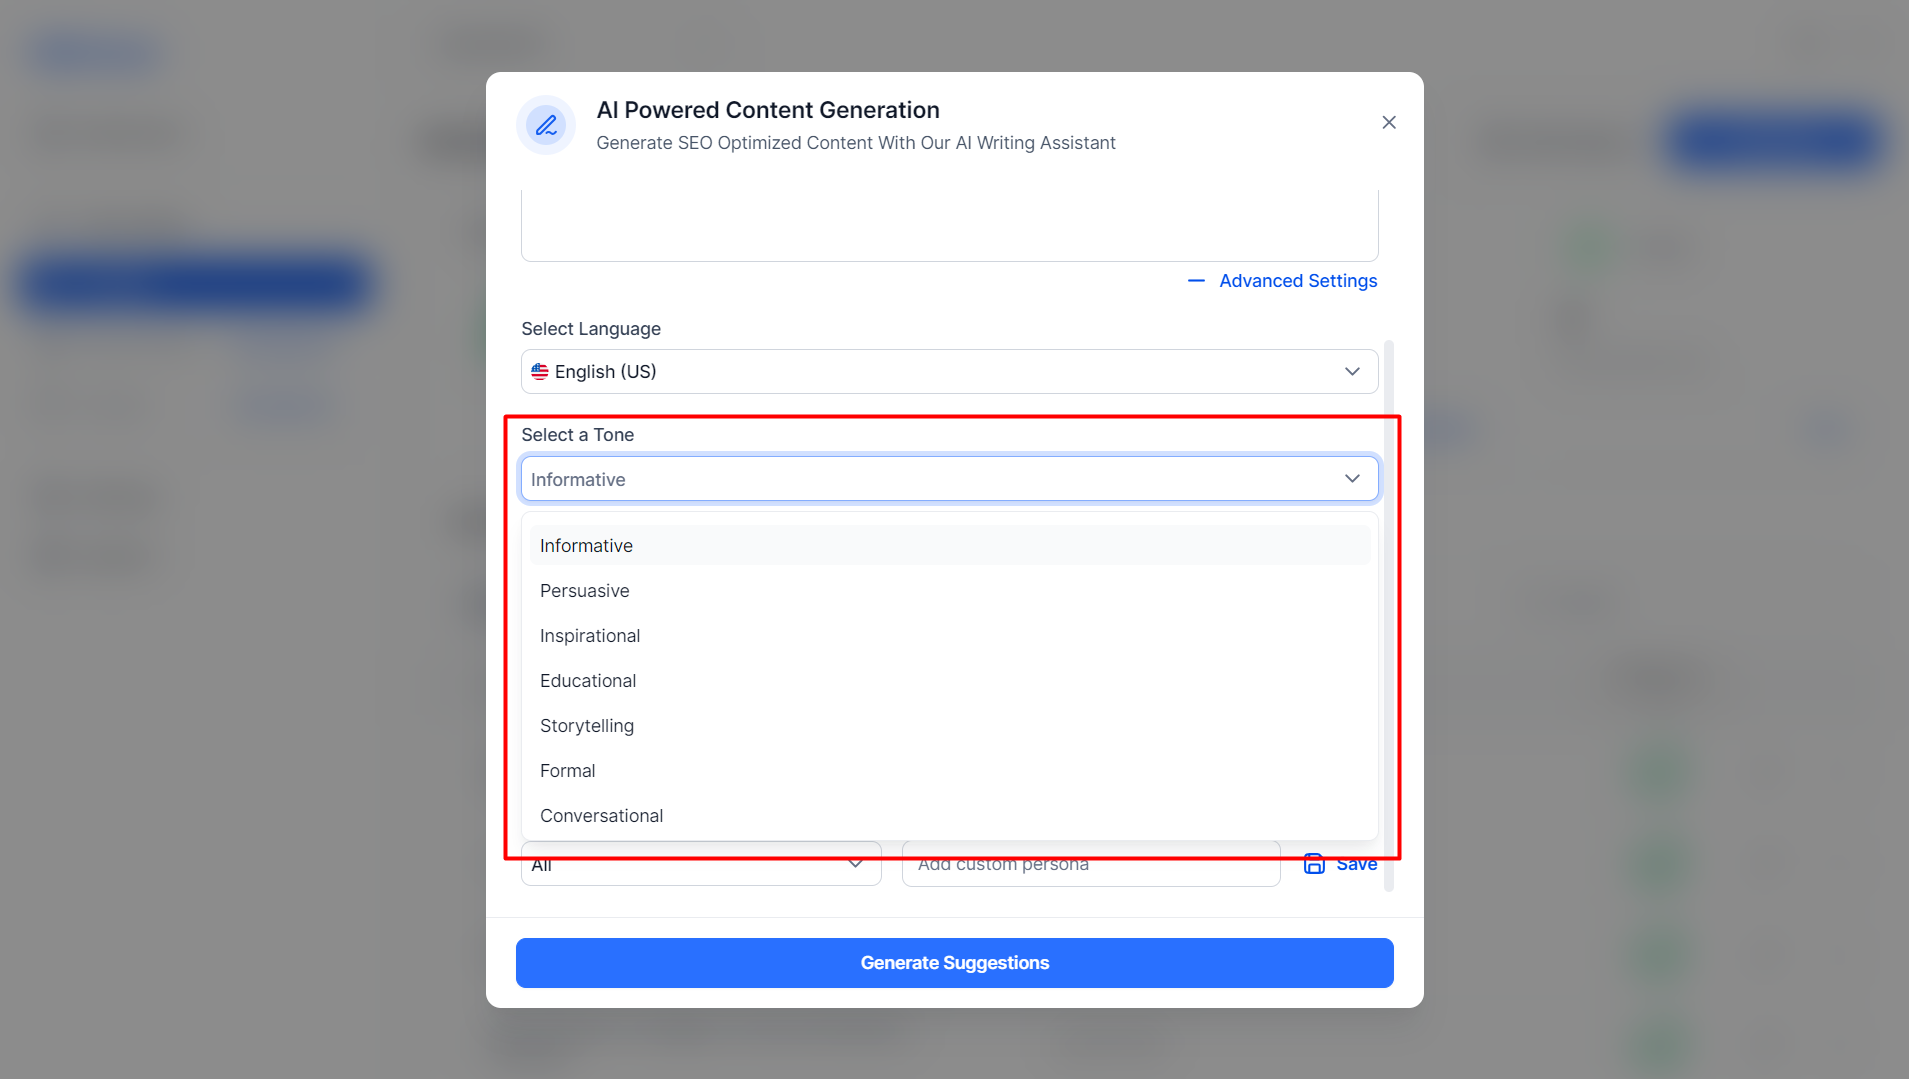
Select from 7 different language tones. Each tone type alters the language style being used to make sure your content resonates with your audience while delivering the message you want to.
Target Audience
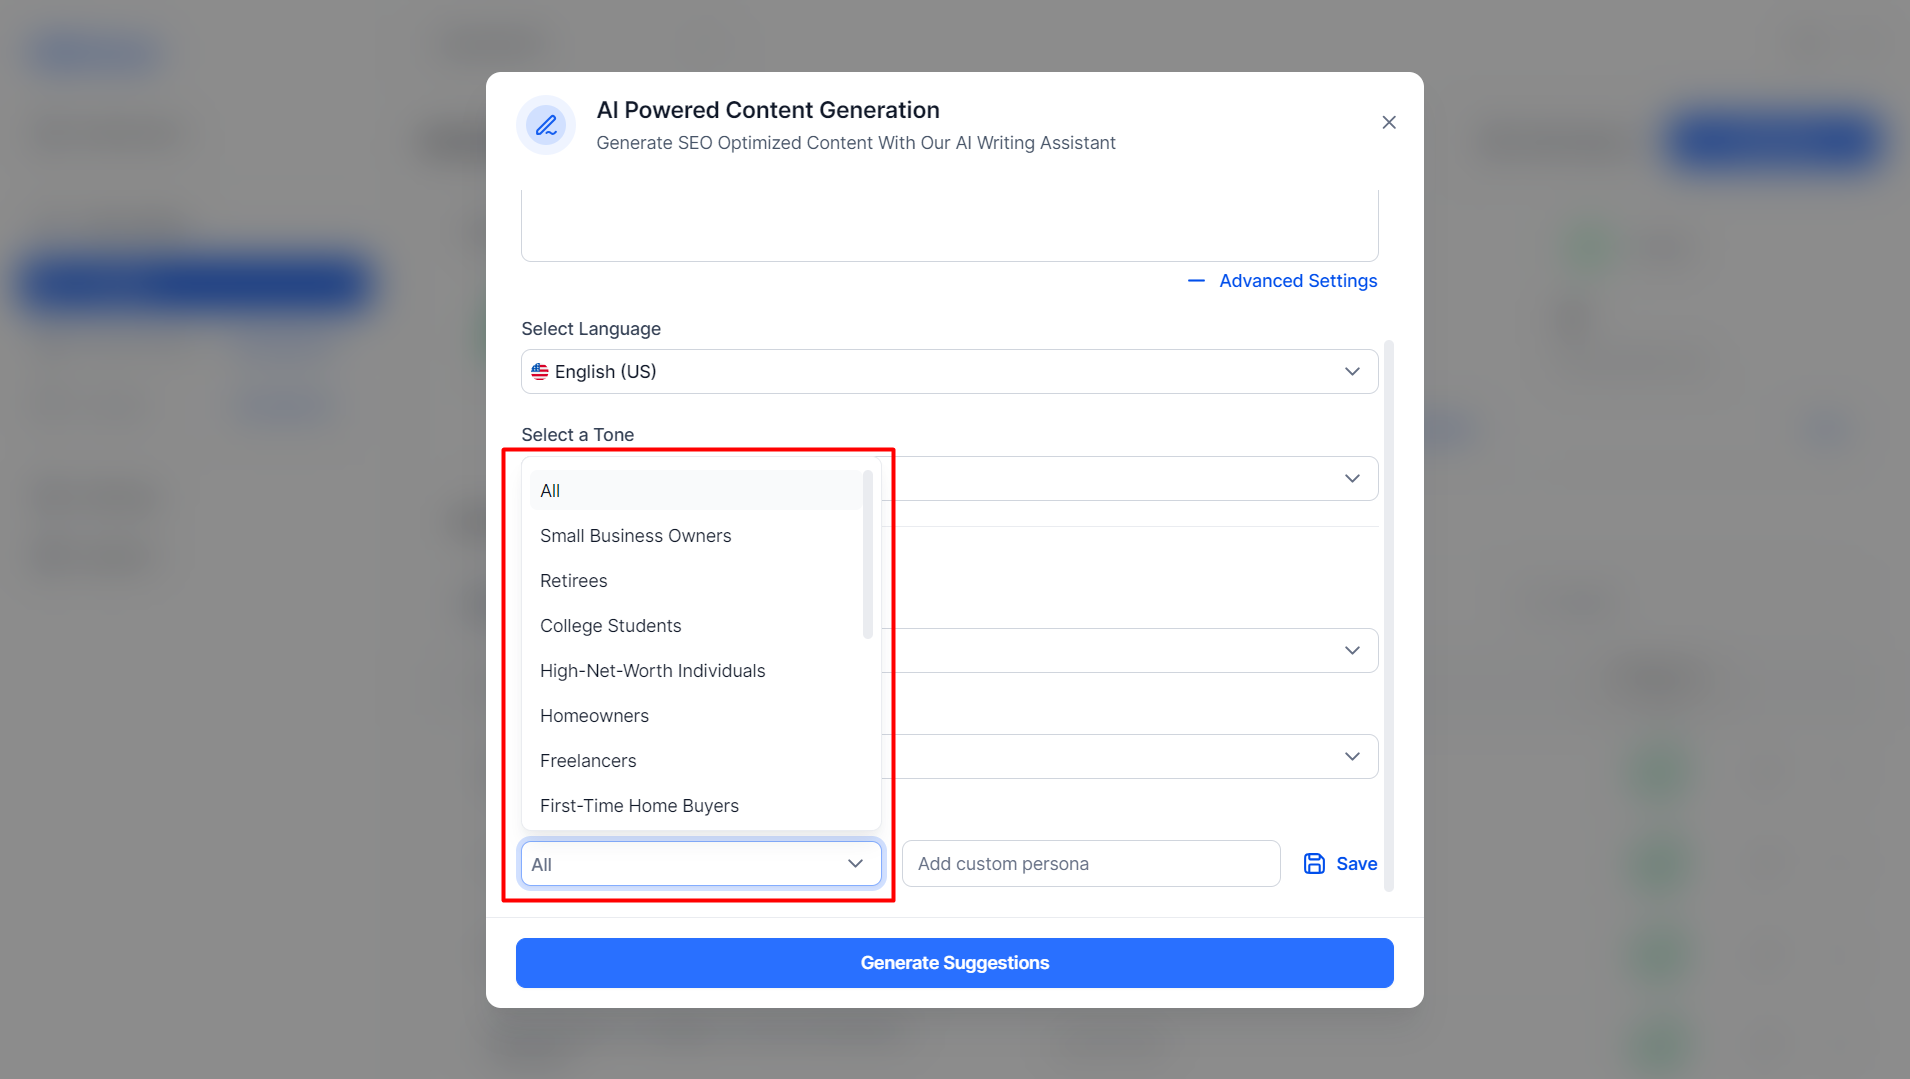
Provide a target audience for your content to be better tailored to them. Select Gender, Age Group, Interest & Personas. Choose from 16 customer personas.
Step 5: Once you’ve entered the details, click on ‘Generate Suggestions’.
Step 6: Choose a key phrase of your choice. You can view the search volume, trend, and competition of the key phrase. Once you have chosen a key phrase, click on ‘Generate.
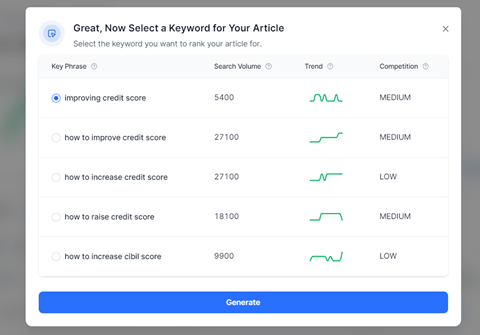
Step 7: You’ll see the content generated on your screen and you can use the WYSIWYG Editor to format the article.
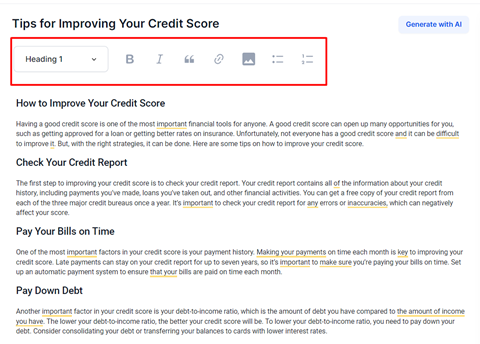
To add an image, you can copy an image that has a clear URL path and paste it within the content.

Note: AI Content Studio currently doesn’t allow you to upload images from your local system or from the DAM.Copying/pasting images with a URL path is the only option.
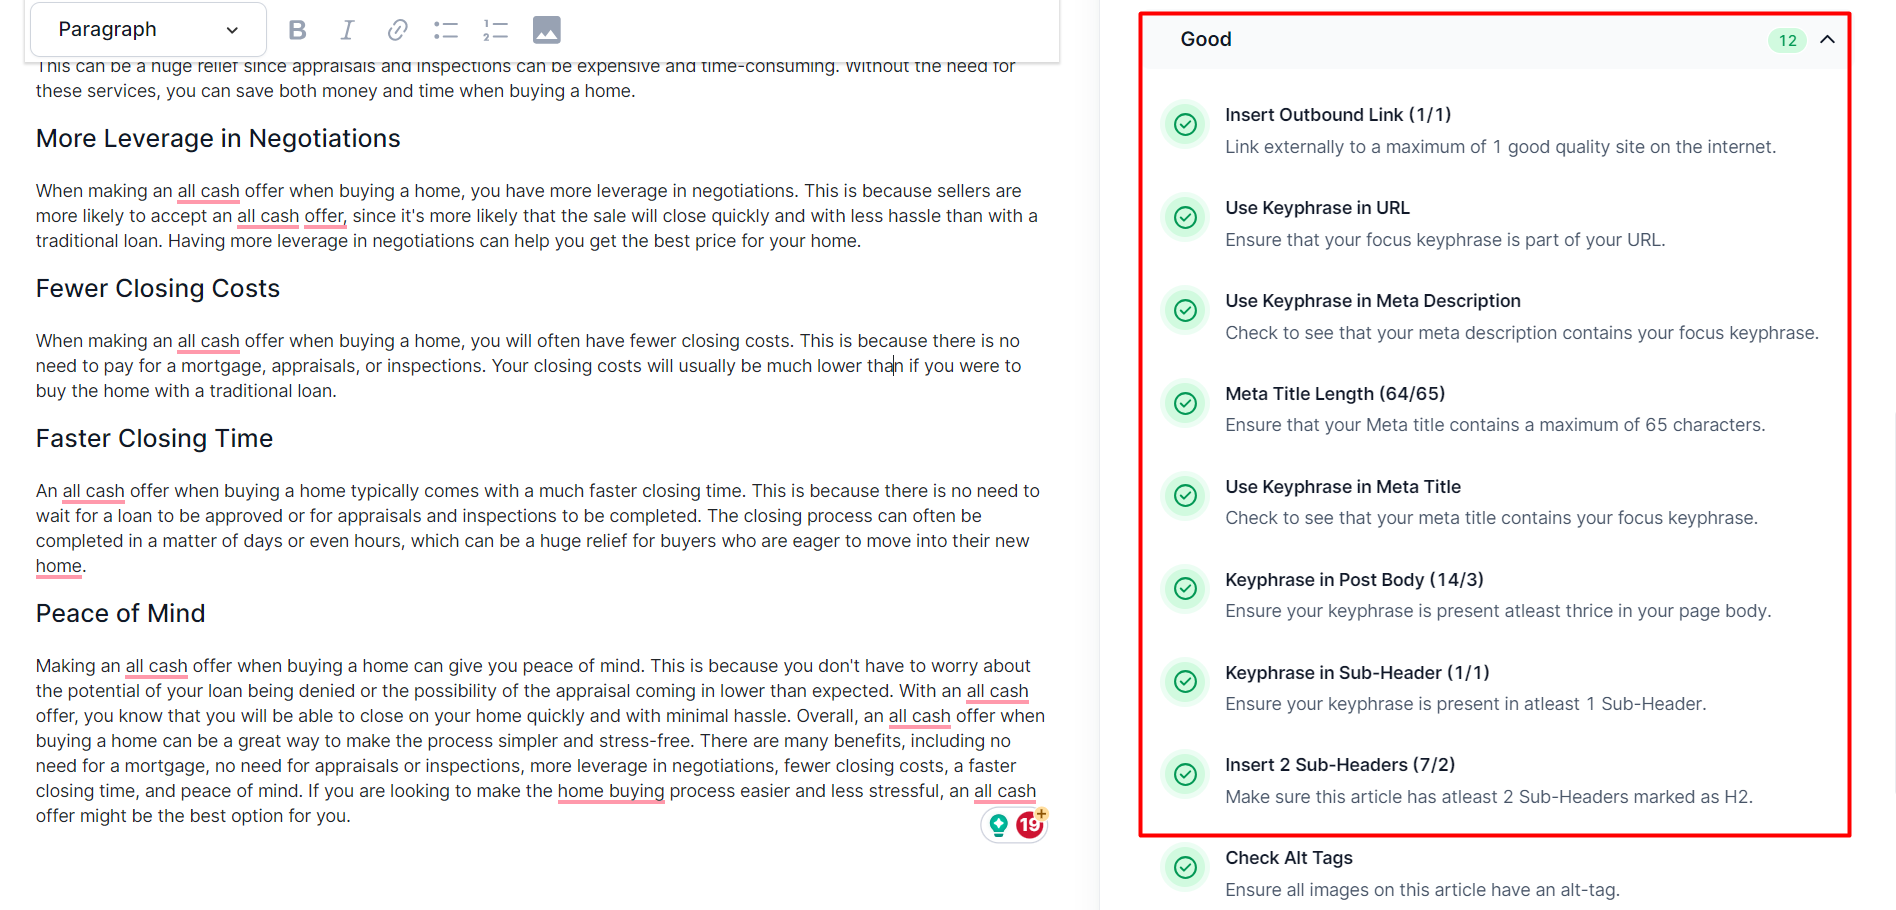
Step 8: There is an SEO checklist to the right of the article to ensure the content is adhering to SEO best practices.

The SEO score is calculated based on the number of items in the ‘Good section’ of the SEO Checklist. An SEO score of over 90% is considered desirable.
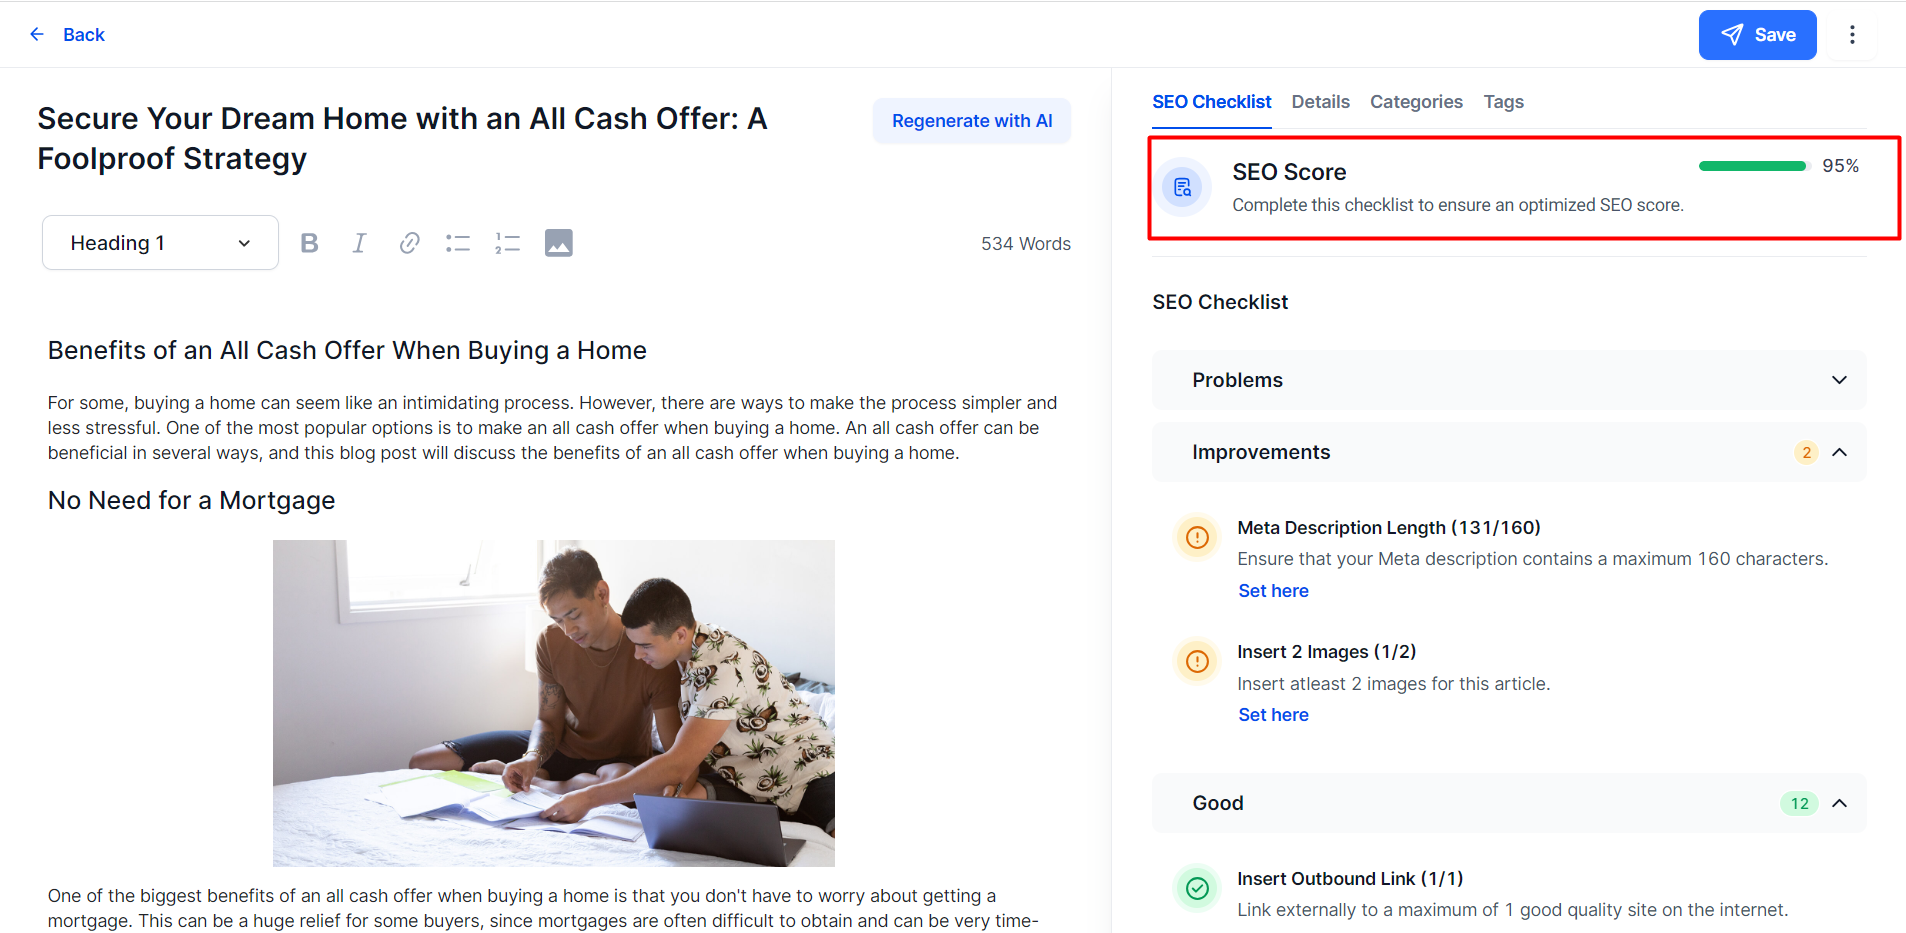
The SEO Checklist is divided into three categories:
- Problems: These areas need to be addressed in order to be visible onsearch.
- Improvements: These areas are optional and can be added to improve visibility.
- Good: These areas are already optimized for search.

Expand the menus to view areas of improvement or problems. Use the CTA buttons to make fixes quickly.
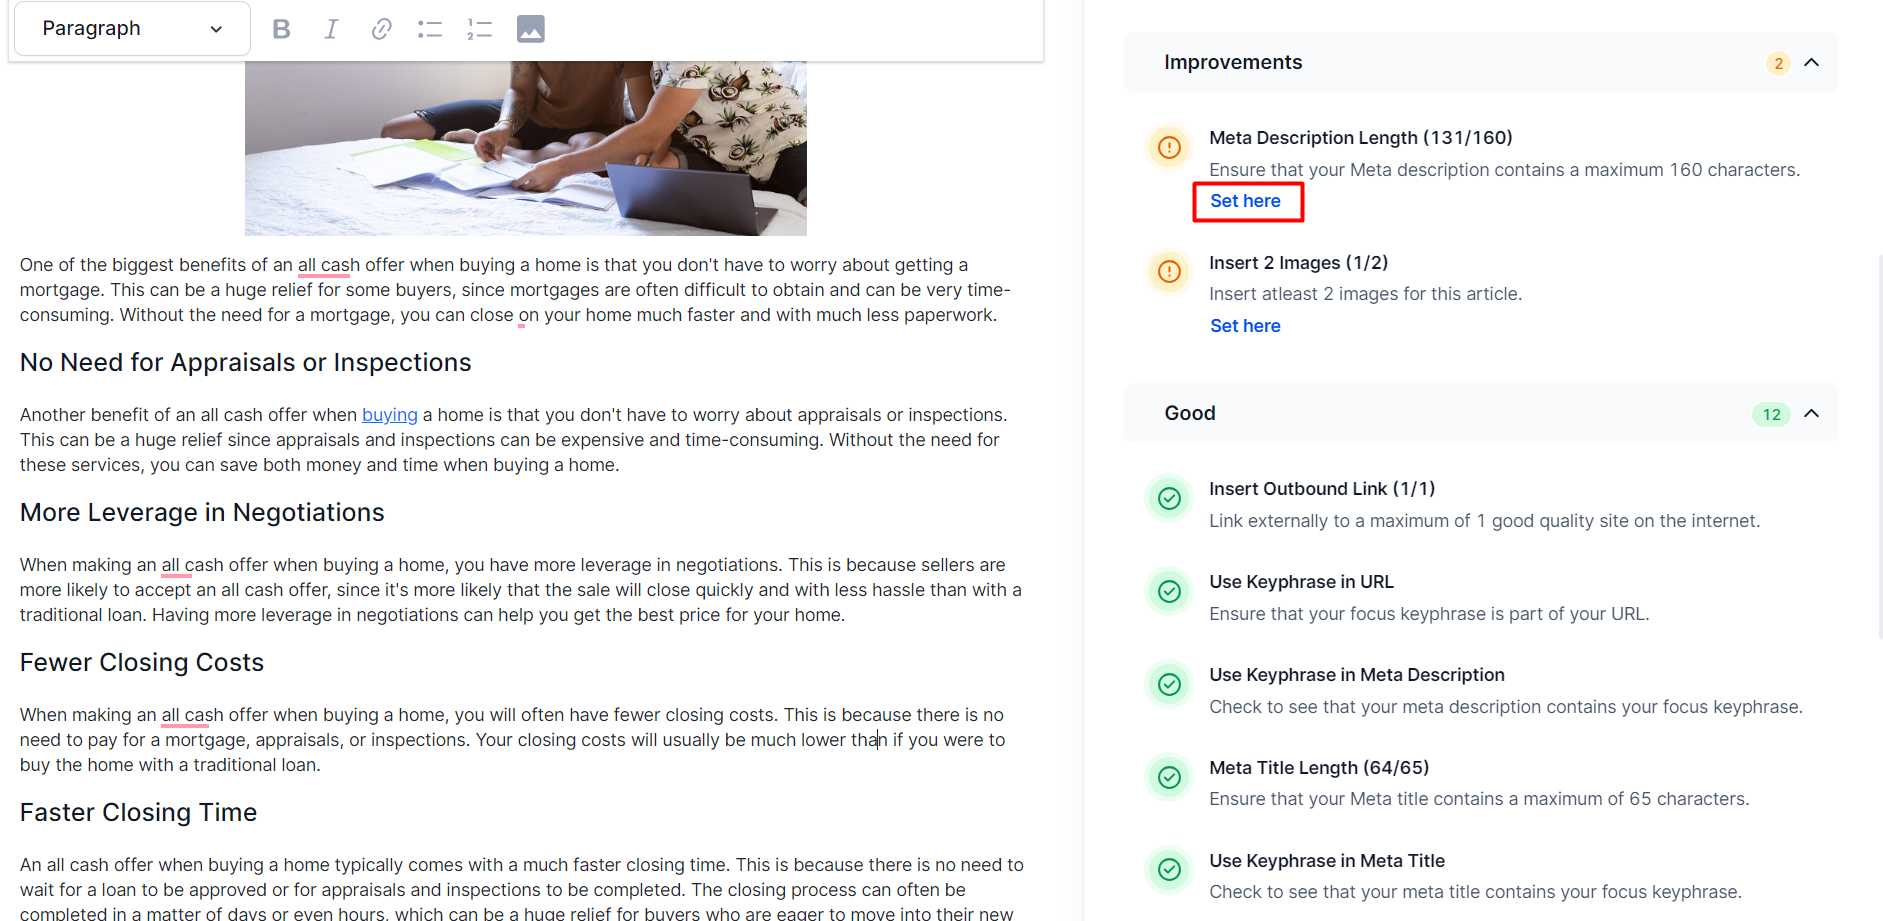
Under the ‘Good’ section, you’ll see what you’re doing well in the article from an SEO perspective.
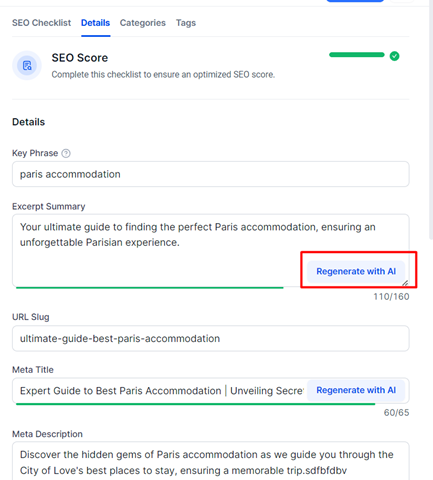
Step 9: Click on ‘Details’ to the top of the section to view and edit the content details.
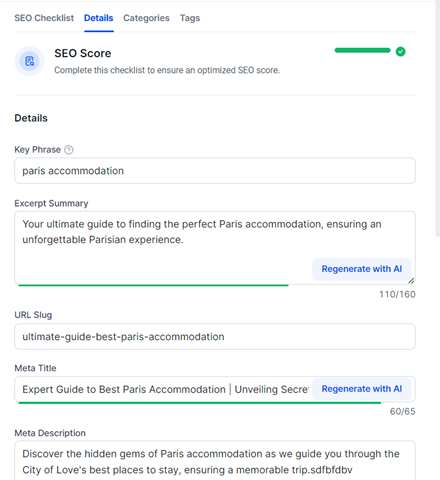
All other details in this section are generated using AI. You can make changes to these sections manually or regenerate the content using the ‘Generate with AI’ buttons.
