Managing assets
In this article, we’ll show you how to manage your website assets.
Accessing Milestone Digital Asset Manager on the CMS
The Asset Library can be accessed from the ‘Website Editor’ or the dashboard.
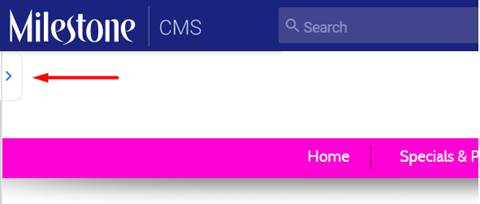
Step 1: Click on the button to the left of the ‘Website Editor’ screen to expand the left navigation panel.
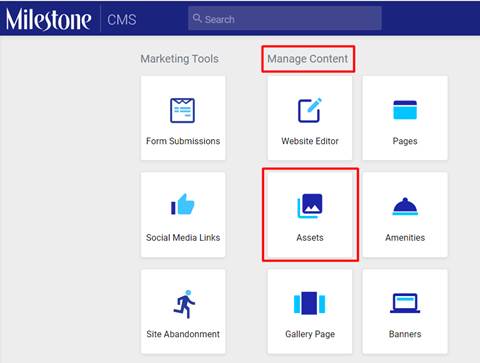
Step 2:Click on ‘Manage Content’ to expand the menu
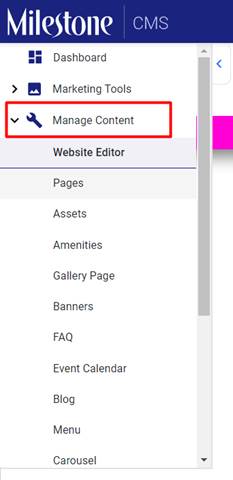
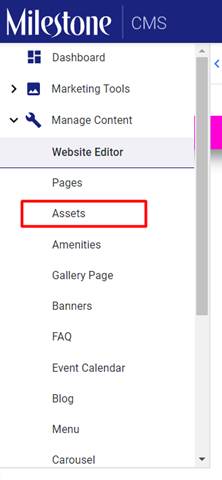
Step 3:Click on ‘Assets’ to access to new Asset UI
Accessing Asset Management UI from ‘Dashboard’
Step 1: Under the ‘Manage Content’ section click on ‘Assets’
You could also use the quick access search bar to access your assets. Just type in 'assets' to get going.

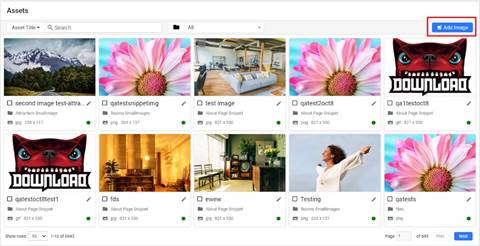
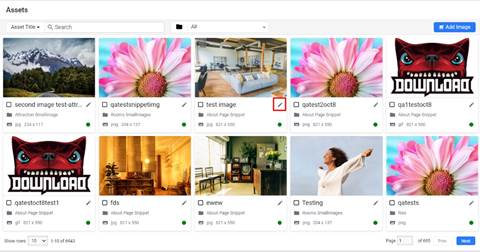
Searching for assets
The new Asset UI Dashboard displays thumbnails of the assets within the user's repository.
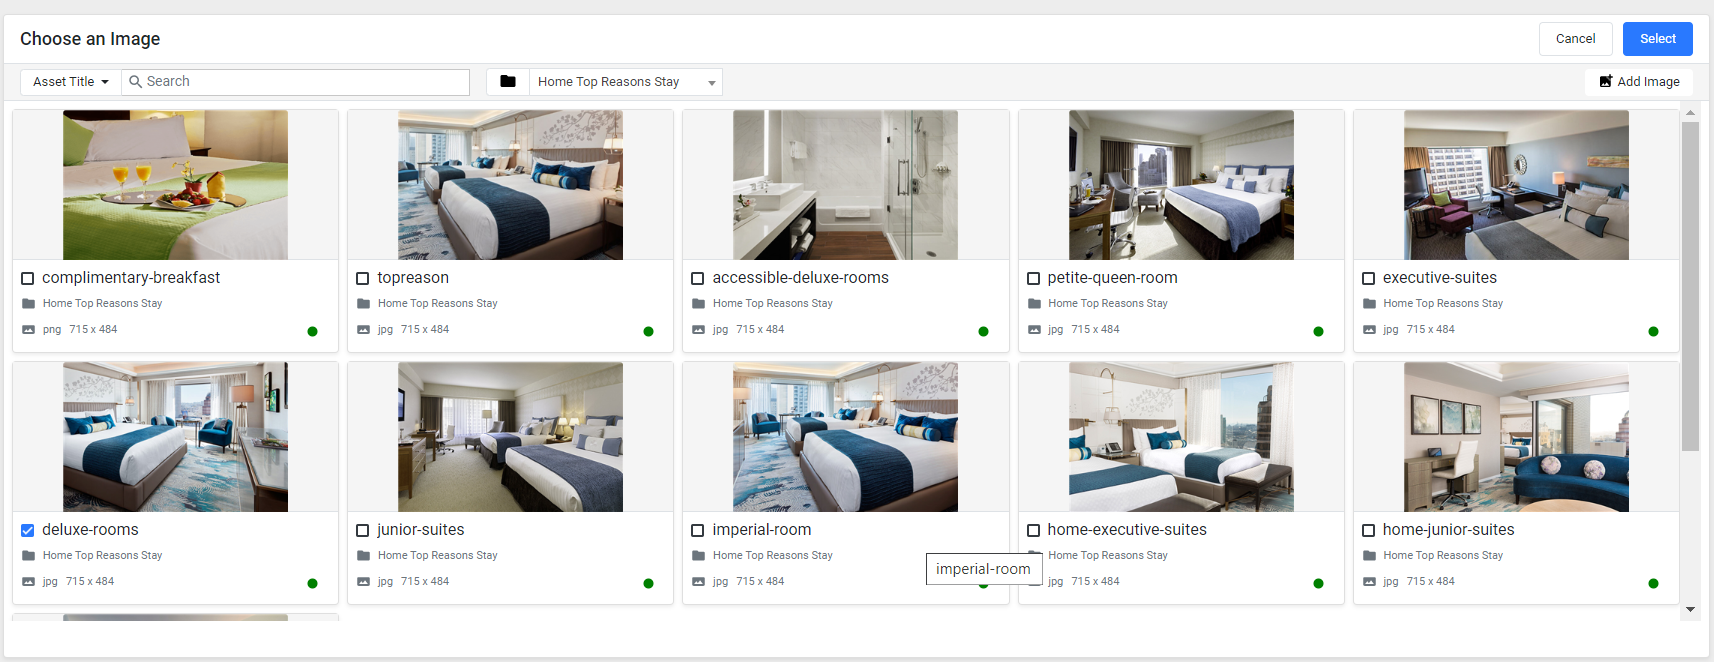
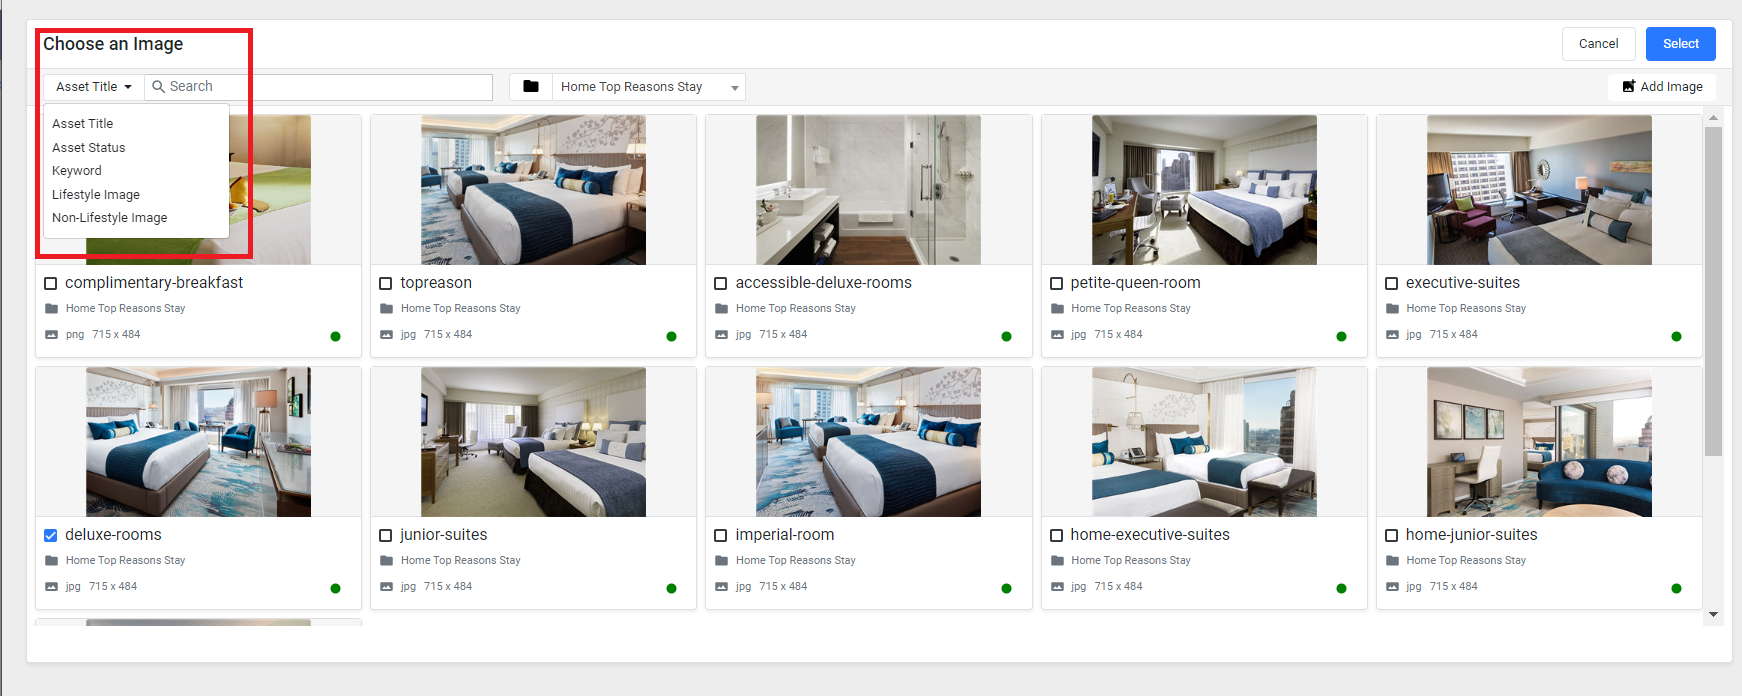
You can search for assets using the search bar to the top left of the screen. Choose the filter from the drop-down and use the search bar.
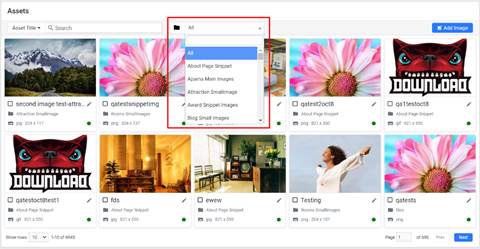
The dropdown menu to the right allows you to filter results by folders
Adding images
You can click on the ‘Add Image’ button to upload new images to the asset repository.
Step 1: Click on ‘Add Image’
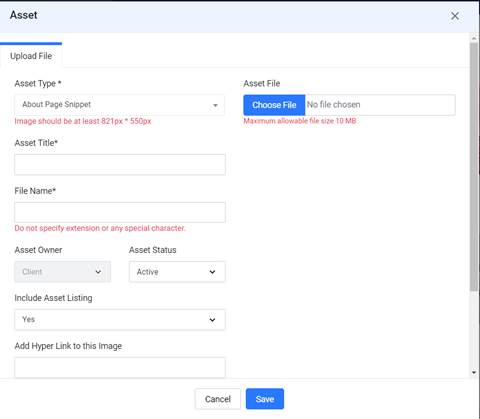
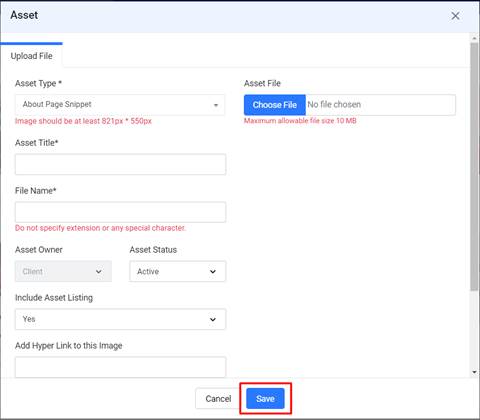
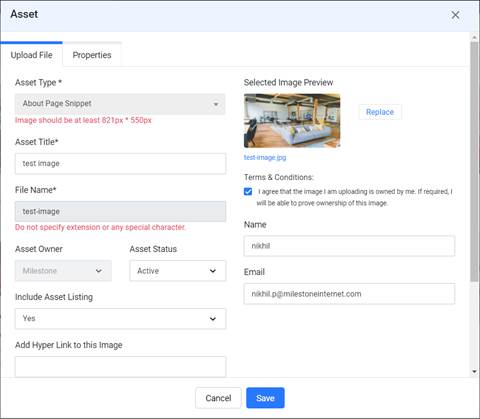
Step 2: Enter details about the Asset being uploaded. Details like:
Asset Type: This will determine the folder within the Asset repository in which the asset will be stored.
Asset Title: The name of the Asset in the new Asset UI
File Name: The name of the Asset on our database
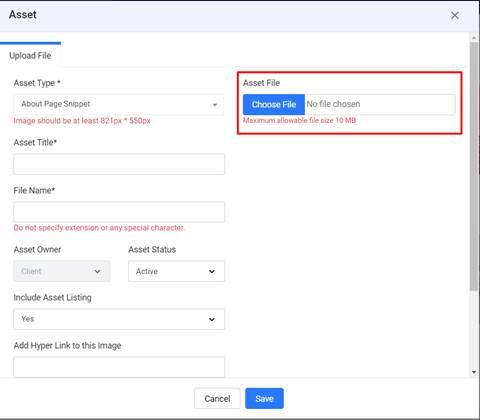
Step 3: Click on ‘Choose File’ to upload the asset
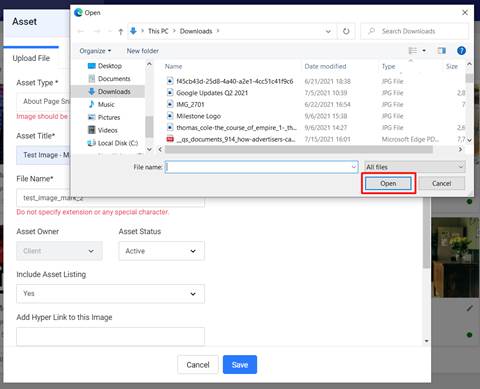
Step 4: Select the image file to upload and click on ‘Open’
Step 5: Add image details
Enter details such as:
Asset Owner: The person adding the asset
Asset Status: Choose ‘Active’ if you wish the asset to be live on your website, else choose ‘In Active’. You can deactivate assets in the future by turning them on ‘In Active’ Status.
Enter image URL hyperlink – if applicable
Enter keywords and finally choose whether it is a stock image
.
Step 6: Click on ‘Save’ to upload the asset to the repository
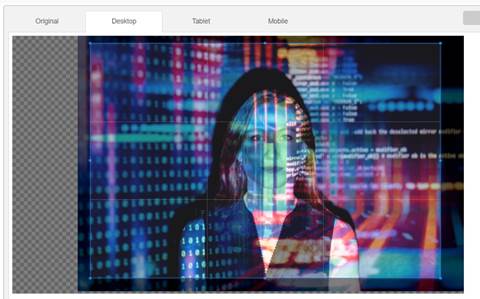
Step 7: The image editing screen will allow you to crop images on Desktop, Tablet, and Mobile
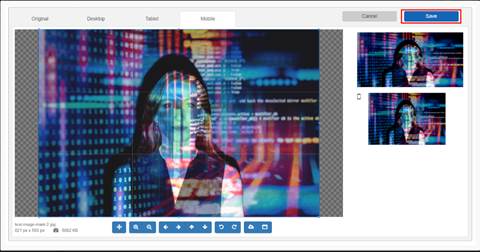
Step 8: Once the screens for Desktop, Mobile and Tablet have been selected click on ‘Save’ to upload the image to the repository
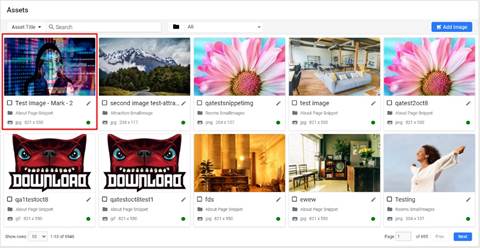
The latest asset will appear on the Asset Management UI.
Editing and deleting assets
You can click on the ‘Edit’ icon to edit files within the Asset repository
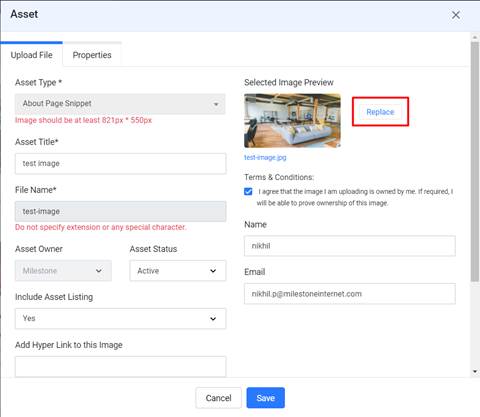
From the ‘Asset’ details menu you can change details about the asset, excluding Asset Type, File Name, and Asset Owner.
You can even replace images using the ‘Replace’ button
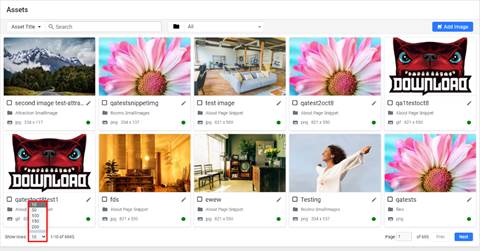
You can view up to 200 rows of thumbnails using the dropdown menu to the bottom left of the screen
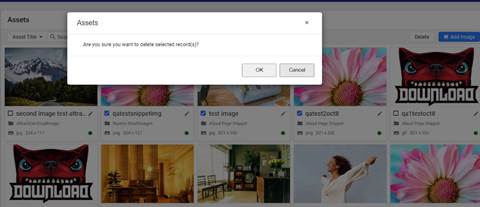
You can delete images by selecting the image(s) they wish to delete and click on the ‘Delete’ button
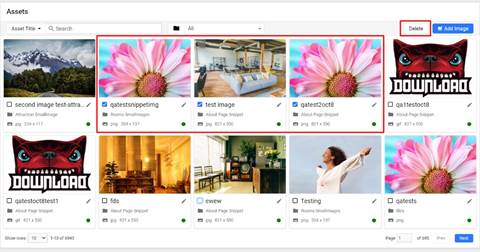
Assets once deleted cannot be recovered